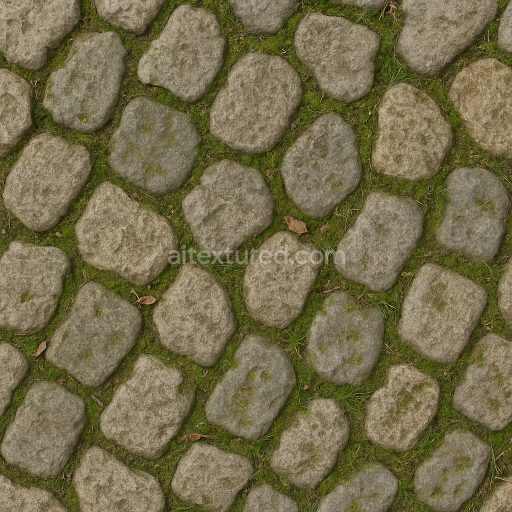
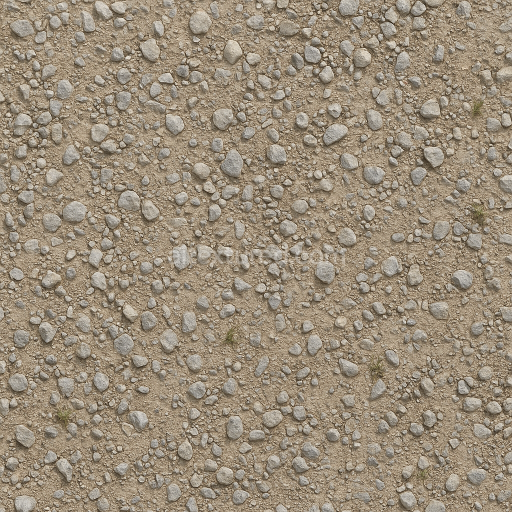
Cobblestone Irregular With Moss Patches And Rough Wear Surface
Seamless texture (tileable) · PNG, WEBP, PBR ZIP. License: AITextured Free Commercial License (FCL) v1.1. Free personal and commercial use. Raw resale, standalone redistribution, mirroring/scraping, competing asset packs, and AI/ML training are not allowed without written permission. Attribution is not required, but appreciated..

| ID | seamless-3d-texture-pbr-8k-gravel-loose-with-dry-surface-and-pebbles-scattered-natural-look |
|---|---|
| Category | Park pavement |
| Formats | PNG, WEBP, PBR ZIP |
| Size | 1k (1024x1024px), 2k (2048x2048px), 4k (4096x4096px), 8k (8192x8192px) |
| Color | sRGB |
| Tileable | Yes |
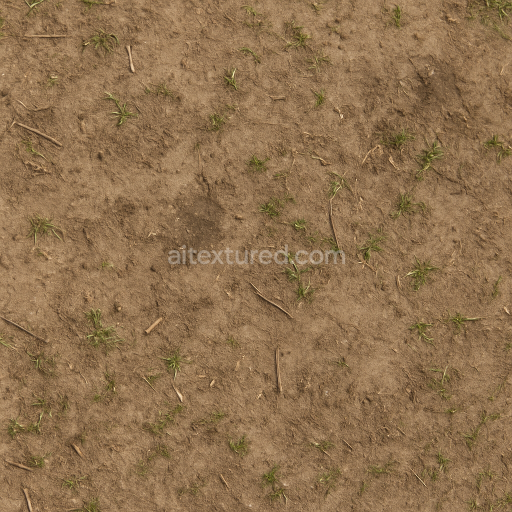
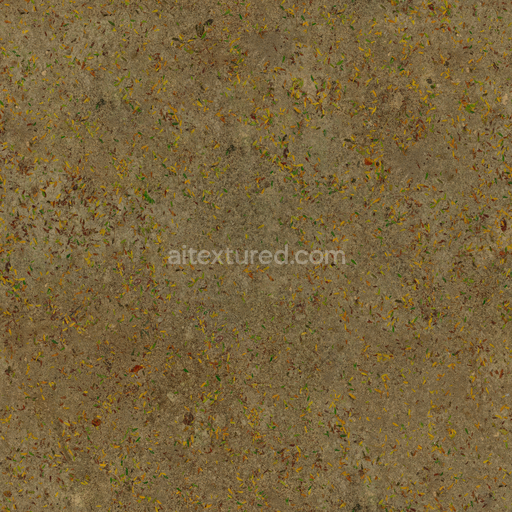
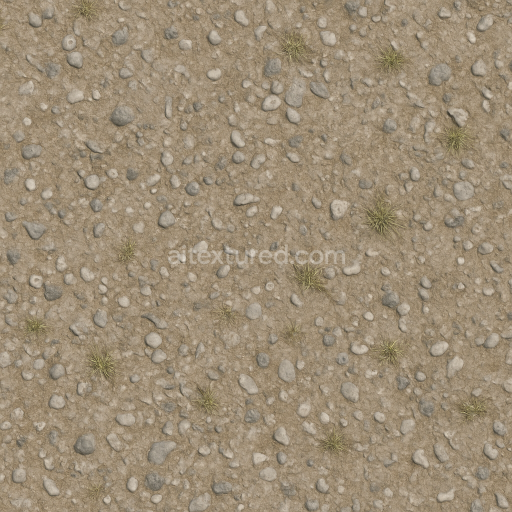
This seamless 3D texture features loose gravel pavement composed primarily of natural mineral aggregates including small stones and pebbles scattered organically across a dry surface. The base substrate consists of weathered rock fragments bound loosely simulating a natural unpolished terrain typical of outdoor park environments. The surface finish reveals rough wear patterns with patchy grass and soil elements near the edges adding subtle organic variation. Pigments and oxide layers in the gravel particles introduce a range of earthy tones from muted grays to warm browns enhancing the realistic look of natural stone and mineral composition. The texture’s porosity and uneven grain orientation contribute to the tactile depth and natural randomness that prevents visible repetition or artificial uniformity.
In terms of PBR channels the BaseColor/Albedo map captures the nuanced color variation of dry gravel and scattered pebbles while the Normal and Height/Displacement maps define the rough uneven surface topology with high precision emphasizing the loose arrangement and small stones protruding from the substrate. The Roughness channel highlights the dry surface’s matte non-reflective quality reflecting minimal specular highlights consistent with weathered porous stone. Metallic values remain near zero appropriate for non-metallic mineral aggregates while Ambient Occlusion enhances shadow details in crevices and beneath pebbles adding depth and realism to the texture’s natural appearance. Rendered at an ultra-high 8K resolution this texture is optimized for seamless tiling and is fully compatible with Unreal Engine Blender and Unity workflows.
Designed for high-quality 3D environments requiring organic natural-looking pavements this texture excels in outdoor visualizations such as parks trails or garden paths. Its loose gravel composition and dry surface aesthetics lend authenticity to natural scenes without visible artifacts or repetitions. For best results it is recommended to adjust the UV scale to maintain the correct pebble size relative to the scene and to fine-tune roughness values slightly to match lighting conditions ensuring the surface maintains its naturally rough and weathered appearance while avoiding overly flat or glossy finishes.
Import the texture maps into Blender with sRGB color space for albedo/base color and Non-Color for normal, roughness, metallic, AO, height, and ORM maps. Connect normal maps through a Normal Map node, then adjust UV scale with a Mapping node so the material repeats naturally on your model.
For the full step-by-step setup, see How to Use Seamless Textures in Blender. Browse related material examples in wood, concrete, and metal.
Yes. This texture is designed as a seamless tileable PBR material, so it can repeat across large surfaces without visible borders.
You can download PNG/WEBP versions and use 1K, 2K, 4K and 8K download options when available on the page.
Yes. The download options and engine-mapped ZIP workflow are designed for Blender, Unreal Engine, Unity Standard, URP and HDRP material pipelines.
Yes. The texture is available under the AITextured free commercial license. Review the license page for redistribution and AI-training restrictions.
Build, preview, and export seamless PBR materials. Generate full map sets from a single image, inspect them in a real-time WebGL viewer, and re-package maps for Unreal, Unity, and Blender—directly in your browser.
AI text-to-texture: type a prompt and get a seamless, tileable base image ready for PBR workflows (great starting point for materials).
Create a full PBR set (Normal, Roughness, AO, Metallic, etc.) from a single image. Seamless and tiling-friendly.
Instant WebGL viewer: inspect materials on a sphere, plane, and cube. Check tiling and lighting in real time.
Re-packages maps per engine: Unreal (BaseColor + ORM), Unity (Mask/MetallicSmoothness), Blender (separate channels).
PNG ↔ JPG ↔ SVG: fast convert, SVG rasterize, embed/trace options, quality & background controls.