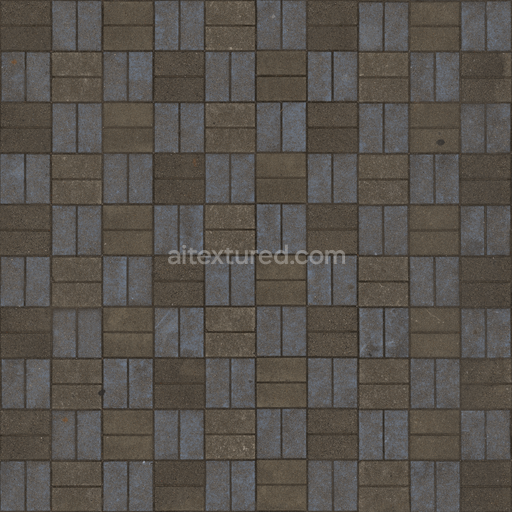
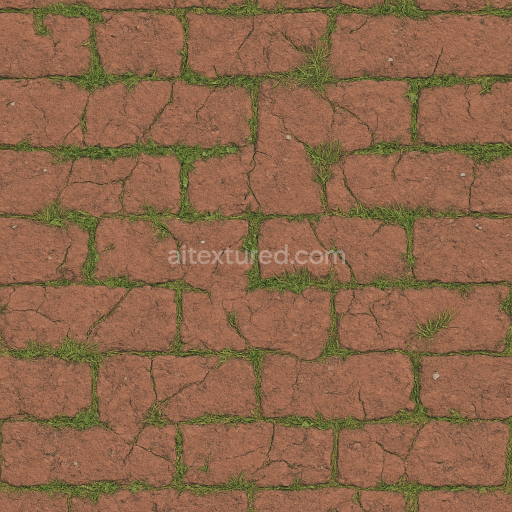
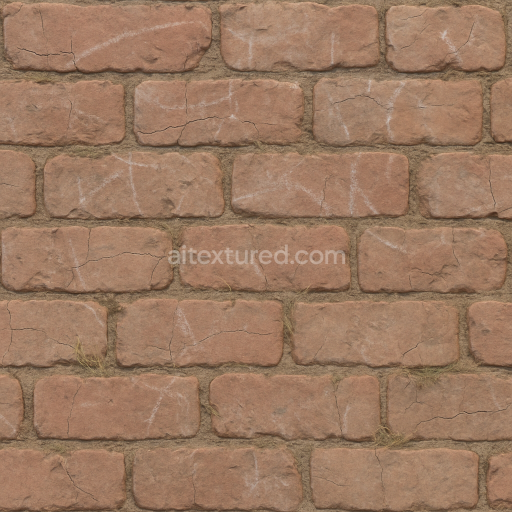
Cityscape Architecture Interlocking - Pavers Cityscape Architecture Footpath Pavement Sid…
Seamless texture (tileable) · PNG, WEBP, PBR ZIP. License: AITextured Free Commercial License (FCL) v1.1. Free personal and commercial use. Raw resale, standalone redistribution, mirroring/scraping, competing asset packs, and AI/ML training are not allowed without written permission. Attribution is not required, but appreciated..

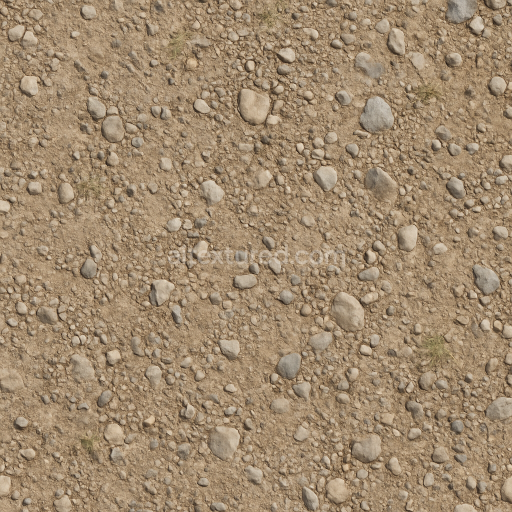
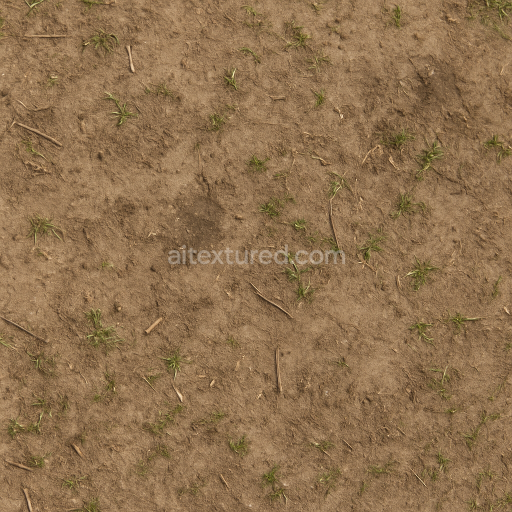
| ID | seamless-3d-texture-pbr-8k-gravel-compacted-with-pebble-embedded-and-dry-surface-rough-wear |
|---|---|
| Category | Park pavement |
| Formats | PNG, WEBP, PBR ZIP |
| Size | 1k (1024x1024px), 2k (2048x2048px), 4k (4096x4096px), 8k (8192x8192px) |
| Color | sRGB |
| Tileable | Yes |
This seamless 3D texture presents a highly detailed depiction of compacted gravel pavement expertly crafted at an impressive 8K resolution to ensure exceptional clarity and realism. The material composition reflects a natural base substrate of mineral aggregates tightly bound together by fine silicate-based binders forming a dense yet porous surface. Embedded pebbles of varying sizes and mineral compositions populate the texture creating micro-variation and enhancing the overall complexity. The dry surface finish reveals intricate rough wear patterns subtle cracks and weathered stone edges that contribute to a convincingly natural and aged appearance. Sporadic patches of fine grass roots occasionally emerge along the edges emphasizing organic growth and natural environmental interaction within the gravel matrix.
From a PBR workflow perspective the BaseColor/Albedo channel captures the earthy tones of weathered stone and compacted mineral dust exhibiting slight color shifts due to embedded pebbles and surface dirt. The Normal map conveys the uneven gravel layout and pebble protrusions accurately simulating surface depth and detail. Roughness values highlight the dry rough texture with variations reflecting worn and smoother areas where compaction is greatest. The Metallic channel remains predominantly non-metallic consistent with natural stone while Ambient Occlusion enhances crevices between stones and pebbles for depth. Height and Displacement maps reproduce the subtle elevation differences across the compacted gravel and pebble surfaces vital for realistic parallax effects in real-time engines.
This texture is optimized for seamless tiling making it ideal for expansive ground surfaces in 3D park models outdoor scenes or architectural visualizations. Its high-resolution 8K detail supports close-up inspection without pixelation ensuring fidelity in Blender Unreal Engine and Unity projects. For best results it is recommended to adjust the UV scale to maintain realistic pebble sizing relative to the scene and to fine-tune roughness values to match specific moisture or wear conditions. This compacted gravel seamless PBR texture offers a versatile and naturalistic solution for artists seeking to add authentic dry surface rough wear and pebble-embedded detail to their 3D environments.
Import the texture maps into Blender with sRGB color space for albedo/base color and Non-Color for normal, roughness, metallic, AO, height, and ORM maps. Connect normal maps through a Normal Map node, then adjust UV scale with a Mapping node so the material repeats naturally on your model.
For the full step-by-step setup, see How to Use Seamless Textures in Blender. Browse related material examples in wood, concrete, and metal.
Yes. This texture is designed as a seamless tileable PBR material, so it can repeat across large surfaces without visible borders.
You can download PNG/WEBP versions and use 1K, 2K, 4K and 8K download options when available on the page.
Yes. The download options and engine-mapped ZIP workflow are designed for Blender, Unreal Engine, Unity Standard, URP and HDRP material pipelines.
Yes. The texture is available under the AITextured free commercial license. Review the license page for redistribution and AI-training restrictions.
Build, preview, and export seamless PBR materials. Generate full map sets from a single image, inspect them in a real-time WebGL viewer, and re-package maps for Unreal, Unity, and Blender—directly in your browser.
AI text-to-texture: type a prompt and get a seamless, tileable base image ready for PBR workflows (great starting point for materials).
Create a full PBR set (Normal, Roughness, AO, Metallic, etc.) from a single image. Seamless and tiling-friendly.
Instant WebGL viewer: inspect materials on a sphere, plane, and cube. Check tiling and lighting in real time.
Re-packages maps per engine: Unreal (BaseColor + ORM), Unity (Mask/MetallicSmoothness), Blender (separate channels).
PNG ↔ JPG ↔ SVG: fast convert, SVG rasterize, embed/trace options, quality & background controls.