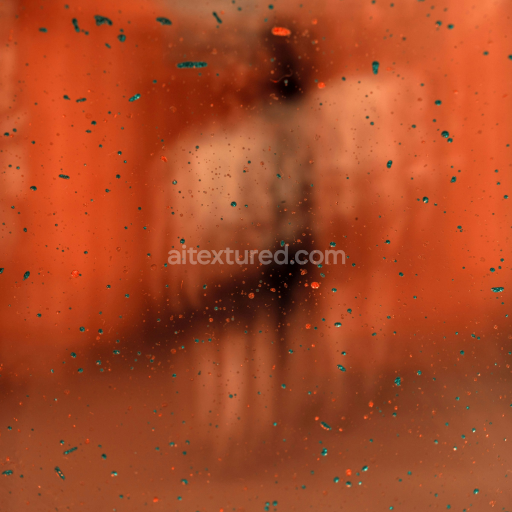
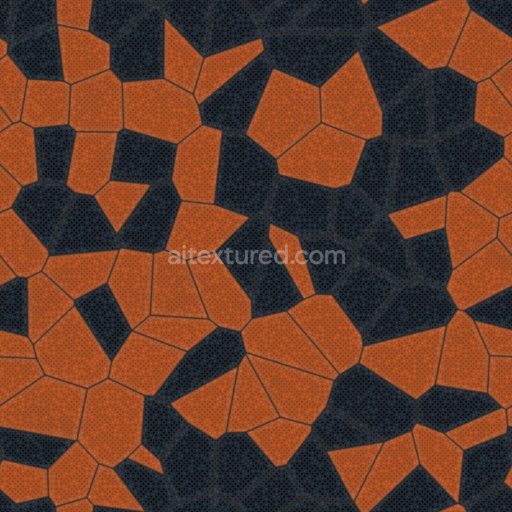
Orange Droplet Plastic PBR Texture with Speckled Pattern
Seamless texture (tileable) · PNG, WEBP, PBR ZIP. License: AITextured Free Commercial License (FCL) v1.1. Free personal and commercial use. Raw resale, standalone redistribution, mirroring/scraping, competing asset packs, and AI/ML training are not allowed without written permission. Attribution is not required, but appreciated..

| ID | acoustical-eggcrate-foam-tiles-free-pbr |
|---|---|
| Category | Plastic |
| Formats | PNG, WEBP, PBR ZIP |
| Size | 1k (1024x1024px), 2k (2048x2048px), 4k (4096x4096px), 8k (8192x8192px) |
| Color | sRGB |
| Tileable | Yes |
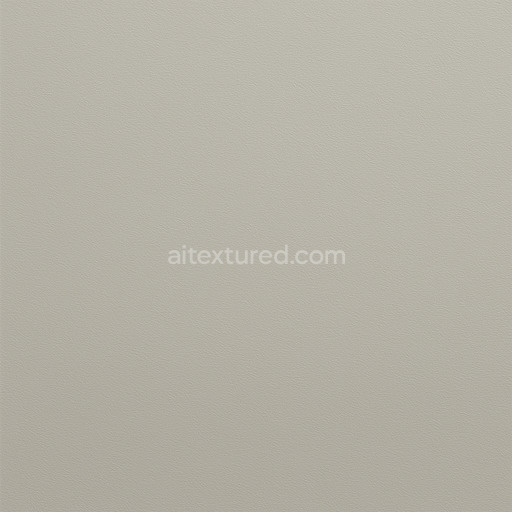
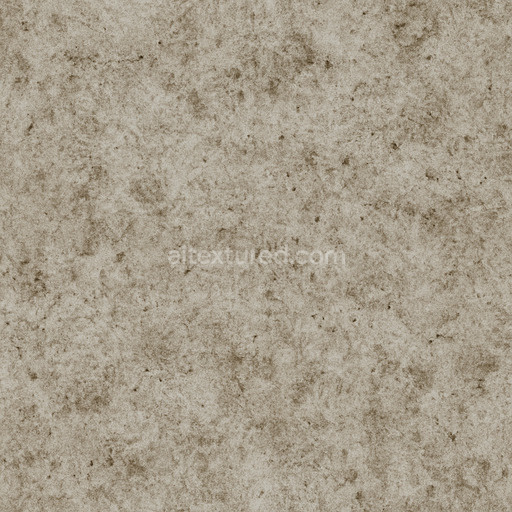
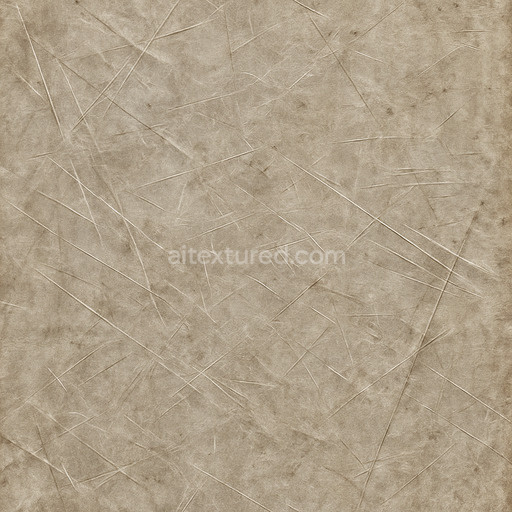
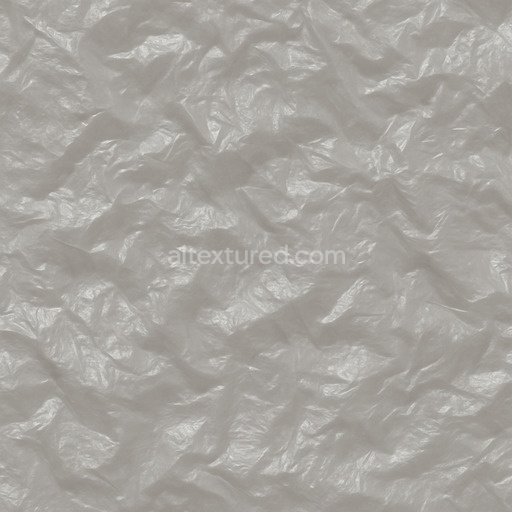
These acoustical eggcrate foam tiles are expertly crafted from a polymer-based foam substrate engineered specifically for superior sound absorption and diffusion. The lightweight, open-cell structure is achieved through a specialized foaming process that creates the distinctive eggcrate pattern, maximizing surface area and porosity to enhance acoustic performance. Flexible polymer binders within the foam matrix allow it to effectively trap and dissipate sound waves, reducing echo and reverberation in various indoor environments. The surface finish features a matte, slightly textured appearance that enhances its non-reflective properties, contributing to realistic shading and subtle tonal variations in digital visualizations. The soft off-white color results from stable pigments that resist fading and discoloration over time, ensuring consistent appearance under diverse lighting conditions and prolonged use.
In physically based rendering (PBR) workflows, the texture channels meticulously capture the material’s unique characteristics. The BaseColor or Albedo channel records the subtle tonal shifts and soft shadows caused by the eggcrate peaks and valleys, while the Normal map defines the intricate three-dimensional relief of the foam’s convoluted surface. The Roughness map reflects the foam’s low-gloss, porous nature, creating diffuse reflections ideal for acoustic panel representation. The Metallic channel remains unused due to the non-metallic polymer composition, whereas the Ambient Occlusion channel enhances depth perception by emphasizing crevices between the ridges. Additionally, the Height or Displacement map provides detailed elevation data that improves realism when paired with parallax occlusion or tessellation techniques, making this texture well-suited for rendering engines such as Blender, Unreal Engine, and Unity. Available at ultra-high 8K resolution, these seamless tiles maintain crisp detail and clarity even in close-up shots or large-scale architectural visualizations.
For best results, carefully scale the UV mapping to preserve the proportional integrity of the eggcrate pattern relative to the surrounding geometry, preventing visual distortion that could detract from immersion. Slightly increasing roughness values can simulate the foam’s subtle surface softness, while utilizing the height map can add convincing tactile depth to the acoustic panel’s appearance. This PBR texture set is ideal for realistic visualizations requiring authentic acoustical materials, such as architectural interiors, game environments, and product renderings where detailed soundproofing elements are essential without compromising visual fidelity or performance.
Import the texture maps into Blender with sRGB color space for albedo/base color and Non-Color for normal, roughness, metallic, AO, height, and ORM maps. Connect normal maps through a Normal Map node, then adjust UV scale with a Mapping node so the material repeats naturally on your model.
For the full step-by-step setup, see How to Use Seamless Textures in Blender. Browse related material examples in wood, concrete, and metal.
Yes. This texture is designed as a seamless tileable PBR material, so it can repeat across large surfaces without visible borders.
You can download PNG/WEBP versions and use 1K, 2K, 4K and 8K download options when available on the page.
Yes. The download options and engine-mapped ZIP workflow are designed for Blender, Unreal Engine, Unity Standard, URP and HDRP material pipelines.
Yes. The texture is available under the AITextured free commercial license. Review the license page for redistribution and AI-training restrictions.

Build, preview, and export seamless PBR materials. Generate full map sets from a single image, inspect them in a real-time WebGL viewer, and re-package maps for Unreal, Unity, and Blender—directly in your browser.
AI text-to-texture: type a prompt and get a seamless, tileable base image ready for PBR workflows (great starting point for materials).
Create a full PBR set (Normal, Roughness, AO, Metallic, etc.) from a single image. Seamless and tiling-friendly.
Instant WebGL viewer: inspect materials on a sphere, plane, and cube. Check tiling and lighting in real time.
Re-packages maps per engine: Unreal (BaseColor + ORM), Unity (Mask/MetallicSmoothness), Blender (separate channels).
PNG ↔ JPG ↔ SVG: fast convert, SVG rasterize, embed/trace options, quality & background controls.