
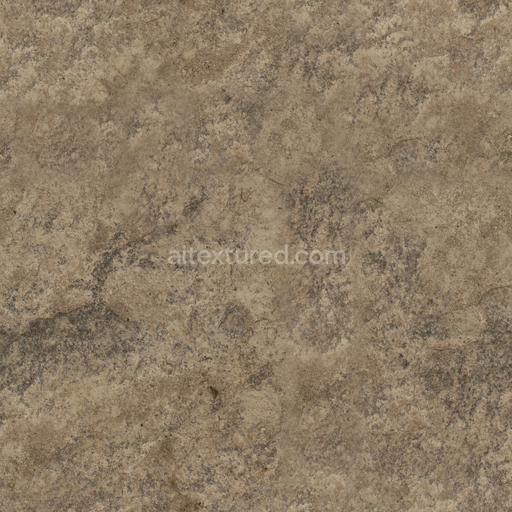
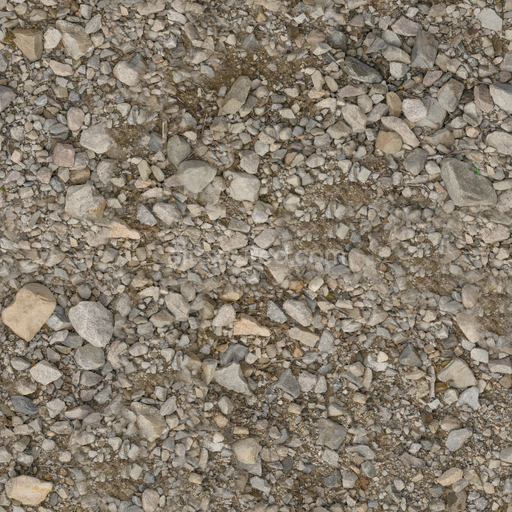
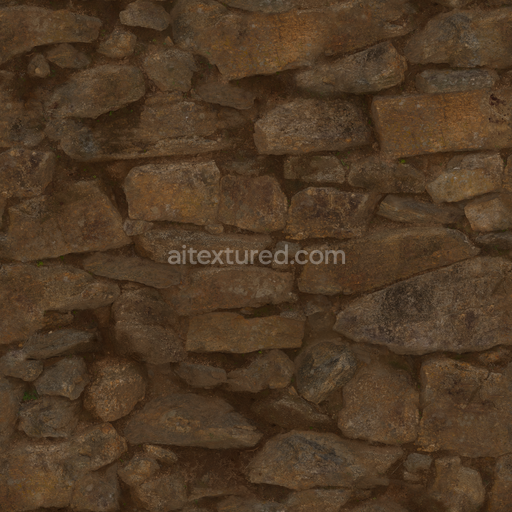
Archviz Marble Polished Rock Stone - Seamless PBR Texture
Seamless texture (tileable) · PNG, WEBP, PBR ZIP. License: AITextured Free Commercial License (FCL) v1.1. Free personal and commercial use. Raw resale, standalone redistribution, mirroring/scraping, competing asset packs, and AI/ML training are not allowed without written permission. Attribution is not required, but appreciated..

| ID | archviz-boulder-rock-rocks-stone-substance-designer-x2 |
|---|---|
| Category | Rock |
| Formats | PNG, WEBP, PBR ZIP |
| Size | 1k (1024x1024px), 2k (2048x2048px), 4k (4096x4096px), 8k (8192x8192px) |
| Color | sRGB |
| Tileable | Yes |
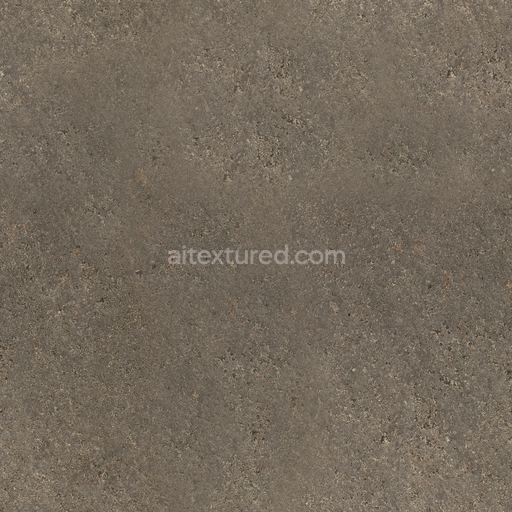
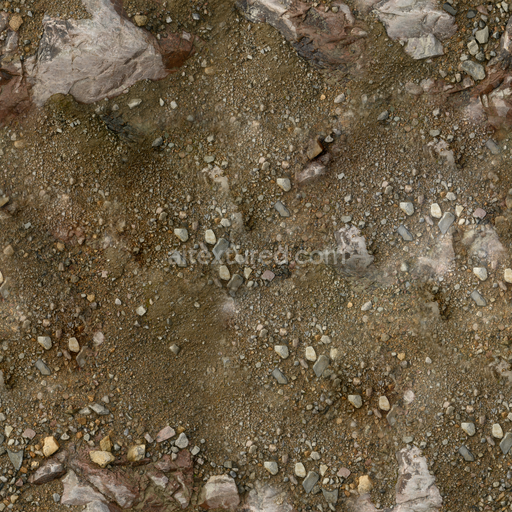
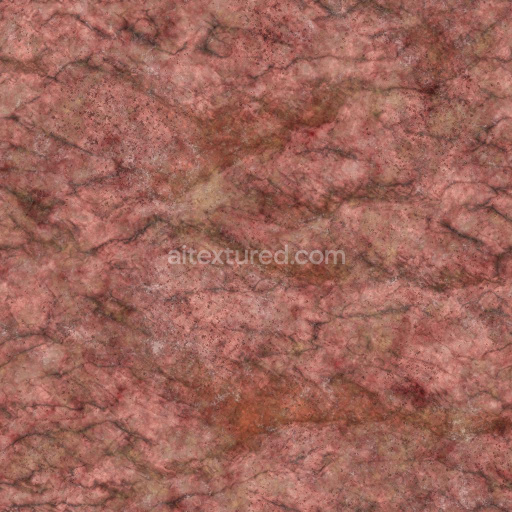
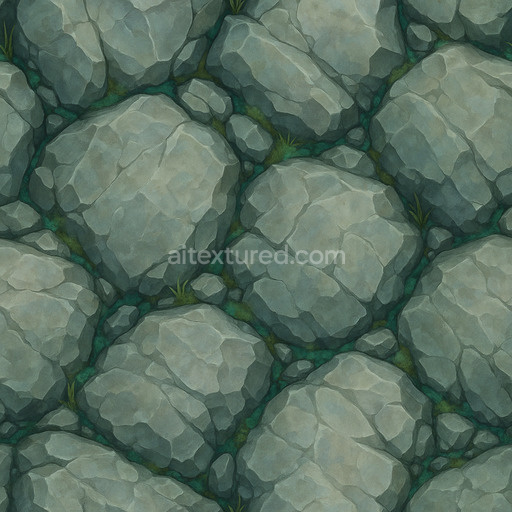
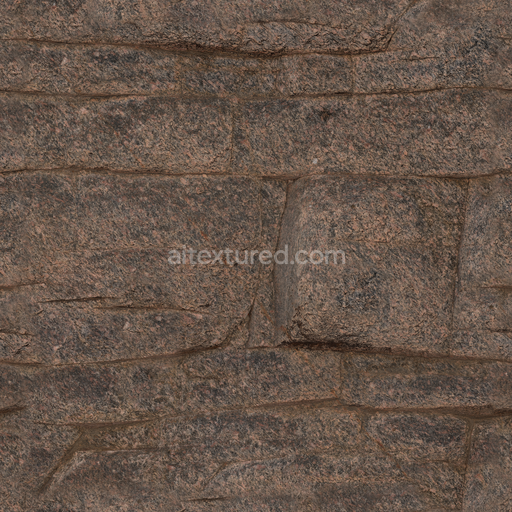
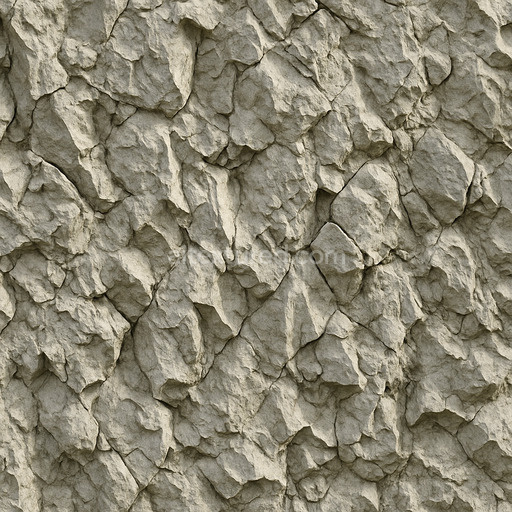
This Archviz Boulder Rock Rocks Stone Substance Designer seamless PBR texture offers an exceptionally detailed and physically accurate representation of natural stone boulders carefully crafted to satisfy the stringent demands of high-fidelity architectural visualization and real-time rendering applications. The base substrate is inspired by rugged mineral formations characterized by a granular and coarse composition typical of weathered rock surfaces. Fine aggregates and subtle porosity are evident throughout the material reflecting natural erosion and environmental exposure that create a tactile lifelike impression. The surface finish presents a predominantly matte appearance with lightly roughened patches simulating the distinctive weathering patterns found on real boulders. Coloration is derived from mineral pigments and iron oxide layers embedded within the stone matrix producing consistent yet dynamic hues that capture the subtle natural variations seen in diverse archviz game and virtual environments.
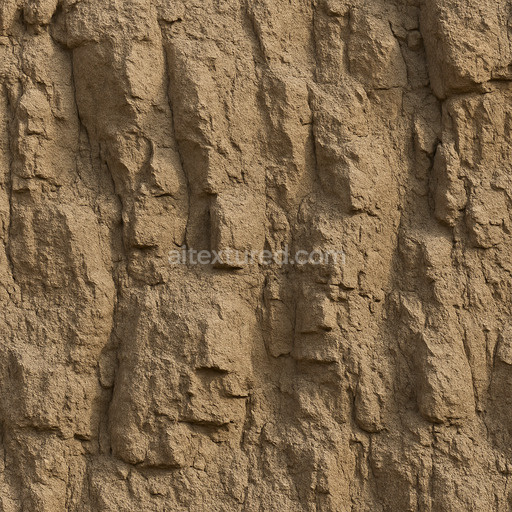
The texture’s material composition is meticulously translated across all PBR channels to maximize realism and seamless integration. The BaseColor (Albedo) channel accurately renders the stone’s natural color shifts caused by mineral deposits and oxidation offering a rich palette of earthy tones. The Normal map introduces intricate details such as micro-cracks grain orientation and fine surface irregularities enhancing depth perception without increasing geometric complexity. Roughness is carefully calibrated to convey the semi-rough weathered quality of boulder surfaces balancing light diffusion and gentle specular reflections while the Metallic channel remains at zero to reflect the non-metallic nature of natural stone. Ambient Occlusion adds subtle shading in recessed areas and crevices increasing visual depth and dimensionality. The Height/Displacement map supports advanced parallax or tessellation effects enabling enhanced surface realism in engines like Blender Unreal Engine and Unity.
This seamless PBR texture supports ultra-high resolutions up to 8K ensuring fine details remain crisp and visually compelling even on large-scale surfaces or close camera inspections. Its robust design makes it highly suitable for architectural visualization (archviz) game development and various real-time rendering workflows delivering consistent and realistic results across both offline renderers and interactive platforms. For best results it is advisable to carefully adjust the UV scale to avoid visible repetition artifacts and consider slightly increasing roughness values under bright lighting conditions to preserve the natural stone’s appearance. This texture’s comprehensive channel set and detailed material composition make it an excellent choice for anyone aiming to authentically simulate the complex look and feel of natural boulder rock surfaces in digital environments.
Import the texture maps into Blender with sRGB color space for albedo/base color and Non-Color for normal, roughness, metallic, AO, height, and ORM maps. Connect normal maps through a Normal Map node, then adjust UV scale with a Mapping node so the material repeats naturally on your model.
For the full step-by-step setup, see How to Use Seamless Textures in Blender. Browse related material examples in wood, concrete, and metal.
Yes. This texture is designed as a seamless tileable PBR material, so it can repeat across large surfaces without visible borders.
You can download PNG/WEBP versions and use 1K, 2K, 4K and 8K download options when available on the page.
Yes. The download options and engine-mapped ZIP workflow are designed for Blender, Unreal Engine, Unity Standard, URP and HDRP material pipelines.
Yes. The texture is available under the AITextured free commercial license. Review the license page for redistribution and AI-training restrictions.
Build, preview, and export seamless PBR materials. Generate full map sets from a single image, inspect them in a real-time WebGL viewer, and re-package maps for Unreal, Unity, and Blender—directly in your browser.
AI text-to-texture: type a prompt and get a seamless, tileable base image ready for PBR workflows (great starting point for materials).
Create a full PBR set (Normal, Roughness, AO, Metallic, etc.) from a single image. Seamless and tiling-friendly.
Instant WebGL viewer: inspect materials on a sphere, plane, and cube. Check tiling and lighting in real time.
Re-packages maps per engine: Unreal (BaseColor + ORM), Unity (Mask/MetallicSmoothness), Blender (separate channels).
PNG ↔ JPG ↔ SVG: fast convert, SVG rasterize, embed/trace options, quality & background controls.