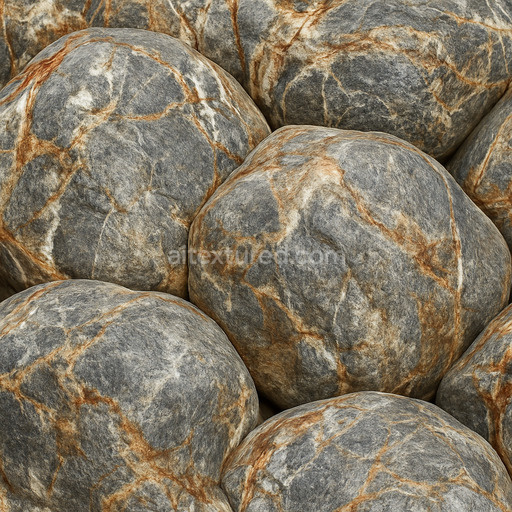
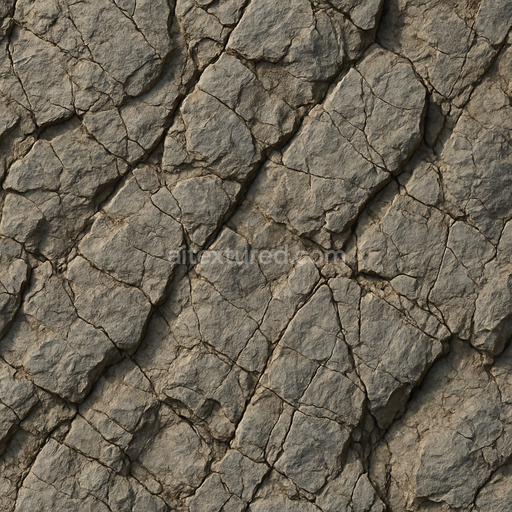
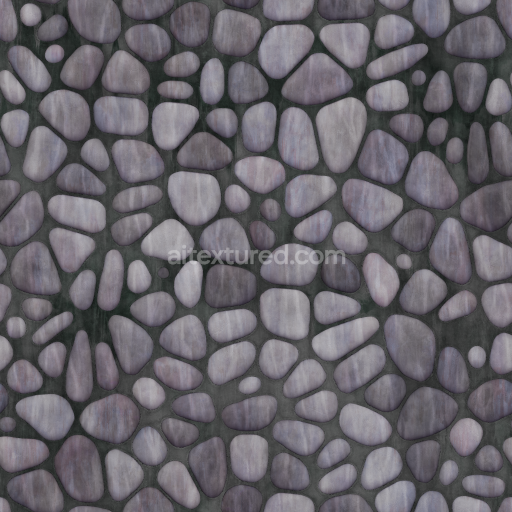
Wall Uneven Rocks
Seamless texture (tileable) · PNG, WEBP, PBR ZIP. License: AITextured Free Commercial License (FCL) v1.1. Free personal and commercial use. Raw resale, standalone redistribution, mirroring/scraping, competing asset packs, and AI/ML training are not allowed without written permission. Attribution is not required, but appreciated..

| ID | archviz-canyon-cliff-layered-layers-rock-rocks |
|---|---|
| Category | Rock |
| Formats | PNG, WEBP, PBR ZIP |
| Size | 1k (1024x1024px), 2k (2048x2048px), 4k (4096x4096px), 8k (8192x8192px) |
| Color | sRGB |
| Tileable | Yes |
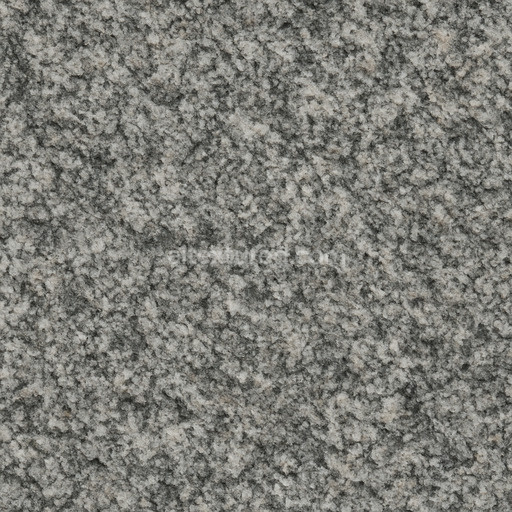
This seamless PBR texture authentically represents the intricate and natural composition of canyon cliff rock layers highlighting the distinctive sedimentary strata formed over millennia. The base substrate is composed of mineral-rich sediments compacted tightly into solid stone showcasing a harmonious blend of earthy tones interspersed with oxide pigments that emphasize subtle color transitions between the layered rock formations. Fine grain orientations and natural weathering effects evoke the porous rugged nature typical of sedimentary cliffs while fissures and micro-aggregates add complexity to the surface structure. The finish is matte and slightly coarse reflecting the characteristic weathered appearance of canyon cliffs and enhancing tactile realism essential for architectural visualization (archviz) and environmental design projects.
Designed with high-resolution detail at up to 8K this texture set is optimized for seamless tiling and supports demanding rendering workflows across various platforms such as Blender Unreal Engine and Unity. The BaseColor (Albedo) map accurately reproduces the natural mineral deposits and color variations of the canyon stone without baked-in lighting ensuring versatility under different lighting environments. The Normal map brings out the layered rock’s microstructure and fissures providing depth and surface unevenness while the Roughness map controls the matte non-metallic finish typical of weathered sedimentary rock. The Metallic channel remains minimal consistent with the non-metallic nature of these natural rock layers. Ambient Occlusion maps deepen shadows within crevices and sediment layers and Height/Displacement maps enable realistic parallax and displacement effects emphasizing the pronounced stratified relief characteristic of canyon cliffs.
Key material attributes such as the mineral-rich base substrate fine sediment grains and oxide pigments manifest clearly across the PBR channels contributing to a realistic and natural stone appearance. For best results adjusting the UV scale helps maintain proportional representation of the layered sediments and prevents distortion of the delicate stratifications. Additionally fine-tuning roughness values can balance visual realism with rendering performance adapting the material’s response to various lighting models. This texture is an excellent resource for substance designers and archviz professionals seeking to recreate authentic canyon rock environments with layered strata and subtle weathering effects ensuring consistent and lifelike visual outcomes across diverse real-time and offline rendering platforms.
Import the texture maps into Blender with sRGB color space for albedo/base color and Non-Color for normal, roughness, metallic, AO, height, and ORM maps. Connect normal maps through a Normal Map node, then adjust UV scale with a Mapping node so the material repeats naturally on your model.
For the full step-by-step setup, see How to Use Seamless Textures in Blender. Browse related material examples in wood, concrete, and metal.
Yes. This texture is designed as a seamless tileable PBR material, so it can repeat across large surfaces without visible borders.
You can download PNG/WEBP versions and use 1K, 2K, 4K and 8K download options when available on the page.
Yes. The download options and engine-mapped ZIP workflow are designed for Blender, Unreal Engine, Unity Standard, URP and HDRP material pipelines.
Yes. The texture is available under the AITextured free commercial license. Review the license page for redistribution and AI-training restrictions.


Generate, preview, and export seamless PBR materials for Blender, Unity, and Unreal Engine—directly in your browser.
AI text-to-texture: type a prompt and get a seamless, tileable base image ready for PBR workflows (great starting point for materials).
Create a full PBR set (Normal, Roughness, AO, Metallic, etc.) from a single image. Seamless and tiling-friendly.
Instant WebGL viewer: inspect materials on a sphere, plane, and cube. Check tiling and lighting in real time.
Re-packages maps per engine: Unreal (BaseColor + ORM), Unity (Mask/MetallicSmoothness), Blender (separate channels).
PNG ↔ JPG ↔ SVG: fast convert, SVG rasterize, embed/trace options, quality & background controls.