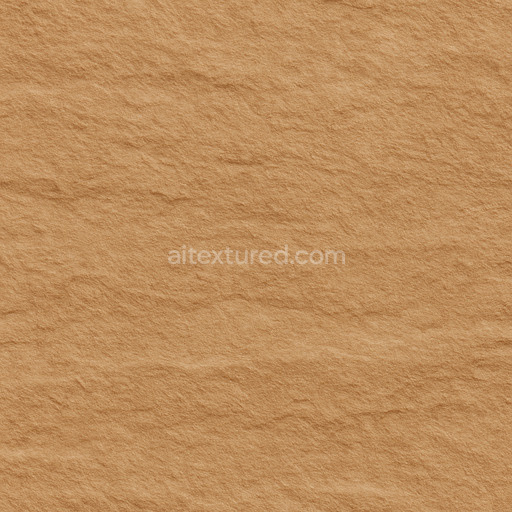
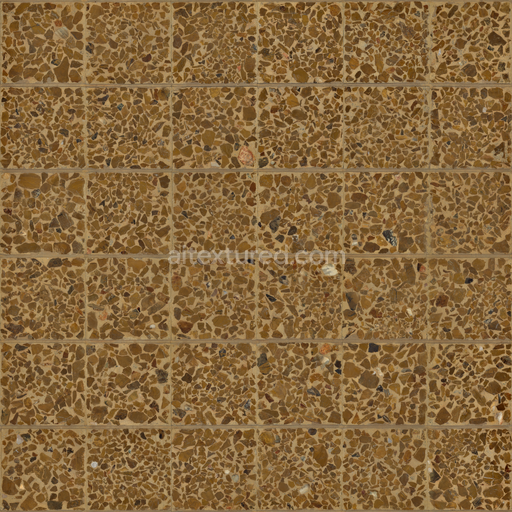
Photorealistic Sandstone Seamless Texture
Seamless texture (tileable) · PNG, WEBP, PBR ZIP. License: AITextured Free Commercial License (FCL) v1.1. Free personal and commercial use. Raw resale, standalone redistribution, mirroring/scraping, competing asset packs, and AI/ML training are not allowed without written permission. Attribution is not required, but appreciated..

| ID | rough-rock-seamless-texture |
|---|---|
| Category | Rock |
| Formats | PNG, WEBP, PBR ZIP |
| Size | 1k (1024x1024px), 2k (2048x2048px), 4k (4096x4096px), 8k (8192x8192px) |
| Color | sRGB |
| Tileable | Yes |
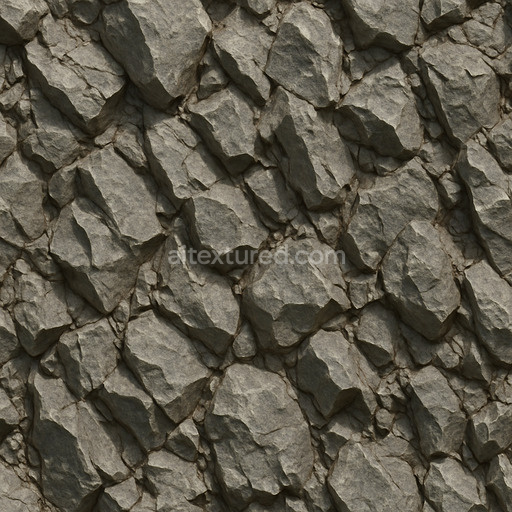
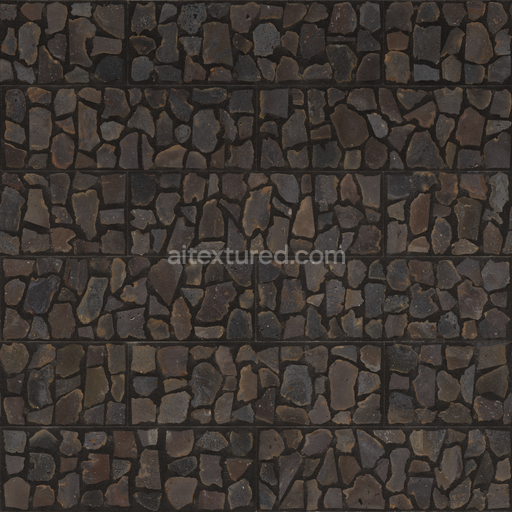
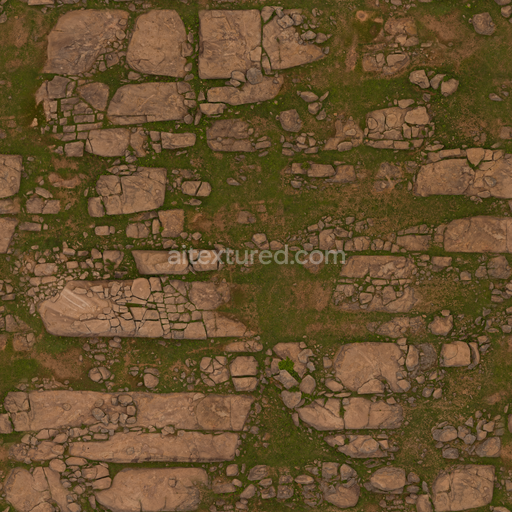
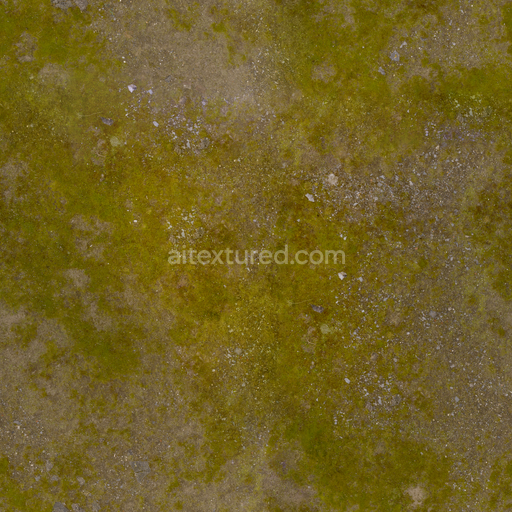
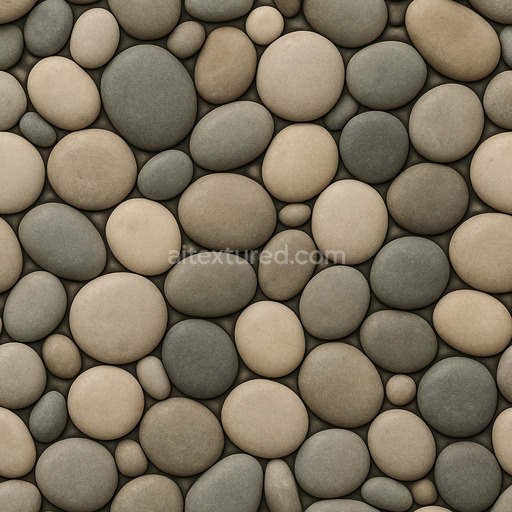
The Rough Rock Seamless Texture is a meticulously crafted generated texture designed to replicate the natural complexity and ruggedness of rough rock surfaces. This texture simulates a mineral-rich substrate composed primarily of coarse-grained silicate minerals interspersed with subtle iron oxide pigments giving it an authentic earthy color palette. The surface finish reflects the weathered uneven character typical of exposed rock faces complete with natural porosity and micro-fractures caused by erosion and environmental exposure. Fine aggregates and grain orientation are subtly captured to convey depth while the absence of metallic elements ensures a naturally matte appearance. The binders in this simulated material appear as fine mineral cements that hold the granules together enhancing cohesion without glossiness or metallic reflections.
In physically based rendering (PBR) workflows this rough rock seamless texture excels by providing detailed high-resolution maps that align perfectly with the material’s physical characteristics. The BaseColor/Albedo channel presents a nuanced blend of grays browns and muted reds reflecting iron oxide and mineral deposits. The Normal map encodes the intricate surface relief emphasizing crevices grain direction and roughness variations crucial for realistic light interaction. The Roughness map is calibrated to simulate a coarse matte finish with subtle variations that avoid repetitive patterns while the Metallic channel remains near zero to maintain a purely non-metallic stone appearance. Ambient Occlusion enhances shadowing in crevices and pores adding depth and realism and the Height/Displacement map captures fine topographical detail enabling convincing parallax or tessellation effects in real-time engines.
With resolutions up to a stunning 8K this tileable rough rock seamless texture is optimized for use in modern pipelines ensuring clarity and cohesion even on large UV islands. It is fully compatible out-of-the-box with Blender Unreal Engine and Unity supporting fast iteration loops for both real-time scenes and cinematic renders. This texture is ideal for level dressing material studies and environment creation where realistic rock surfaces are essential. For best results consider adjusting the UV scale to maintain the natural grain size relative to your scene and combine the Roughness with a subtle ambient occlusion pass to enhance surface breakup without introducing oversharpening artifacts. The stability and anti-repetitive tuning of this asset make it a reliable foundation for diverse rock texture needs in both personal and commercial projects.
The PBR texture rough rock seamless texture offers a highly detailed rough rock seamless texture with realistic rock textures that enhance the 3D preview for accurate material representation.
Import the texture maps into Blender with sRGB color space for albedo/base color and Non-Color for normal, roughness, metallic, AO, height, and ORM maps. Connect normal maps through a Normal Map node, then adjust UV scale with a Mapping node so the material repeats naturally on your model.
For the full step-by-step setup, see How to Use Seamless Textures in Blender. Browse related material examples in wood, concrete, and metal.
Yes. This texture is designed as a seamless tileable PBR material, so it can repeat across large surfaces without visible borders.
You can download PNG/WEBP versions and use 1K, 2K, 4K and 8K download options when available on the page.
Yes. The download options and engine-mapped ZIP workflow are designed for Blender, Unreal Engine, Unity Standard, URP and HDRP material pipelines.
Yes. The texture is available under the AITextured free commercial license. Review the license page for redistribution and AI-training restrictions.


Generate, preview, and export seamless PBR materials for Blender, Unity, and Unreal Engine—directly in your browser.
AI text-to-texture: type a prompt and get a seamless, tileable base image ready for PBR workflows (great starting point for materials).
Create a full PBR set (Normal, Roughness, AO, Metallic, etc.) from a single image. Seamless and tiling-friendly.
Instant WebGL viewer: inspect materials on a sphere, plane, and cube. Check tiling and lighting in real time.
Re-packages maps per engine: Unreal (BaseColor + ORM), Unity (Mask/MetallicSmoothness), Blender (separate channels).
PNG ↔ JPG ↔ SVG: fast convert, SVG rasterize, embed/trace options, quality & background controls.