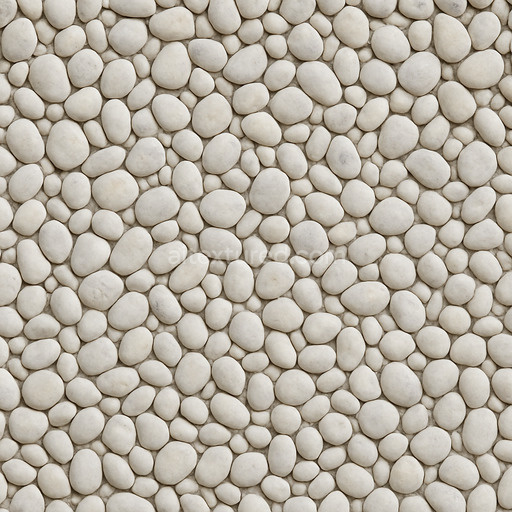
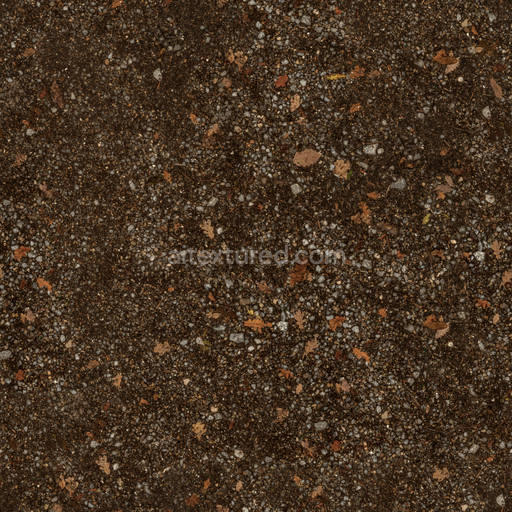
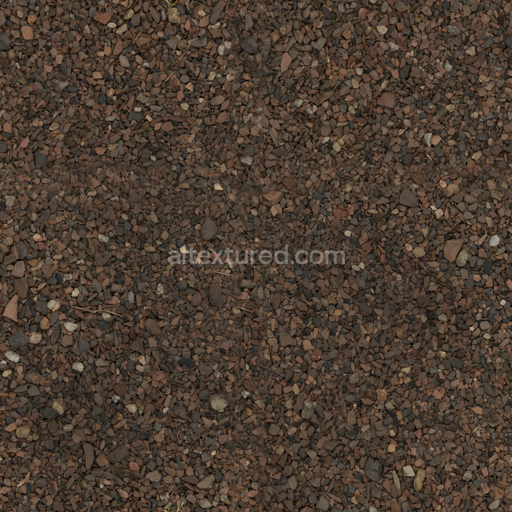
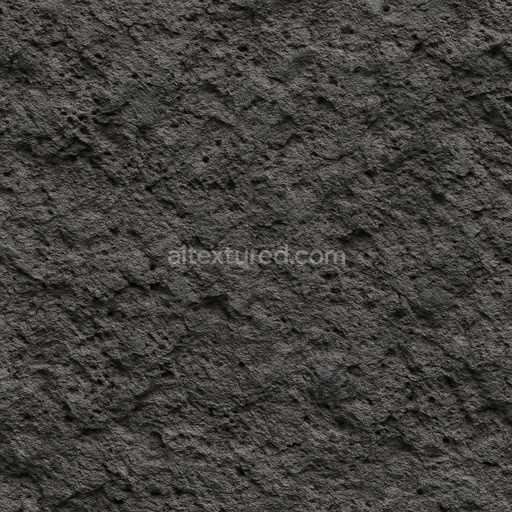
Light Pebble Seamless Texture
Seamless texture (tileable) · PNG, WEBP, PBR ZIP. License: AITextured Free Commercial License (FCL) v1.1. Free personal and commercial use. Raw resale, standalone redistribution, mirroring/scraping, competing asset packs, and AI/ML training are not allowed without written permission. Attribution is not required, but appreciated..

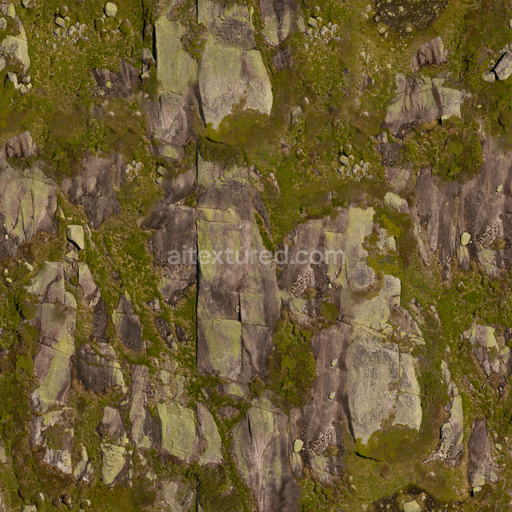
| ID | glowing-rock-seamless-texture |
|---|---|
| Category | Rock |
| Formats | PNG, WEBP, PBR ZIP |
| Size | 1k (1024x1024px), 2k (2048x2048px), 4k (4096x4096px), 8k (8192x8192px) |
| Color | sRGB |
| Tileable | Yes |
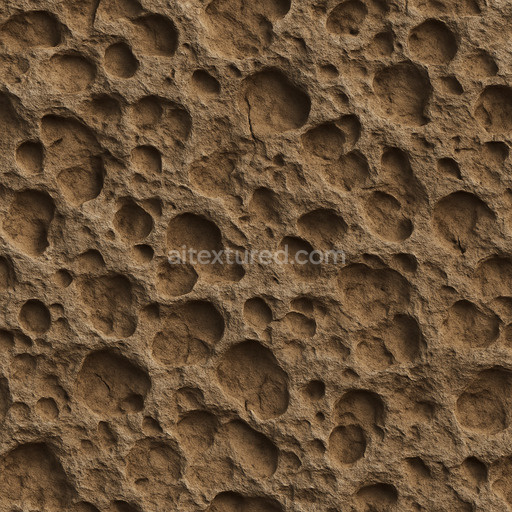
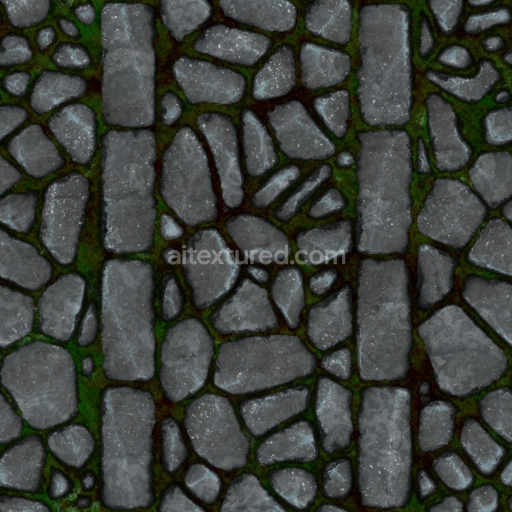
The Glowing Rock Seamless Texture is a generated tileable glowing rock seamless texture crafted to enhance your 3D workflows with exceptional clarity and cohesion even on large UV islands. This texture simulates a natural mineral substrate enriched with subtle luminescent inclusions creating a visually striking rock surface that blends organic roughness with an otherworldly glow. The base material appears as a dense fine-grained stone with moderate porosity where microscopic fractures and veins are filled with glowing mineral deposits. The surface finish combines a slightly weathered matte with polished highlights around protruding edges suggesting a partially eroded yet vibrant rock face. Pigments and oxide layers contribute to the glowing effect by introducing warm amber-toned luminescence that softly radiates beneath the stone’s surface enhancing the realism and depth of the material.
In physically based rendering (PBR) channels this glowing rock seamless texture excels by offering high-resolution details up to 8K that maintain sharpness and stability across all maps. The BaseColor/Albedo channel accurately captures the natural color variations and glowing pigments while the Normal map defines intricate surface relief with fine grain orientation and subtle weathering effects ensuring realistic shading and light interaction. The Roughness channel balances matte and polished areas to simulate natural wear and moisture retention whereas the Metallic map remains minimal reflecting the predominantly non-metallic nature of the rock. Ambient Occlusion enhances crevices and surface depth improving shadowing in tight spaces and the Height/Displacement map provides precise elevation data to enable convincing parallax and tessellation effects making the glowing veins and rock textures pop in your scenes.
Designed for modern pipelines this seamless glowing rock seamless texture integrates effortlessly into Blender Unreal Engine and Unity projects accelerating iteration loops with out-of-the-box compatibility and optimized performance. Its seamless tiling feature allows for expansive environment art architectural visualization concept prototyping and quick look development without visible seams or repetitive artifacts that often plague auto-generated textures. For best results adjust the roughness intensity and normal map strength to match your scene’s lighting rig ensuring the glowing elements remain grounded and visually consistent. Additionally scaling UVs thoughtfully can preserve detail on large surfaces making this PBR material glowing rock seamless texture an indispensable asset for realistic high-resolution rock materials in any 3D project.
Import the texture maps into Blender with sRGB color space for albedo/base color and Non-Color for normal, roughness, metallic, AO, height, and ORM maps. Connect normal maps through a Normal Map node, then adjust UV scale with a Mapping node so the material repeats naturally on your model.
For the full step-by-step setup, see How to Use Seamless Textures in Blender. Browse related material examples in wood, concrete, and metal.
Yes. This texture is designed as a seamless tileable PBR material, so it can repeat across large surfaces without visible borders.
You can download PNG/WEBP versions and use 1K, 2K, 4K and 8K download options when available on the page.
Yes. The download options and engine-mapped ZIP workflow are designed for Blender, Unreal Engine, Unity Standard, URP and HDRP material pipelines.
Yes. The texture is available under the AITextured free commercial license. Review the license page for redistribution and AI-training restrictions.


Generate, preview, and export seamless PBR materials for Blender, Unity, and Unreal Engine—directly in your browser.
AI text-to-texture: type a prompt and get a seamless, tileable base image ready for PBR workflows (great starting point for materials).
Create a full PBR set (Normal, Roughness, AO, Metallic, etc.) from a single image. Seamless and tiling-friendly.
Instant WebGL viewer: inspect materials on a sphere, plane, and cube. Check tiling and lighting in real time.
Re-packages maps per engine: Unreal (BaseColor + ORM), Unity (Mask/MetallicSmoothness), Blender (separate channels).
PNG ↔ JPG ↔ SVG: fast convert, SVG rasterize, embed/trace options, quality & background controls.