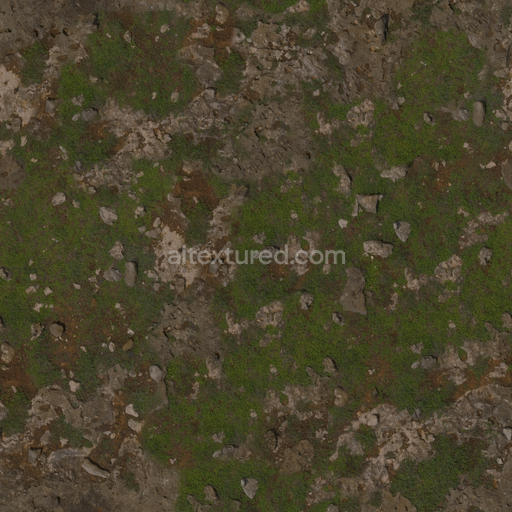
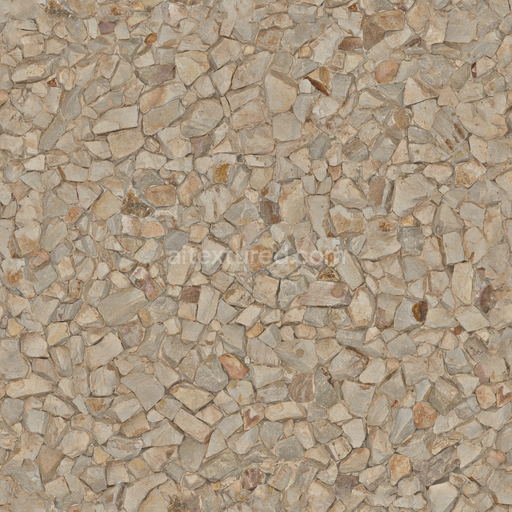
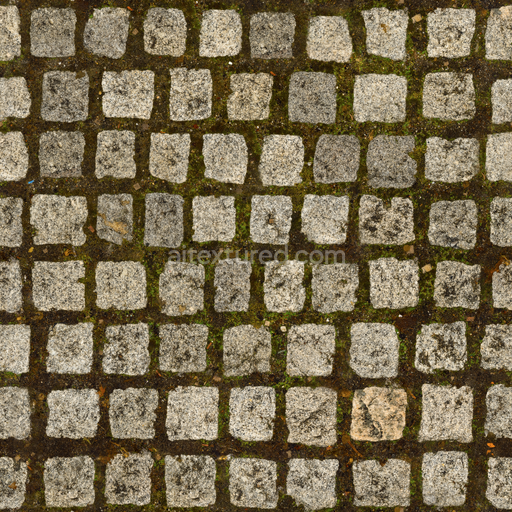
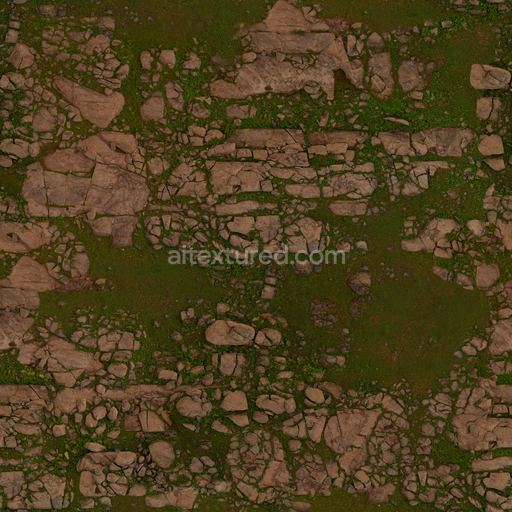
Rock Moss Rough - Moss Rough Uneven Uneven Weathered Stones
Seamless texture (tileable) · PNG, WEBP, PBR ZIP. License: AITextured Free Commercial License (FCL) v1.1. Free personal and commercial use. Raw resale, standalone redistribution, mirroring/scraping, competing asset packs, and AI/ML training are not allowed without written permission. Attribution is not required, but appreciated..

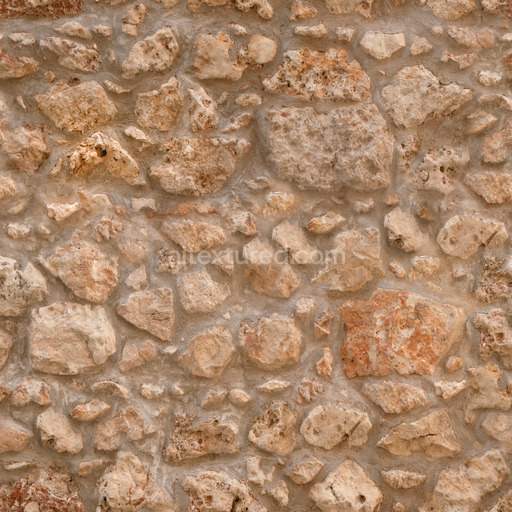
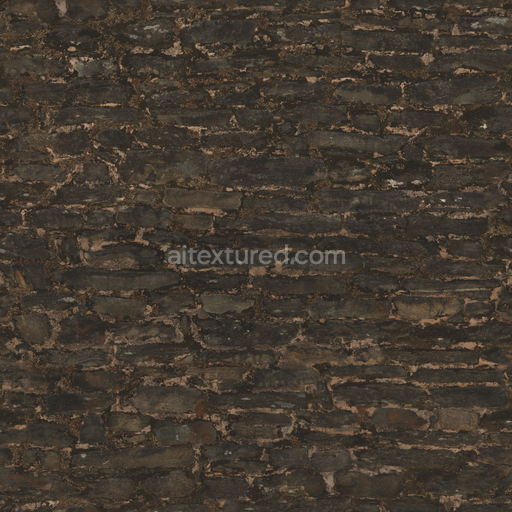
| ID | rock-wall-rough-uneven-wall-chipped-rocks-rock |
|---|---|
| Category | Rock |
| Formats | PNG, WEBP, PBR ZIP |
| Size | 1k (1024x1024px), 2k (2048x2048px), 4k (4096x4096px), 8k (8192x8192px) |
| Color | sRGB |
| Tileable | Yes |
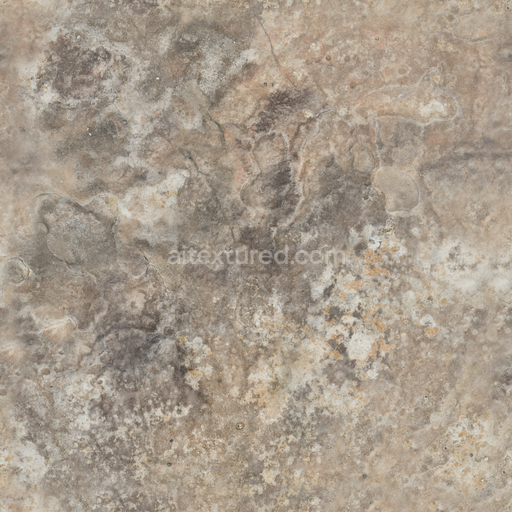
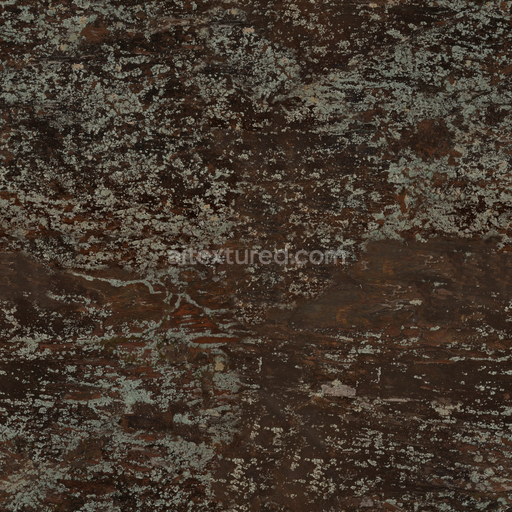
This Rock Wall texture features a highly detailed physically based rendering (PBR) material designed to authentically replicate the natural composition and weathering of outdoor rocky surfaces. The base substrate mimics a rough uneven mineral matrix composed primarily of silicate and quartz-like grains interspersed with smaller aggregates to create a chipped discolored appearance characteristic of weathered stone walls. Porosity is subtly implied through carefully crafted height and ambient occlusion maps enhancing the sense of depth and natural erosion. The surface finish is matte and variably rough reflecting the oxidized and weathered state of an outdoor rock wall exposed to the elements over time. Colorants such as iron oxide layers and subtle mineral staining contribute to the discolored effect faithfully captured in the albedo channel to provide realistic color variation without manual adjustment.
In this seamless 3D texture each PBR channel plays a crucial role in conveying material authenticity across modern pipelines. The albedo (base color) map delivers balanced natural hues suitable for rough and chipped rock surfaces while the normal map accurately simulates micro-surface detail and uneven grain orientation enhancing lighting response in real-time and offline renderers. The roughness map defines areas of varying weathering from smoother worn patches to coarse abrasive stone. Ambient occlusion intensifies shadowing in crevices and chipped regions adding realism without extra geometry. Height maps provide fine displacement data for parallax effects allowing enhanced surface relief in Blender Unreal Engine and Unity. The texture is optimized for use with the metal/rough workflow although metallic values remain minimal or zero consistent with non-metallic rock materials.
Offered in a high-resolution 4K format with an optional 8K upgrade for demanding projects this tileable texture ensures consistent seamless tiling across large surfaces without visible repetition. It supports widely used image formats including PNG for general use and EXR for high dynamic range workflows enabling artists to achieve accurate shading and lighting in diverse digital content creation environments. To maximize realism it is recommended to carefully adjust UV scale based on the target environment particularly for outdoor scenes where natural variation in rock size enhances immersion. Slight tuning of roughness values can further customize the weathered finish ensuring optimal balance between detail and performance across game engines and DCC tools.
Import the texture maps into Blender with sRGB color space for albedo/base color and Non-Color for normal, roughness, metallic, AO, height, and ORM maps. Connect normal maps through a Normal Map node, then adjust UV scale with a Mapping node so the material repeats naturally on your model.
For the full step-by-step setup, see How to Use Seamless Textures in Blender. Browse related material examples in wood, concrete, and metal.
Yes. This texture is designed as a seamless tileable PBR material, so it can repeat across large surfaces without visible borders.
You can download PNG/WEBP versions and use 1K, 2K, 4K and 8K download options when available on the page.
Yes. The download options and engine-mapped ZIP workflow are designed for Blender, Unreal Engine, Unity Standard, URP and HDRP material pipelines.
Yes. The texture is available under the AITextured free commercial license. Review the license page for redistribution and AI-training restrictions.


Generate, preview, and export seamless PBR materials for Blender, Unity, and Unreal Engine—directly in your browser.
AI text-to-texture: type a prompt and get a seamless, tileable base image ready for PBR workflows (great starting point for materials).
Create a full PBR set (Normal, Roughness, AO, Metallic, etc.) from a single image. Seamless and tiling-friendly.
Instant WebGL viewer: inspect materials on a sphere, plane, and cube. Check tiling and lighting in real time.
Re-packages maps per engine: Unreal (BaseColor + ORM), Unity (Mask/MetallicSmoothness), Blender (separate channels).
PNG ↔ JPG ↔ SVG: fast convert, SVG rasterize, embed/trace options, quality & background controls.