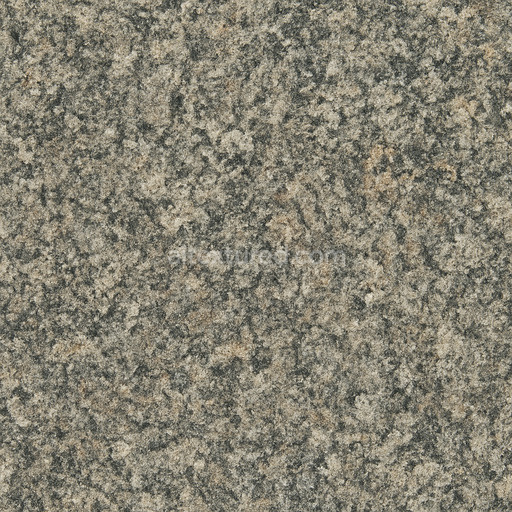
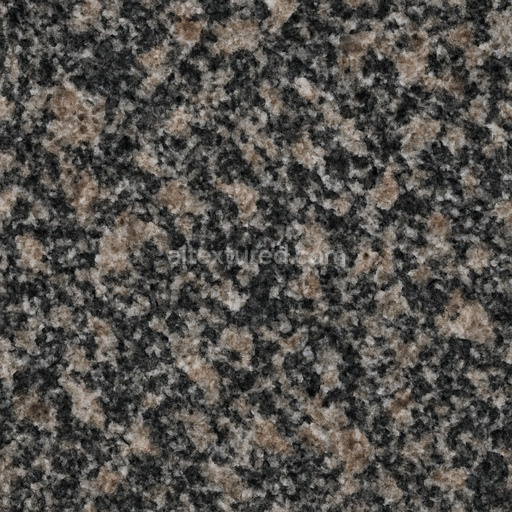
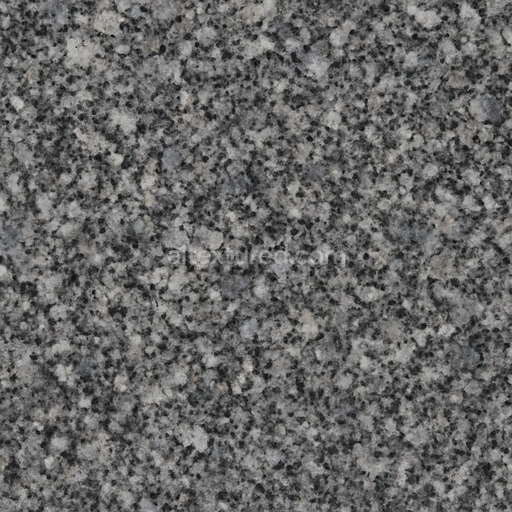
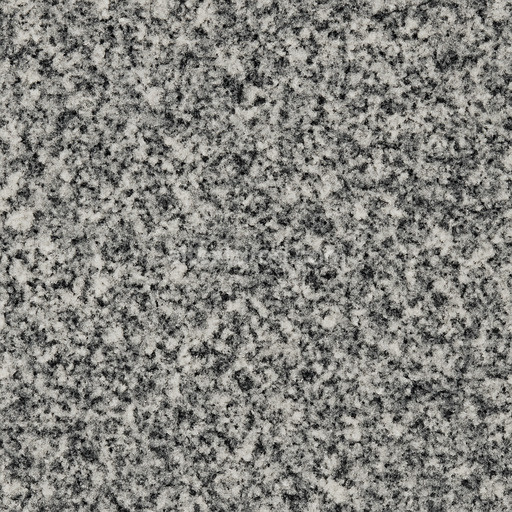
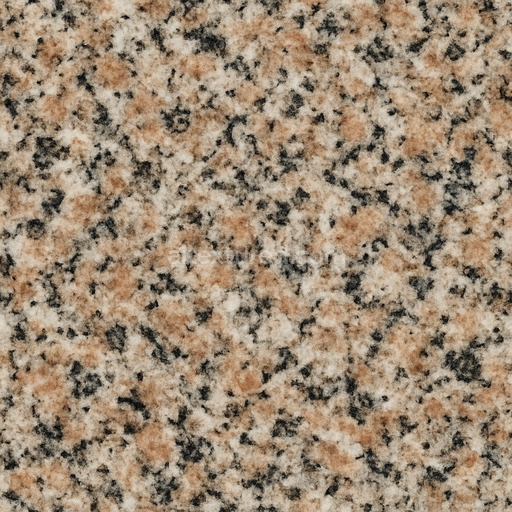
Futuristic Granite Seamless Texture
Seamless texture (tileable) · PNG, WEBP, PBR ZIP. License: AITextured Free Commercial License (FCL) v1.1. Free personal and commercial use. Raw resale, standalone redistribution, mirroring/scraping, competing asset packs, and AI/ML training are not allowed without written permission. Attribution is not required, but appreciated..

| ID | seamless-8k-granite-slab-3d-texture-pbr-with-granite-streaks-and-granite-blotches-for-dynamic-natural-coloration |
|---|---|
| Category | Granite |
| Formats | PNG, WEBP, PBR ZIP |
| Size | 1k (1024x1024px), 2k (2048x2048px), 4k (4096x4096px), 8k (8192x8192px) |
| Color | sRGB |
| Tileable | Yes |
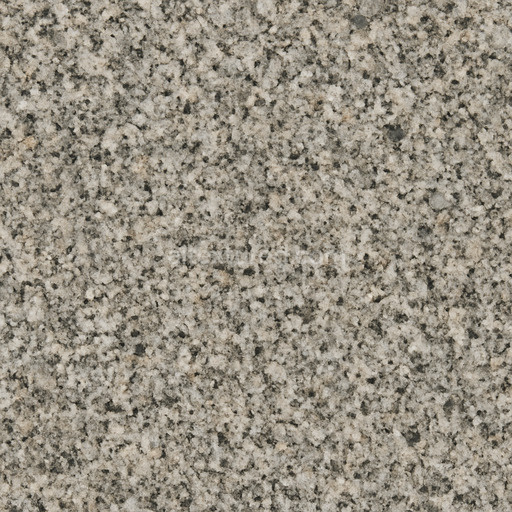
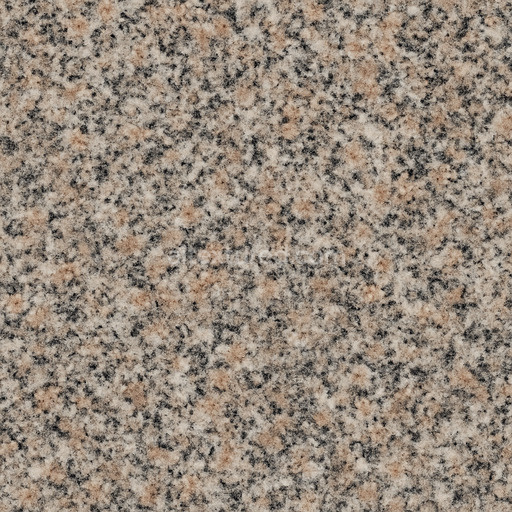
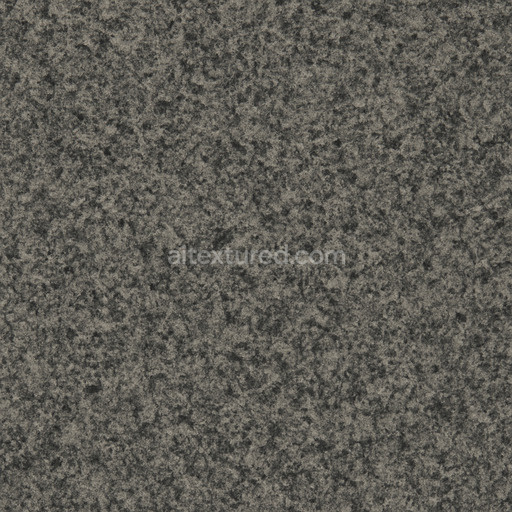
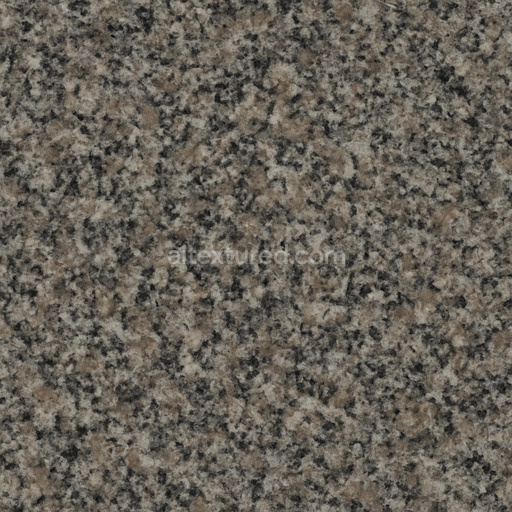
This seamless 8K granite slab 3D texture PBR authentically captures the intricate composition and natural characteristics of granite a durable igneous rock primarily formed from interlocking mineral grains such as quartz feldspar and mica. The texture represents a polished granite slab surface distinguished by its dense crystalline substrate that contributes to its renowned strength and non-porous finish. Natural variations in mineral concentration and crystallization patterns create distinct granite streaks and granite blotches producing dynamic tonal shifts and subtle veins that enhance the material’s realistic and diverse coloration. These complex features are vividly showcased in the BaseColor (Albedo) channel presenting a broad palette from soft grays and deep charcoals to intermittent warm beige and pink hues reflecting the natural mineralogy and nuanced color variations found in authentic granite slabs.
From a materials perspective this texture maps the granite slab’s smooth polished surface through a sophisticated balance of specularity and roughness. The Roughness channel reveals fine surface imperfections and the subtle contrast between glossy and matte areas caused by varying light reflectivity across mineral grains. Normal and Height/Displacement maps emphasize the slab’s granular structure and gentle surface undulations faithfully reproducing the three-dimensional depth of mineral veins and grain boundaries while maintaining flawless seamless tiling. Ambient Occlusion enhances shadowing within crevices and around mineral edges adding depth and realism under diverse lighting conditions. The Metallic channel remains at zero consistent with granite’s naturally non-metallic composition ensuring physically accurate rendering across different platforms.
Rendered at an ultra-high 8K resolution this seamless granite slab 3D texture PBR is optimized for large-scale applications such as countertops wall cladding and flooring where preventing visible repetition or seams is critical for architectural visualization and 3D rendering projects. It is fully compatible and Unreal Blender and Unity ready supporting realistic material shading and dynamic lighting effects in both real-time engines and offline workflows. For optimal results it is advisable to adjust the UV scale carefully to preserve authentic granite grain size and avoid distortion. Additionally fine-tuning the Roughness channel allows customization from highly polished to honed finishes while blending Height and Normal maps can enhance surface relief and parallax effects without introducing artifacts ensuring seamless integration into diverse projects requiring high-fidelity granite slab material representation.
Import the texture maps into Blender with sRGB color space for albedo/base color and Non-Color for normal, roughness, metallic, AO, height, and ORM maps. Connect normal maps through a Normal Map node, then adjust UV scale with a Mapping node so the material repeats naturally on your model.
For the full step-by-step setup, see How to Use Seamless Textures in Blender. Browse related material examples in wood, concrete, and metal.
Yes. This texture is designed as a seamless tileable PBR material, so it can repeat across large surfaces without visible borders.
You can download PNG/WEBP versions and use 1K, 2K, 4K and 8K download options when available on the page.
Yes. The download options and engine-mapped ZIP workflow are designed for Blender, Unreal Engine, Unity Standard, URP and HDRP material pipelines.
Yes. The texture is available under the AITextured free commercial license. Review the license page for redistribution and AI-training restrictions.


Build, preview, and export seamless PBR materials. Generate full map sets from a single image, inspect them in a real-time WebGL viewer, and re-package maps for Unreal, Unity, and Blender—directly in your browser.
AI text-to-texture: type a prompt and get a seamless, tileable base image ready for PBR workflows (great starting point for materials).
Create a full PBR set (Normal, Roughness, AO, Metallic, etc.) from a single image. Seamless and tiling-friendly.
Instant WebGL viewer: inspect materials on a sphere, plane, and cube. Check tiling and lighting in real time.
Re-packages maps per engine: Unreal (BaseColor + ORM), Unity (Mask/MetallicSmoothness), Blender (separate channels).
PNG ↔ JPG ↔ SVG: fast convert, SVG rasterize, embed/trace options, quality & background controls.