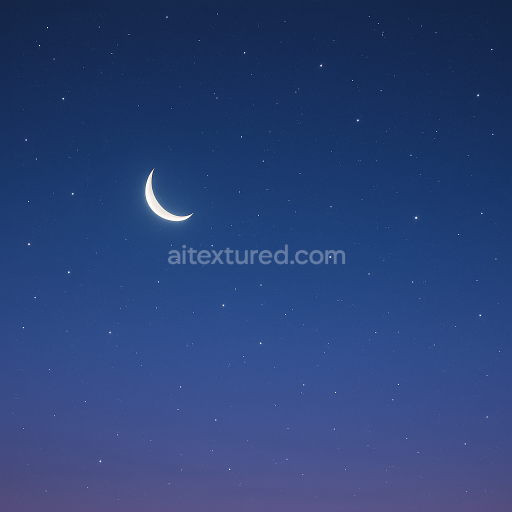
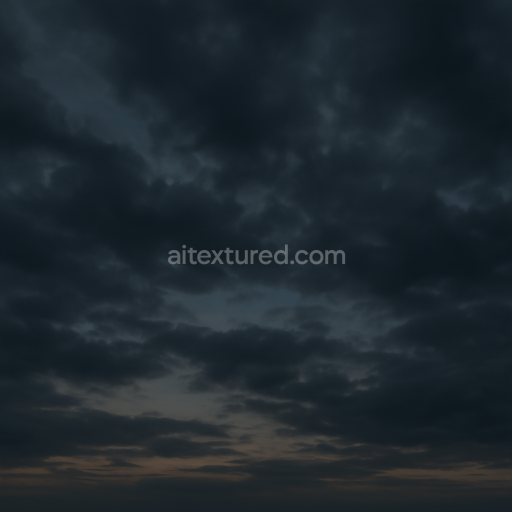
Seamless 8K PBR 3D texture of crescent moon night sky with subtle twilight glow and stars
Seamless texture (tileable) · PNG, WEBP, PBR ZIP. License: AITextured Free Commercial License (FCL) v1.1. Free personal and commercial use. Raw resale, standalone redistribution, mirroring/scraping, competing asset packs, and AI/ML training are not allowed without written permission. Attribution is not required, but appreciated..

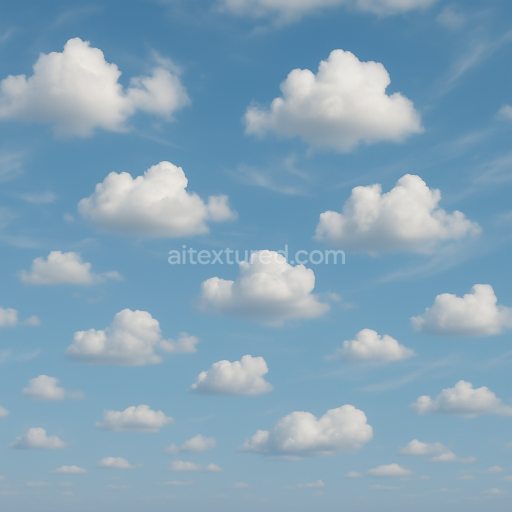
| ID | seamless-8k-pbr-3d-texture-of-foggy-sky-with-hazy-sky-layers-for-atmospheric-environment |
|---|---|
| Category | Sky |
| Formats | PNG, WEBP, PBR ZIP |
| Size | 1k (1024x1024px), 2k (2048x2048px), 4k (4096x4096px), 8k (8192x8192px) |
| Color | sRGB |
| Tileable | Yes |
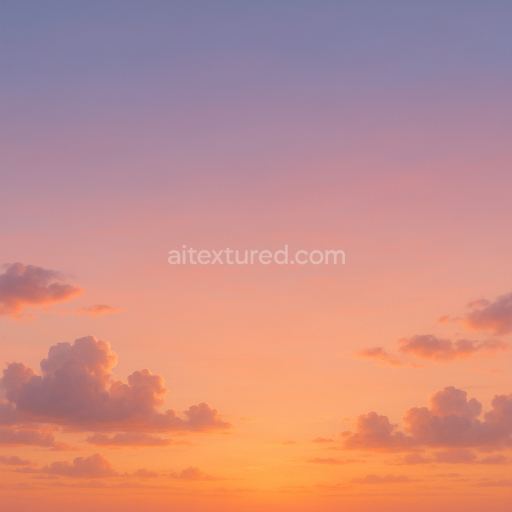
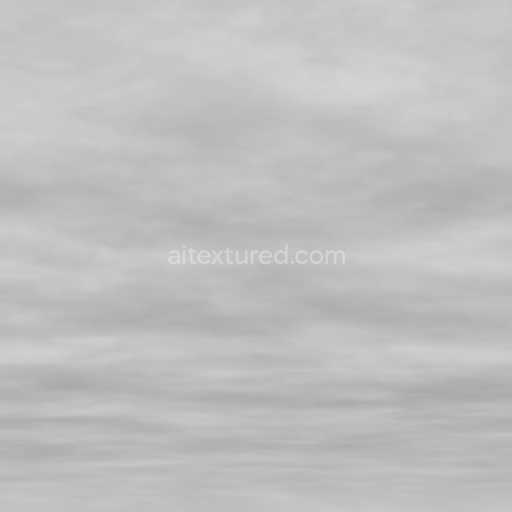
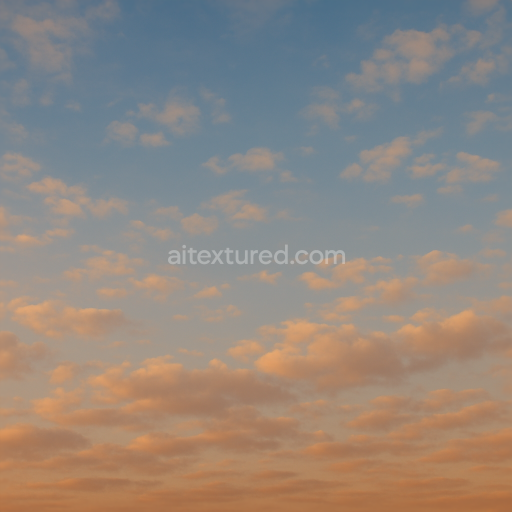
This seamless 8k PBR 3D texture depicts a foggy sky composed of multiple translucent layers that simulate the soft diffusion of light through hazy atmospheric conditions. The base material can be understood as a volumetric air substrate filled with fine particulate matter and moisture droplets creating a delicate interplay of opacity and translucency. The texture’s form is essentially planar with subtle gradient shifts and diffuse cloud formations mimicking the natural stratification of fog banks and light clouds across a sky dome. This layered structure results in gentle non-uniform patterns that blend seamlessly enabling realistic sky backgrounds and panoramas for immersive skyboxes in 3D environments.
The composition of the texture is conceptualized through PBR channels that reflect the physical properties of fog and atmospheric haze. The BaseColor (Albedo) channel carries subdued desaturated blues and grays with soft tonal transitions representing the scattering of daylight filtered through moisture. Normal maps are lightly applied to suggest minimal volumetric undulations within the fog layers enhancing perceived depth without harsh geometric detail. Roughness values are predominantly high indicating a matte diffused surface that scatters light evenly rather than reflecting it directly. Metallic maps are absent or set to zero as the atmosphere contains no metallic elements. Ambient Occlusion subtly darkens denser fog regions simulating natural shadowing in volumetric pockets while Height or Displacement maps gently modulate the surface to introduce subtle cloud bulges and fog bank elevations for parallax effects.
The surface finish embodies a soft brushed translucency inherent to atmospheric particles rather than a solid physical surface. Colorants or pigments are naturally muted relying on light absorption and scattering rather than surface coloration. This texture’s high 8k resolution ensures that fine gradations and delicate cloud edges maintain clarity at close camera distances supporting detailed renders in Blender Unreal Engine and Unity. The seamless tileability allows for large-scale sky domes or panoramic backgrounds without visible repetition essential for realistic outdoor or open-environment projects.
For practical implementation it is advisable to carefully adjust the UV scaling to avoid distortion of the fog’s natural gradient and layering effect. Fine-tuning the roughness channel can enhance the softness or sharpness of light diffusion depending on scene lighting conditions. Additionally blending height or normal maps with subtle parallax can improve depth perception in first-person or close-range views making the fog appear more volumetric and immersive within atmospheric environments.
Import the texture maps into Blender with sRGB color space for albedo/base color and Non-Color for normal, roughness, metallic, AO, height, and ORM maps. Connect normal maps through a Normal Map node, then adjust UV scale with a Mapping node so the material repeats naturally on your model.
For the full step-by-step setup, see How to Use Seamless Textures in Blender. Browse related material examples in wood, concrete, and metal.
Yes. This texture is designed as a seamless tileable PBR material, so it can repeat across large surfaces without visible borders.
You can download PNG/WEBP versions and use 1K, 2K, 4K and 8K download options when available on the page.
Yes. The download options and engine-mapped ZIP workflow are designed for Blender, Unreal Engine, Unity Standard, URP and HDRP material pipelines.
Yes. The texture is available under the AITextured free commercial license. Review the license page for redistribution and AI-training restrictions.


Build, preview, and export seamless PBR materials. Generate full map sets from a single image, inspect them in a real-time WebGL viewer, and re-package maps for Unreal, Unity, and Blender—directly in your browser.
AI text-to-texture: type a prompt and get a seamless, tileable base image ready for PBR workflows (great starting point for materials).
Create a full PBR set (Normal, Roughness, AO, Metallic, etc.) from a single image. Seamless and tiling-friendly.
Instant WebGL viewer: inspect materials on a sphere, plane, and cube. Check tiling and lighting in real time.
Re-packages maps per engine: Unreal (BaseColor + ORM), Unity (Mask/MetallicSmoothness), Blender (separate channels).
PNG ↔ JPG ↔ SVG: fast convert, SVG rasterize, embed/trace options, quality & background controls.