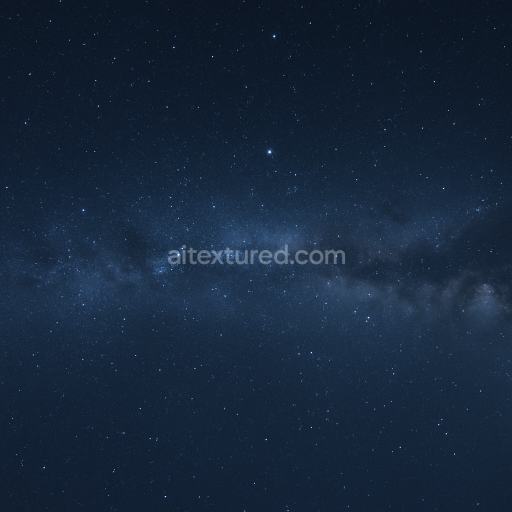
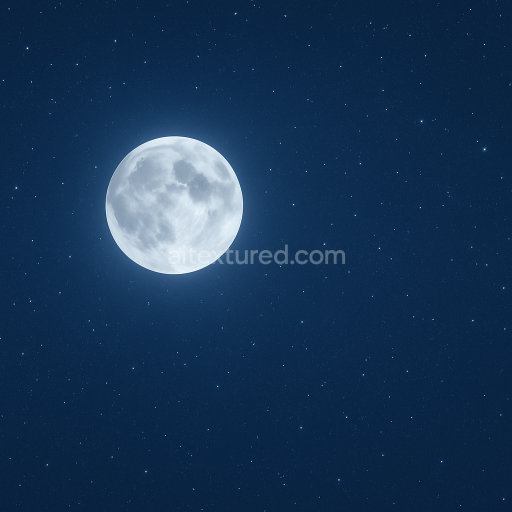
Seamless 8K PBR 3D texture of night starry sky with milky way for realistic space scenes
Seamless texture (tileable) · PNG, WEBP, PBR ZIP. License: AITextured Free Commercial License (FCL) v1.1. Free personal and commercial use. Raw resale, standalone redistribution, mirroring/scraping, competing asset packs, and AI/ML training are not allowed without written permission. Attribution is not required, but appreciated..

| ID | seamless-8k-pbr-3d-texture-of-autumn-sky-with-stratocumulus-clouds-and-warm-sky-gradient |
|---|---|
| Category | Sky |
| Formats | PNG, WEBP, PBR ZIP |
| Size | 1k (1024x1024px), 2k (2048x2048px), 4k (4096x4096px), 8k (8192x8192px) |
| Color | sRGB |
| Tileable | Yes |
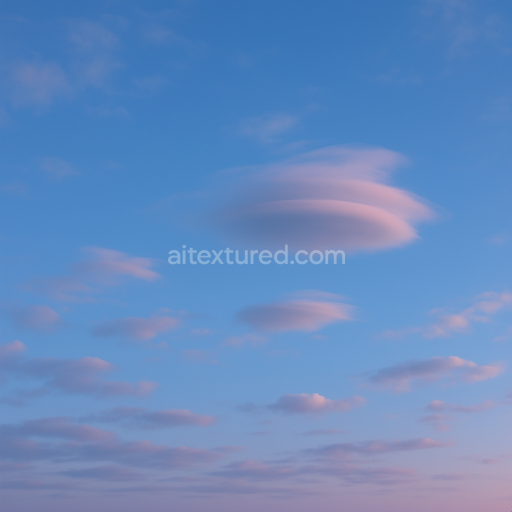
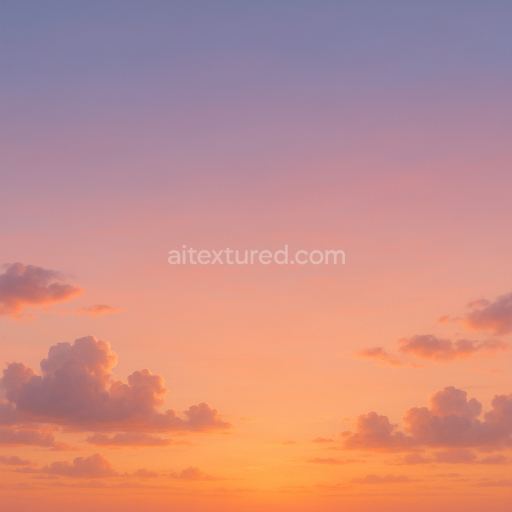
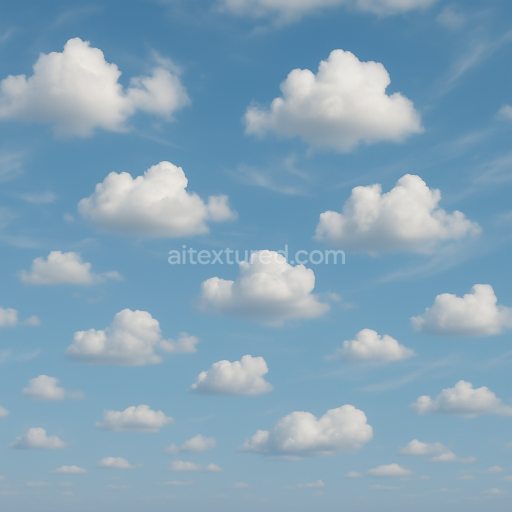
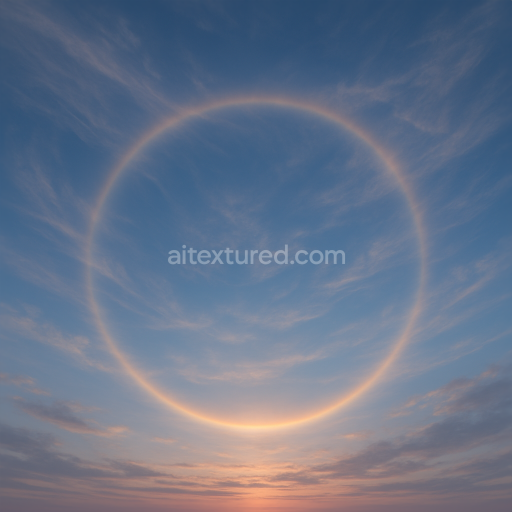
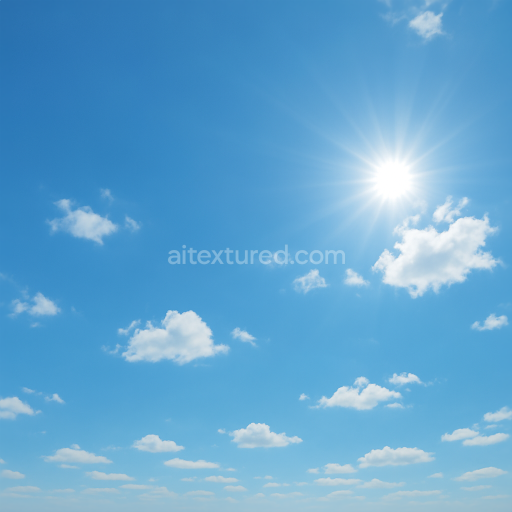
This seamless 8k PBR 3D texture captures the intricate appearance of an autumn sky dominated by stratocumulus cloud formations gently dispersed across a warm sky gradient. The base material can be understood as a thin atmospheric layer composed of varying densities of water vapor which forms the soft billowy clouds. In a digital material sense this translates into a diffuse substrate that serves as the backdrop blending smoothly from amber to gentle orange hues simulating the natural gradient of the sky dome during fall sunsets. The stratocumulus clouds themselves present a semi-translucent fibrous pattern with subtle volumetric depth created through micro-variations in opacity and light scattering which would correspond to the Normal and Height maps in PBR terms providing realistic surface undulations and cloud puffiness.
The texture’s composition suggests a delicate balance between diffuse atmospheric particles and denser cloud aggregates. The BaseColor (Albedo) channel captures the warm pigments of autumn light—soft oranges muted yellows and gentle grays—while eschewing any metallic qualities as the sky’s surface lacks reflectivity found in solid materials. The Roughness map plays a crucial role here defining how light diffuses softly across the cloud surfaces and the sky gradient with lower roughness values in the clearer sky areas and higher values within cloud masses to mimic their diffusive scattering. Ambient Occlusion subtly enhances depth by darkening crevices and cloud shadows adding realism without harsh contrasts. Height and Displacement maps model the stratocumulus’ layered structure giving a tangible sense of volume and elevation changes that respond naturally to directional lighting in rendering engines.
Due to the vast scale and dynamic nature of skies the texture is designed as a seamless sky dome or skybox element supporting continuous tiling without visible seams or repetition artifacts. The 8k resolution ensures exceptional detail and crispness allowing for close-up renders and panoramic views in 3D environments. This high resolution is optimized for popular tools such as Blender Unreal Engine and Unity ensuring compatibility with their respective PBR workflows and shaders. The texture’s surface finish emulates the soft matte quality of a natural sky avoiding any gloss or specular highlights that would be uncharacteristic of atmospheric phenomena focusing instead on realistic light diffusion.
When applying this texture it is advisable to carefully manage UV scaling to avoid exaggerating cloud patterns and maintain a natural appearance. Adjusting the Roughness channel can help tailor the softness of the clouds to specific lighting conditions while blending Height and Normal maps can enhance the perceived depth without introducing geometric complexity. This approach ensures that the autumn sky texture integrates seamlessly into seasonal 3D scenes and environments delivering a convincing immersive atmospheric backdrop that supports a wide range of artistic and technical applications.
Import the texture maps into Blender with sRGB color space for albedo/base color and Non-Color for normal, roughness, metallic, AO, height, and ORM maps. Connect normal maps through a Normal Map node, then adjust UV scale with a Mapping node so the material repeats naturally on your model.
For the full step-by-step setup, see How to Use Seamless Textures in Blender. Browse related material examples in wood, concrete, and metal.
Yes. This texture is designed as a seamless tileable PBR material, so it can repeat across large surfaces without visible borders.
You can download PNG/WEBP versions and use 1K, 2K, 4K and 8K download options when available on the page.
Yes. The download options and engine-mapped ZIP workflow are designed for Blender, Unreal Engine, Unity Standard, URP and HDRP material pipelines.
Yes. The texture is available under the AITextured free commercial license. Review the license page for redistribution and AI-training restrictions.


Generate, preview, and export seamless PBR materials for Blender, Unity, and Unreal Engine—directly in your browser.
AI text-to-texture: type a prompt and get a seamless, tileable base image ready for PBR workflows (great starting point for materials).
Create a full PBR set (Normal, Roughness, AO, Metallic, etc.) from a single image. Seamless and tiling-friendly.
Instant WebGL viewer: inspect materials on a sphere, plane, and cube. Check tiling and lighting in real time.
Re-packages maps per engine: Unreal (BaseColor + ORM), Unity (Mask/MetallicSmoothness), Blender (separate channels).
PNG ↔ JPG ↔ SVG: fast convert, SVG rasterize, embed/trace options, quality & background controls.