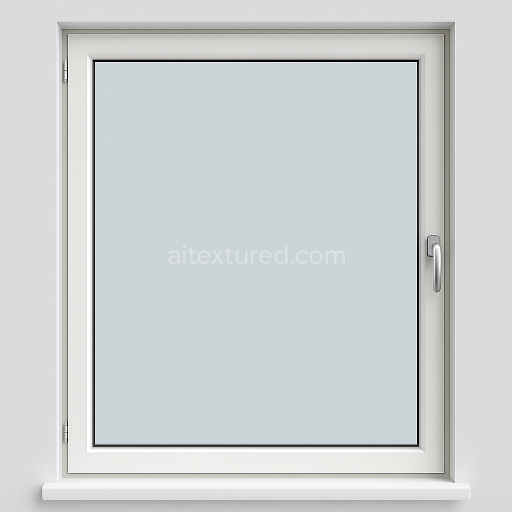
Seamless 8K PBR 3D texture of modern window with smooth clear glass and sleek window frame
Seamless texture (tileable) · PNG, WEBP, PBR ZIP. License: AITextured Free Commercial License (FCL) v1.1. Free personal and commercial use. Raw resale, standalone redistribution, mirroring/scraping, competing asset packs, and AI/ML training are not allowed without written permission. Attribution is not required, but appreciated..

| ID | seamless-8k-pbr-3d-texture-of-frosted-glass-window-with-intricate-frost-patterns |
|---|---|
| Category | Window |
| Formats | PNG, WEBP, PBR ZIP |
| Size | 1k (1024x1024px), 2k (2048x2048px), 4k (4096x4096px), 8k (8192x8192px) |
| Color | sRGB |
| Tileable | Yes |
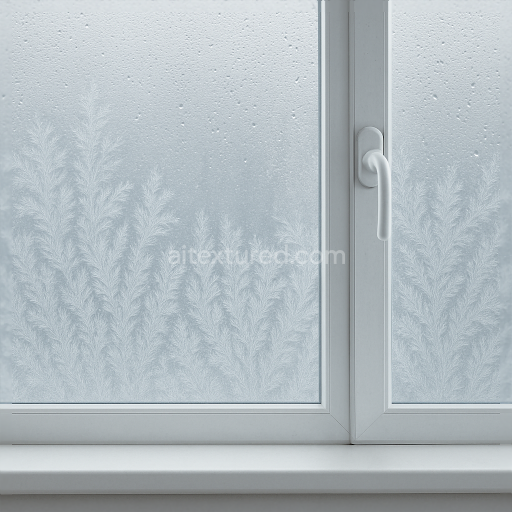
This seamless 8k PBR texture represents a frosted glass window surface characterized by its smooth translucent substrate and intricate frost patterns formed by delicate crystalline structures. The base material is a tempered glass pane whose clarity is partially obscured by the frost buildup. The frost itself consists of interlocking ice crystals that create a fine organic pattern overlaying the glass surface reminiscent of natural frost formations seen during cold weather. These frost patterns introduce subtle variations in surface height and translucency which are accurately captured in the height and normal maps providing realistic depth and light refraction effects.
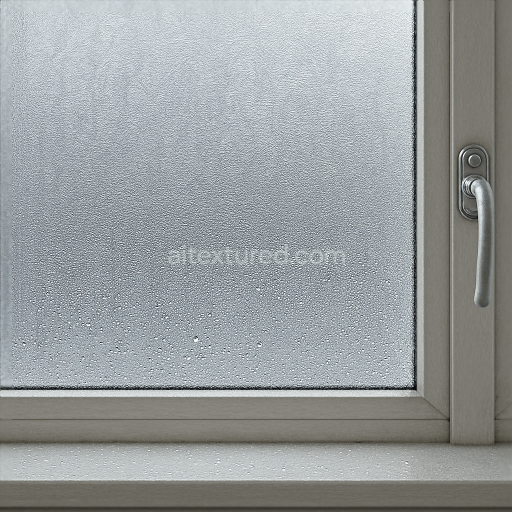
The underlying glass substrate is primarily silica-based with minimal impurities to maintain its smooth polished finish. The frost formation appears as a semi-opaque layer adhering to the glass with tiny condensation droplets scattered across the surface adding micro-variations in roughness and specularity. The surface finish is softly diffused due to frost contrasting with the naturally glossy and reflective smooth glass areas. Coloration is minimal dominated by muted whites and pale blues to simulate frost while the window sill and handle elements introduce subtle metallic and painted wood tones mapped through the base color and metallic channels to enhance material differentiation.
From a PBR channel perspective the BaseColor map captures the frosted white patterns against the transparent glass while the Normal map defines the fine crystalline ridges and condensation droplets enhancing light interaction. The Roughness map varies locally to reflect the mix of smooth glass and rough frost textures with frost areas displaying higher roughness to diffuse reflections and the clear glass areas showing lower roughness for sharp highlights. The Metallic map is primarily reserved for the window latch and handle elements simulating metal hardware with accurate reflectivity. Ambient Occlusion emphasizes crevices around frost edges and hardware details while the Height/Displacement map provides subtle relief for the frost crystals and condensation beads improving realism when used with parallax or tessellation techniques.
This texture’s 8k resolution ensures excellent detail retention even on large window surfaces making it well-suited for high-fidelity rendering in Blender Unreal Engine and Unity. Its seamless nature allows for uniform tiling without visible seams ideal for architectural visualizations or 3D environmental assets requiring realistic cold-weather window detailing. For optimal results it is recommended to adjust the UV scale to balance frost pattern density according to the window size and to fine-tune the roughness map to achieve the desired balance between glossiness and diffusion. When using height or parallax mapping blending with normal maps can enhance the perception of intricate frost geometry without excessive performance cost.
Import the texture maps into Blender with sRGB color space for albedo/base color and Non-Color for normal, roughness, metallic, AO, height, and ORM maps. Connect normal maps through a Normal Map node, then adjust UV scale with a Mapping node so the material repeats naturally on your model.
For the full step-by-step setup, see How to Use Seamless Textures in Blender. Browse related material examples in wood, concrete, and metal.
Yes. This texture is designed as a seamless tileable PBR material, so it can repeat across large surfaces without visible borders.
You can download PNG/WEBP versions and use 1K, 2K, 4K and 8K download options when available on the page.
Yes. The download options and engine-mapped ZIP workflow are designed for Blender, Unreal Engine, Unity Standard, URP and HDRP material pipelines.
Yes. The texture is available under the AITextured free commercial license. Review the license page for redistribution and AI-training restrictions.

Generate, preview, and export seamless PBR materials for Blender, Unity, and Unreal Engine—directly in your browser.
AI text-to-texture: type a prompt and get a seamless, tileable base image ready for PBR workflows (great starting point for materials).
Create a full PBR set (Normal, Roughness, AO, Metallic, etc.) from a single image. Seamless and tiling-friendly.
Instant WebGL viewer: inspect materials on a sphere, plane, and cube. Check tiling and lighting in real time.
Re-packages maps per engine: Unreal (BaseColor + ORM), Unity (Mask/MetallicSmoothness), Blender (separate channels).
PNG ↔ JPG ↔ SVG: fast convert, SVG rasterize, embed/trace options, quality & background controls.