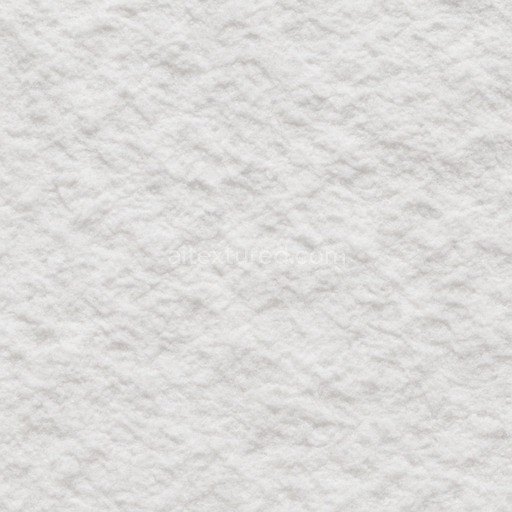
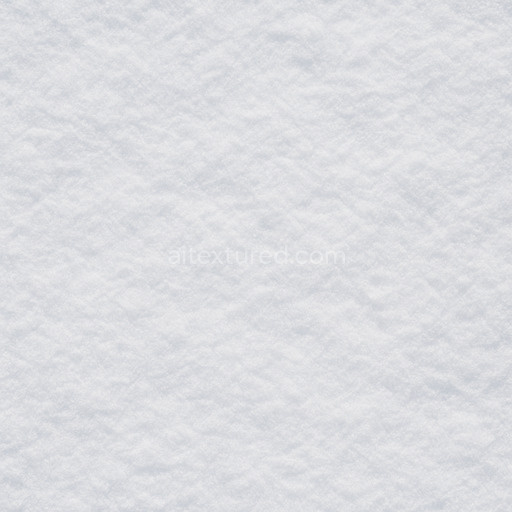
Seamless Snow Texture for PBR Applications
Seamless texture (tileable) · PNG, WEBP, PBR ZIP. License: AITextured Free Commercial License (FCL) v1.1. Free personal and commercial use. Raw resale, standalone redistribution, mirroring/scraping, competing asset packs, and AI/ML training are not allowed without written permission. Attribution is not required, but appreciated..

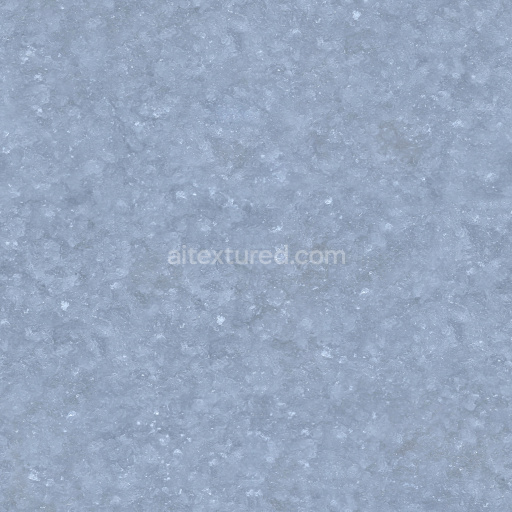
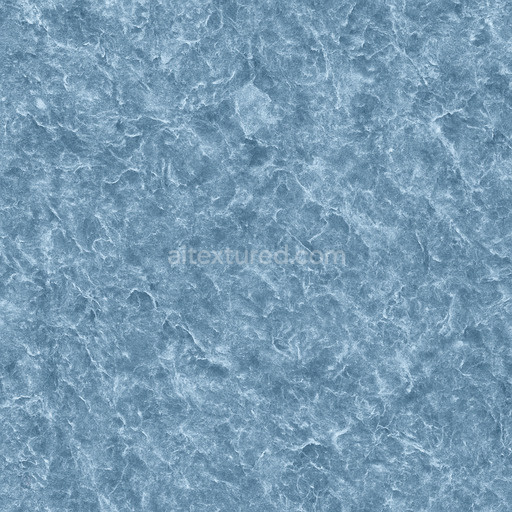
| ID | detailed-powder-snow-texture-seamless |
|---|---|
| Category | Snow-ice |
| Formats | PNG, WEBP, PBR ZIP |
| Size | 1k (1024x1024px), 2k (2048x2048px), 4k (4096x4096px), 8k (8192x8192px) |
| Color | sRGB |
| Tileable | Yes |
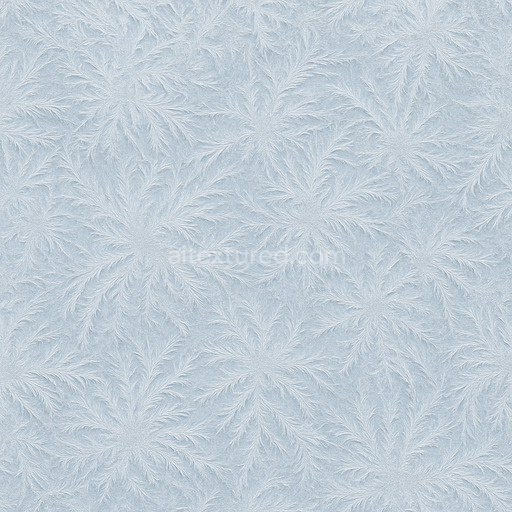
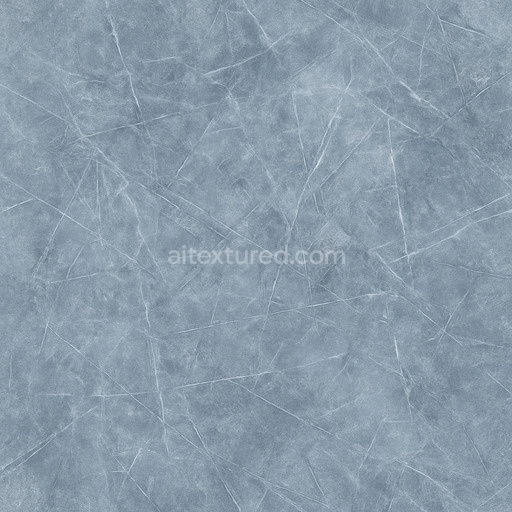
The Detailed Powder Snow Texture Seamless high resolution up to 8K is a generated material designed to replicate the delicate and intricate composition of freshly fallen powder snow. This texture captures the fine granularity of snow crystals resting atop a compacted icy base combining organic microstructures with subtle mineral-like frost formations. The surface finish emulates a soft matte powdery layer with slight translucency and microscopic frost particles creating a natural non-reflective appearance. Its base color channel exhibits soft whites and off-whites with faint blue-gray undertones typical of snow and ice while the roughness map highlights the diffuse uneven surface finish that scatters light gently without gloss. The normal and height maps emphasize the fine granular relief and subtle undulations adding realistic micro-detail that enhances depth and tactile feel in 3D renders. Metallic and ambient occlusion channels are minimal reflecting snow’s non-metallic nature and its porous loosely compacted structure that casts soft shadows within crevices and grains.
This tileable detailed powder snow texture seamless high resolution up to 8K is optimized for high-fidelity workflows across Blender Unreal Engine and Unity supporting photorealistic real-time scenes cinematic renders and level dressing with exceptional clarity. The 8K resolution allows it to scale elegantly over large surfaces without visible seams or pixelation preserving the subtle complexity of snow-ice textures even under close inspection. The AI-textured pipeline ensures consistent structural detail and micro-scale variation providing a convincing production-ready result that integrates smoothly with physically based rendering (PBR) workflows. Users can seamlessly drop this texture into their projects for predictable repeatable results that accelerate snow-ice material creation and environment design.
In practical use it is recommended to fine-tune the roughness and normal intensity parameters to adapt the texture to your specific lighting setup ensuring the powder snow maintains its natural softness without appearing overly smooth or harsh. Adjusting UV scale can also help maintain the texture’s realistic granularity when applied to varying mesh sizes from small props to expansive terrains. This careful calibration enhances the material’s interaction with light preserving the delicate balance between diffuse scattering and subtle surface irregularities that define authentic detailed powder snow. Whether for immersive winter landscapes snow-covered architecture or icy surface studies this seamless detailed powder snow texture high resolution up to 8K provides a versatile high-quality solution tailored for modern 3D projects requiring detailed snow-ice textures and 3D preview accuracy.
The generated detailed powder snow texture seamless high resolution up to 8K offers a realistic PBR appearance with intricate surface details and consistent seamless integration for advanced material composition.
Import the texture maps into Blender with sRGB color space for albedo/base color and Non-Color for normal, roughness, metallic, AO, height, and ORM maps. Connect normal maps through a Normal Map node, then adjust UV scale with a Mapping node so the material repeats naturally on your model.
For the full step-by-step setup, see How to Use Seamless Textures in Blender. Browse related material examples in wood, concrete, and metal.
Yes. This texture is designed as a seamless tileable PBR material, so it can repeat across large surfaces without visible borders.
You can download PNG/WEBP versions and use 1K, 2K, 4K and 8K download options when available on the page.
Yes. The download options and engine-mapped ZIP workflow are designed for Blender, Unreal Engine, Unity Standard, URP and HDRP material pipelines.
Yes. The texture is available under the AITextured free commercial license. Review the license page for redistribution and AI-training restrictions.
Build, preview, and export seamless PBR materials. Generate full map sets from a single image, inspect them in a real-time WebGL viewer, and re-package maps for Unreal, Unity, and Blender—directly in your browser.
AI text-to-texture: type a prompt and get a seamless, tileable base image ready for PBR workflows (great starting point for materials).
Create a full PBR set (Normal, Roughness, AO, Metallic, etc.) from a single image. Seamless and tiling-friendly.
Instant WebGL viewer: inspect materials on a sphere, plane, and cube. Check tiling and lighting in real time.
Re-packages maps per engine: Unreal (BaseColor + ORM), Unity (Mask/MetallicSmoothness), Blender (separate channels).
PNG ↔ JPG ↔ SVG: fast convert, SVG rasterize, embed/trace options, quality & background controls.