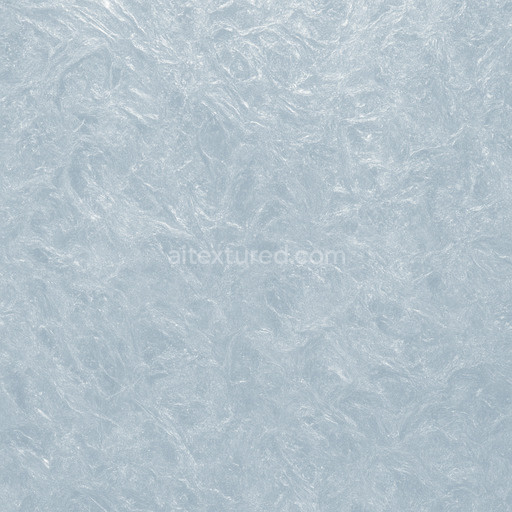
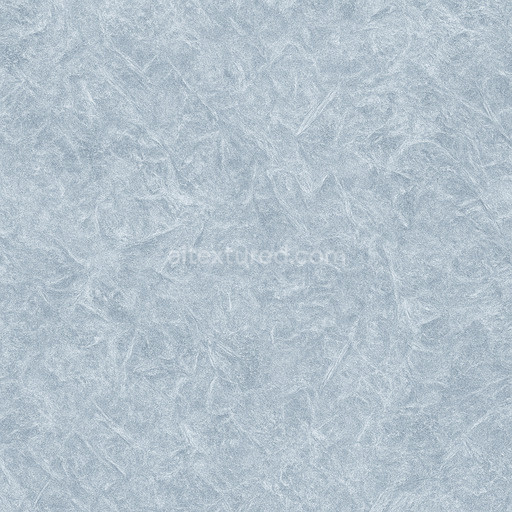
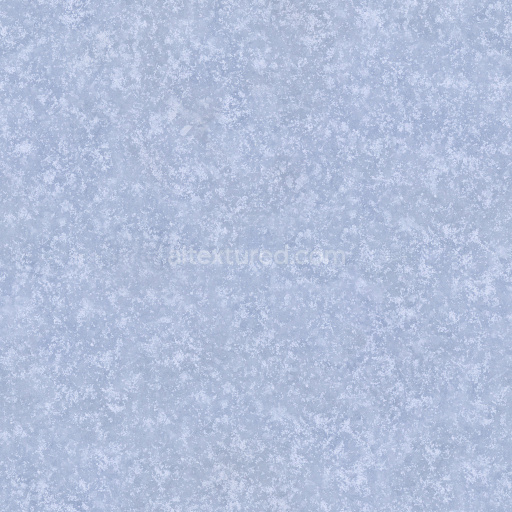
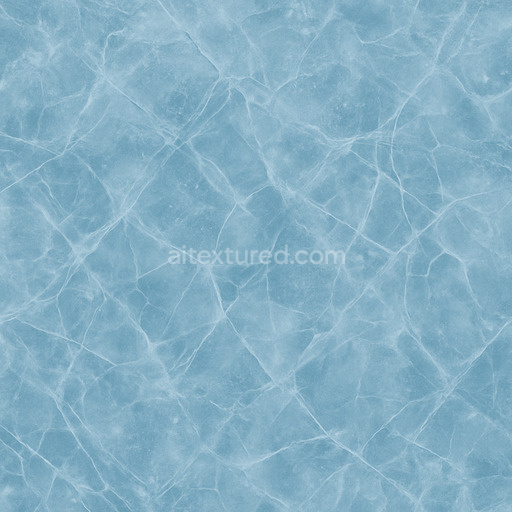
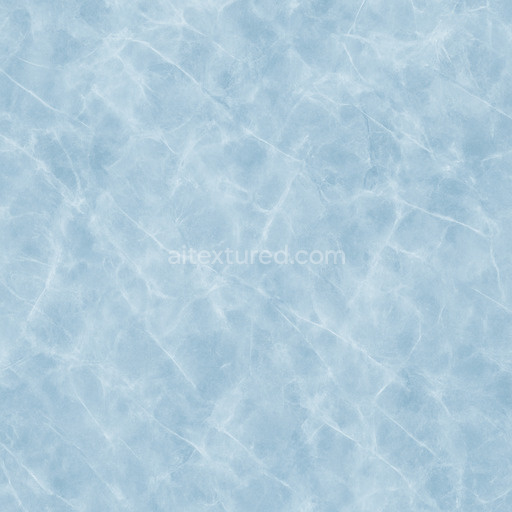
Ornate Glacier Ice Seamless Texture
Seamless texture (tileable) · PNG, WEBP, PBR ZIP. License: AITextured Free Commercial License (FCL) v1.1. Free personal and commercial use. Raw resale, standalone redistribution, mirroring/scraping, competing asset packs, and AI/ML training are not allowed without written permission. Attribution is not required, but appreciated..

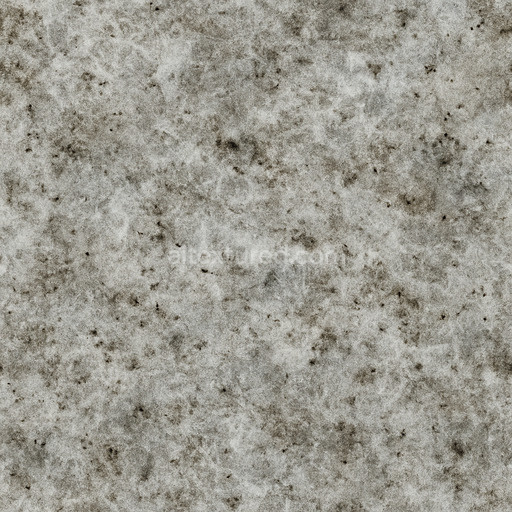
| ID | dirty-roadside-snow-grains |
|---|---|
| Category | Snow-ice |
| Formats | PNG, WEBP, PBR ZIP |
| Size | 1k (1024x1024px), 2k (2048x2048px), 4k (4096x4096px), 8k (8192x8192px) |
| Color | sRGB |
| Tileable | Yes |
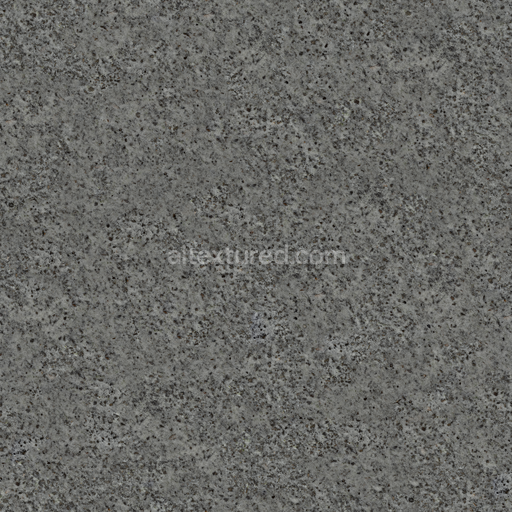
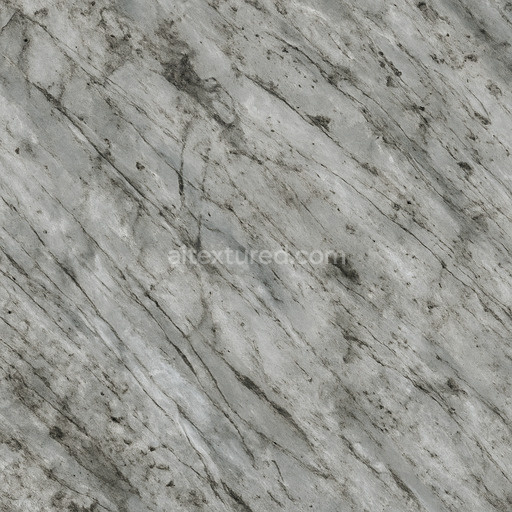
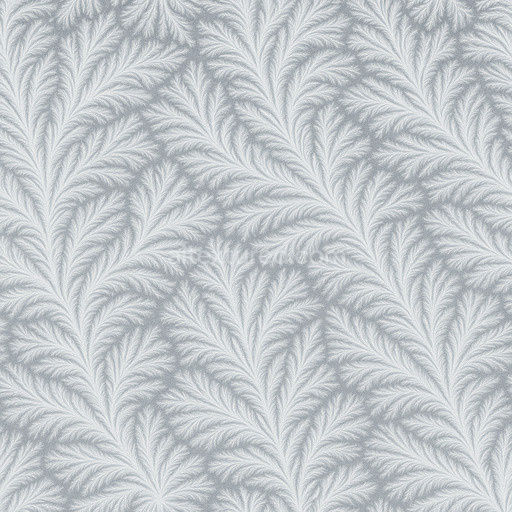
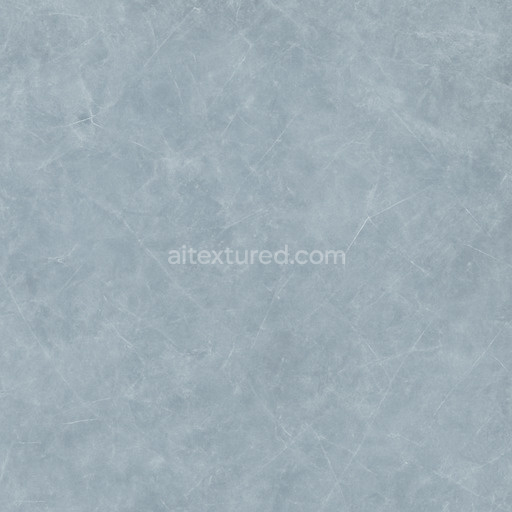
The dirty roadside snow grains texture presents a meticulously crafted surface that captures the complex interplay between compacted snow crystals and the gritty elements found along weathered road edges. This premium snow-ice texture simulates a natural base substrate composed of tightly packed ice crystals intertwined with a mix of mineral particles such as fine sand small gravel and organic debris like dirt and plant matter. These components are bound together by partially melted ice acting as a natural adhesive creating a texture with moderate porosity characterized by microvoids and subtle cracks. The grain orientation varies irregularly across the surface reflecting the uneven accumulation and environmental wear typical of roadside conditions exposed to traffic and fluctuating weather. The surface finish ranges from matte areas of dry compacted snow to slightly glossy patches where melting has occurred providing a realistic visual complexity enhanced by subtle color variations including whites muted grays browns and occasional ochres that represent embedded dirt and organic residues. These hues are accurately rendered in the BaseColor/Albedo channel delivering a balanced unsaturated palette essential for natural realism.
In the physically based rendering (PBR) workflow this seamless dirty roadside snow grains texture excels with a comprehensive set of optimized maps provided up to 8K resolution ensuring exceptional clarity across extensive surfaces in 3D applications. The Normal map encodes fine surface details such as microscopic bumps and roughness variations caused by clustered snow grains and embedded grit enhancing tactile depth without visible repetition. Surface reflectivity is carefully modulated in the Roughness map differentiating between wet melting snow with lower roughness values and dry compacted grains with higher values to simulate dynamic material behavior under diverse lighting conditions. The Metallic map remains near zero consistent with the natural non-metallic composition of snow and roadside debris. Ambient Occlusion intensifies shadows in crevices between grains boosting spatial definition and visual depth while the Height/Displacement map accentuates surface relief enabling advanced parallax or tessellation effects to elevate three-dimensional realism in real-time engines like Blender Unreal Engine and Unity. This tileable dirty roadside snow grains texture integrates seamlessly into major 3D platforms offering reliable performance and stunning 3D preview capabilities.
For practical use adjusting the UV scale can effectively control the visible density of snow grains and roadside dirt enhancing granularity for close-up renders or maintaining subtlety across broad terrains. Additionally fine-tuning the Roughness map allows simulation of transitions between wet and dry snow conditions improving material authenticity under varying environmental scenarios. Combining this texture with subtle Ambient Occlusion and Height map modifications provides a convincing immersive surface ideal for level dressing environmental studies or any project demanding a natural worn roadside snow appearance with high performance and photorealistic detail. The tileable dirty roadside snow grains texture thus serves as a versatile and detailed resource for achieving realistic snow-ice textures in modern 3D workflows.
Import the texture maps into Blender with sRGB color space for albedo/base color and Non-Color for normal, roughness, metallic, AO, height, and ORM maps. Connect normal maps through a Normal Map node, then adjust UV scale with a Mapping node so the material repeats naturally on your model.
For the full step-by-step setup, see How to Use Seamless Textures in Blender. Browse related material examples in wood, concrete, and metal.
Yes. This texture is designed as a seamless tileable PBR material, so it can repeat across large surfaces without visible borders.
You can download PNG/WEBP versions and use 1K, 2K, 4K and 8K download options when available on the page.
Yes. The download options and engine-mapped ZIP workflow are designed for Blender, Unreal Engine, Unity Standard, URP and HDRP material pipelines.
Yes. The texture is available under the AITextured free commercial license. Review the license page for redistribution and AI-training restrictions.
Build, preview, and export seamless PBR materials. Generate full map sets from a single image, inspect them in a real-time WebGL viewer, and re-package maps for Unreal, Unity, and Blender—directly in your browser.
AI text-to-texture: type a prompt and get a seamless, tileable base image ready for PBR workflows (great starting point for materials).
Create a full PBR set (Normal, Roughness, AO, Metallic, etc.) from a single image. Seamless and tiling-friendly.
Instant WebGL viewer: inspect materials on a sphere, plane, and cube. Check tiling and lighting in real time.
Re-packages maps per engine: Unreal (BaseColor + ORM), Unity (Mask/MetallicSmoothness), Blender (separate channels).
PNG ↔ JPG ↔ SVG: fast convert, SVG rasterize, embed/trace options, quality & background controls.