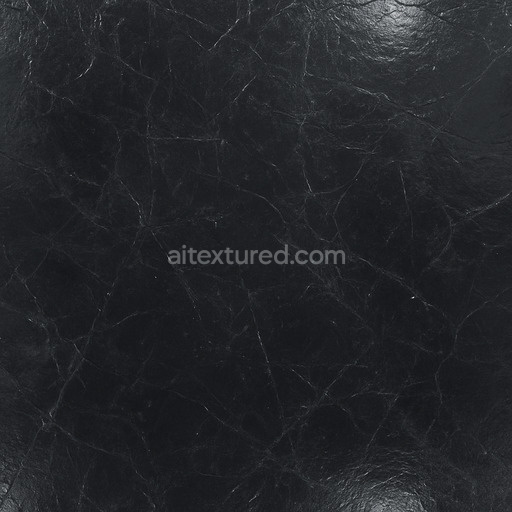
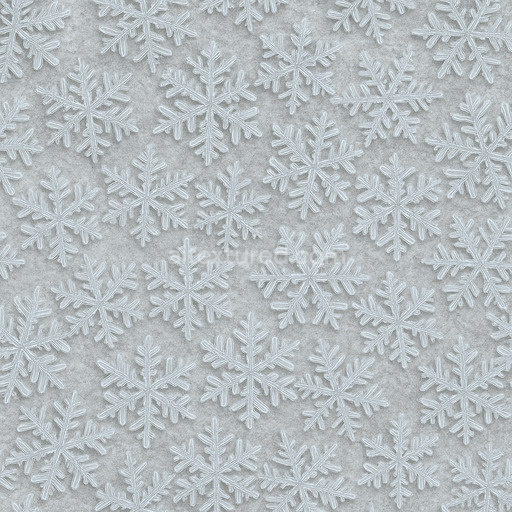
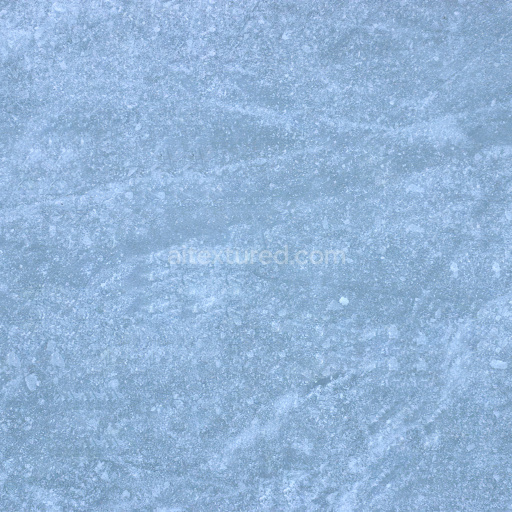
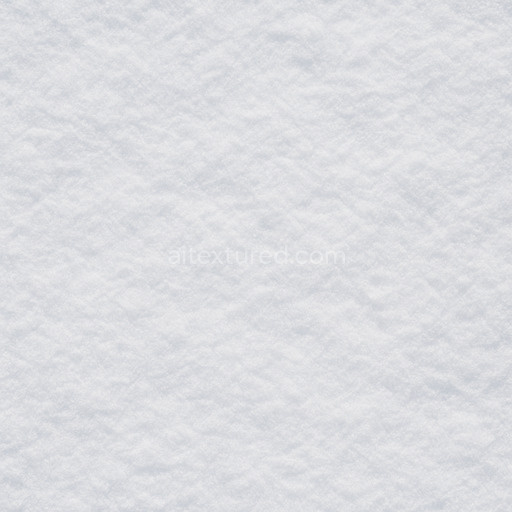
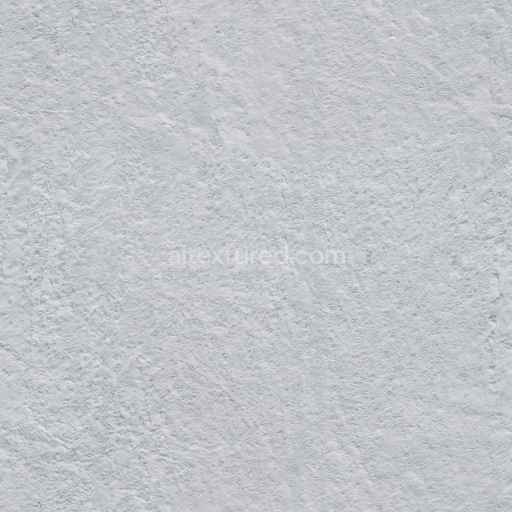
Black Ice Thin Glossy Layer
Seamless texture (tileable) · PNG, WEBP, PBR ZIP. License: AITextured Free Commercial License (FCL) v1.1. Free personal and commercial use. Raw resale, standalone redistribution, mirroring/scraping, competing asset packs, and AI/ML training are not allowed without written permission. Attribution is not required, but appreciated..

| ID | dirty-powder-snow-texture-seamless |
|---|---|
| Category | Snow-ice |
| Formats | PNG, WEBP, PBR ZIP |
| Size | 1k (1024x1024px), 2k (2048x2048px), 4k (4096x4096px), 8k (8192x8192px) |
| Color | sRGB |
| Tileable | Yes |
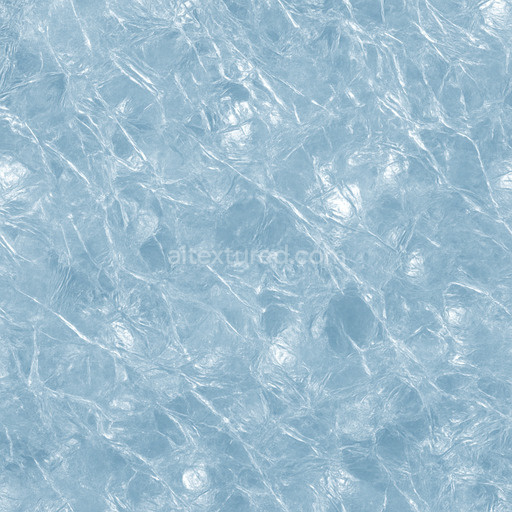
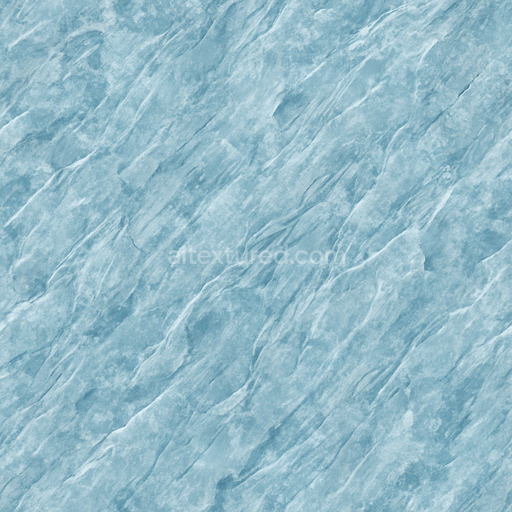
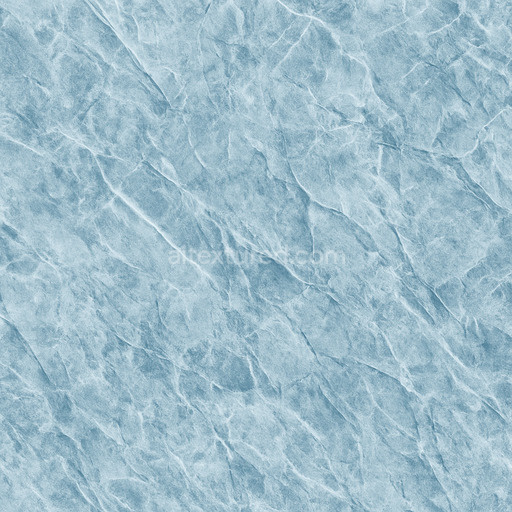
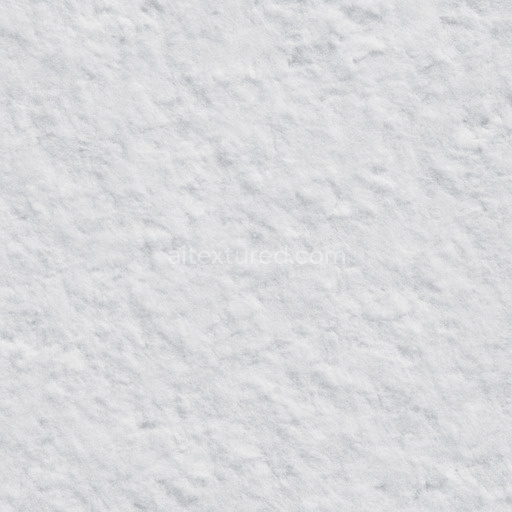
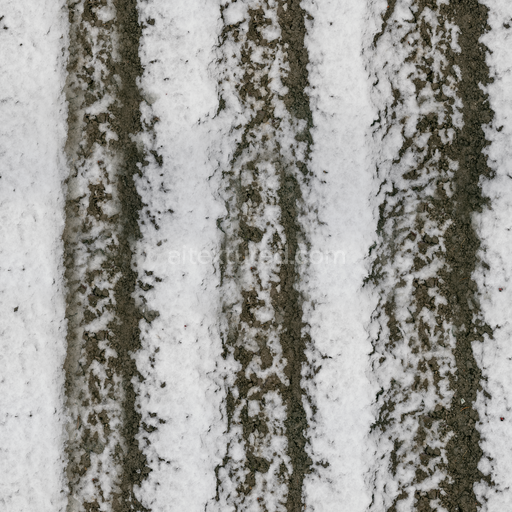
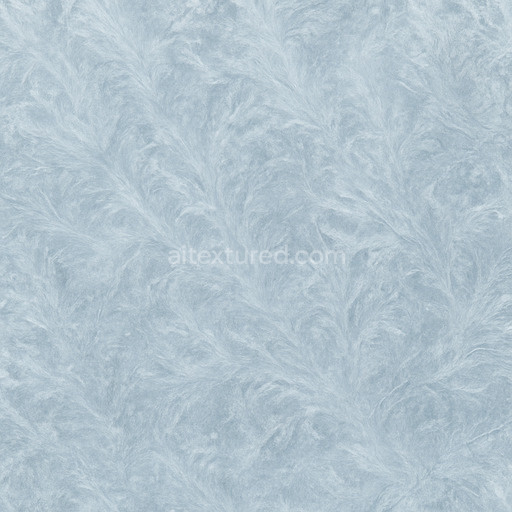
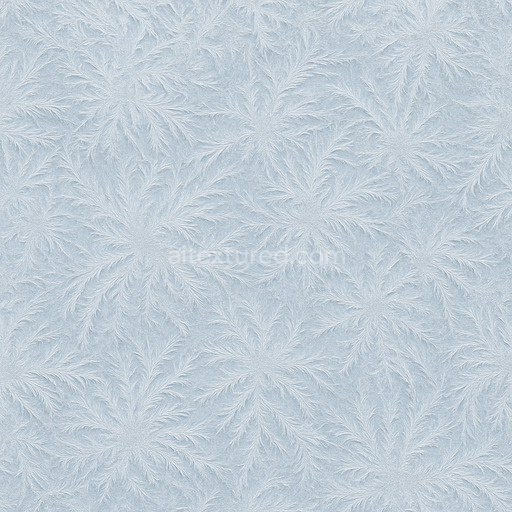
This dirty powder snow texture seamless high resolution up to 8K presents a carefully engineered depiction of snow-ice surfaces layered with a lightly contaminated powdery snow cover. The material's base substrate simulates a natural mineral-organic composition where fine snow crystals settle gently atop a slightly weathered porous layer that evokes a subtly aged and friable foundation. The underlying grain orientation reveals loosely bonded ice granules intertwined with minute dust particles that act as natural binders forming a semi-cohesive aggregate. This results in a surface finish that balances between polished and rough—exhibiting a softly frosted matte appearance enriched with delicate microfractures and gentle accumulation zones. Colorants predominantly consist of cool whites and pale grays accented by faint earthy pigments accurately capturing the nuanced discoloration common to dirty snow environments influenced by environmental exposure and scattered dust deposits.
Within physically based rendering (PBR) workflows this tileable dirty powder snow texture seamless high resolution up to 8K excels by delivering consistent micro-detail and structural coherence across all essential texture maps. The BaseColor/Albedo channel subtly reflects a natural blend of fresh snow and embedded dirt hues while the Normal map encodes fine surface undulations and powdery granularity that respond dynamically to lighting variations. Roughness values are carefully balanced to highlight the contrast between smooth icy patches and matte powder regions ensuring realistic reflectivity without excessive glossiness. The Metallic channel remains near zero underscoring the non-metallic characteristics typical of snow-ice materials. Ambient Occlusion enhances depth perception around crevices and grain boundaries and Height/Displacement maps introduce convincing surface breakup and subtle topographic variation that are crucial for close-up realism in 3D preview environments.
Optimized for seamless integration into snow-ice textures workflows this texture dirty powder snow texture seamless high resolution up to 8K is fully compatible with leading platforms such as Blender Unity and Unreal Engine. Its tileable nature allows for flawless repetition over expansive terrains or intricate geometry while maintaining high-resolution detail and visual consistency. For best results adjusting the UV scale is recommended to achieve an optimal balance between detail density and rendering performance. Combining this texture with a light normal pass and subtle ambient occlusion overlay further enhances surface breakup without introducing oversharpening delivering predictable production-ready outcomes across diverse rendering and 3D preview pipelines.
Import the texture maps into Blender with sRGB color space for albedo/base color and Non-Color for normal, roughness, metallic, AO, height, and ORM maps. Connect normal maps through a Normal Map node, then adjust UV scale with a Mapping node so the material repeats naturally on your model.
For the full step-by-step setup, see How to Use Seamless Textures in Blender. Browse related material examples in wood, concrete, and metal.
Yes. This texture is designed as a seamless tileable PBR material, so it can repeat across large surfaces without visible borders.
You can download PNG/WEBP versions and use 1K, 2K, 4K and 8K download options when available on the page.
Yes. The download options and engine-mapped ZIP workflow are designed for Blender, Unreal Engine, Unity Standard, URP and HDRP material pipelines.
Yes. The texture is available under the AITextured free commercial license. Review the license page for redistribution and AI-training restrictions.

Build, preview, and export seamless PBR materials. Generate full map sets from a single image, inspect them in a real-time WebGL viewer, and re-package maps for Unreal, Unity, and Blender—directly in your browser.
AI text-to-texture: type a prompt and get a seamless, tileable base image ready for PBR workflows (great starting point for materials).
Create a full PBR set (Normal, Roughness, AO, Metallic, etc.) from a single image. Seamless and tiling-friendly.
Instant WebGL viewer: inspect materials on a sphere, plane, and cube. Check tiling and lighting in real time.
Re-packages maps per engine: Unreal (BaseColor + ORM), Unity (Mask/MetallicSmoothness), Blender (separate channels).
PNG ↔ JPG ↔ SVG: fast convert, SVG rasterize, embed/trace options, quality & background controls.