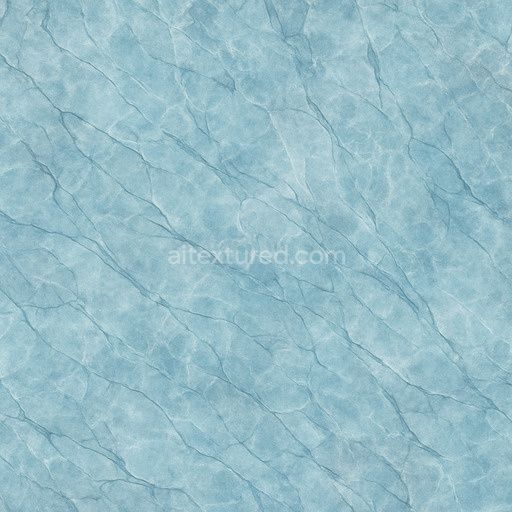
Aged Glacier Ice Seamless Texture
Seamless texture (tileable) · PNG, WEBP, PBR ZIP. License: AITextured Free Commercial License (FCL) v1.1. Free personal and commercial use. Raw resale, standalone redistribution, mirroring/scraping, competing asset packs, and AI/ML training are not allowed without written permission. Attribution is not required, but appreciated..

| ID | icicles-close-up-striations |
|---|---|
| Category | Snow-ice |
| Formats | PNG, WEBP, PBR ZIP |
| Size | 1k (1024x1024px), 2k (2048x2048px), 4k (4096x4096px), 8k (8192x8192px) |
| Color | sRGB |
| Tileable | Yes |
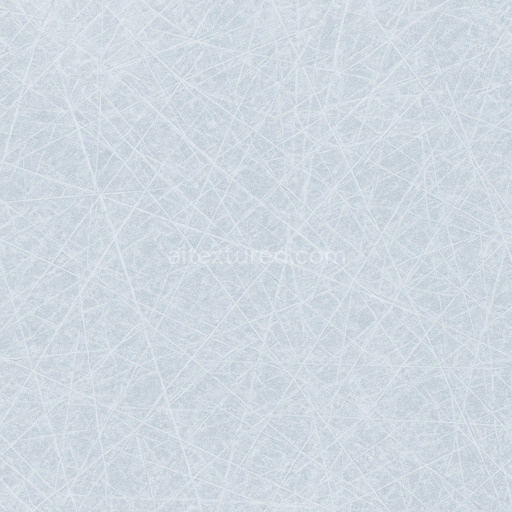
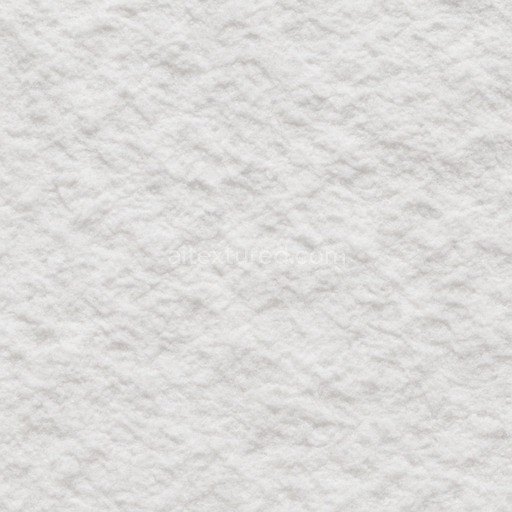
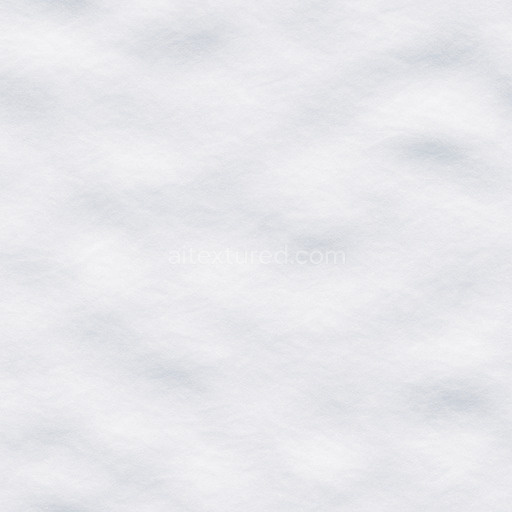
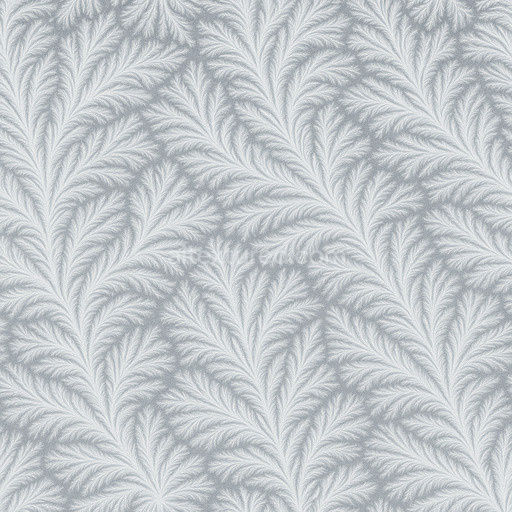
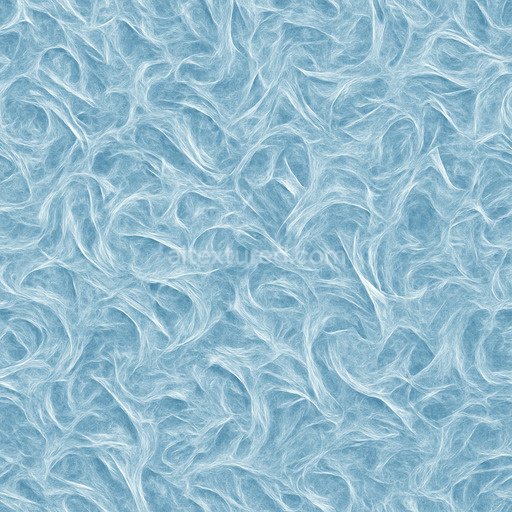
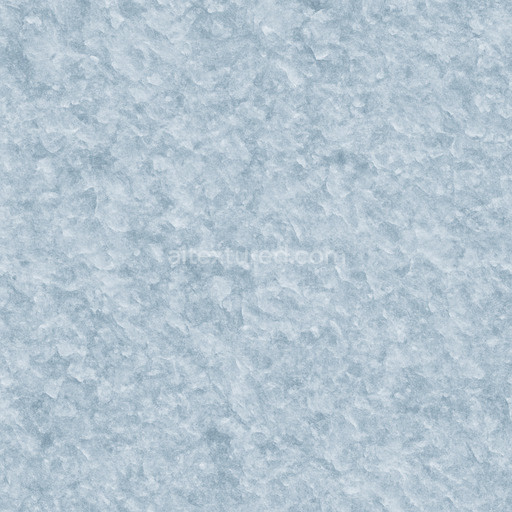
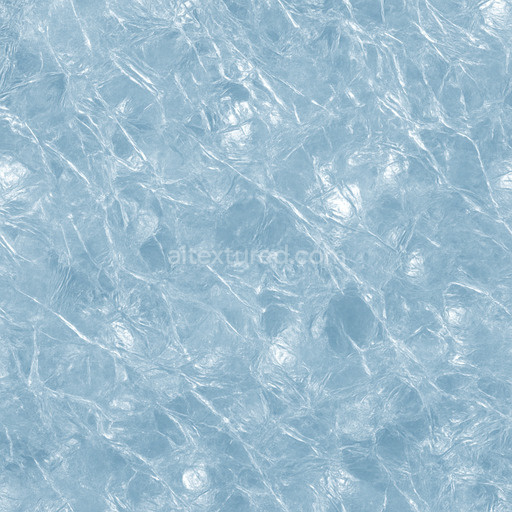
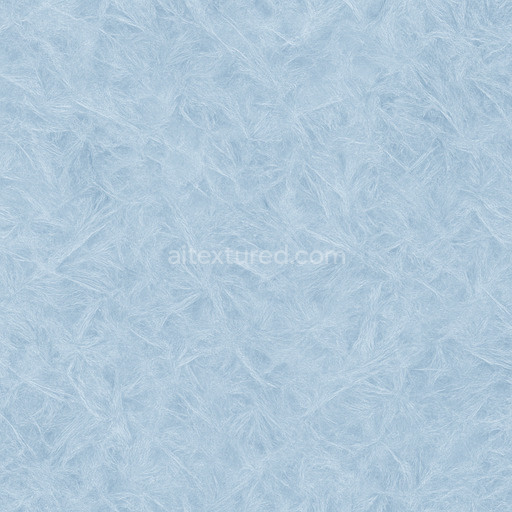
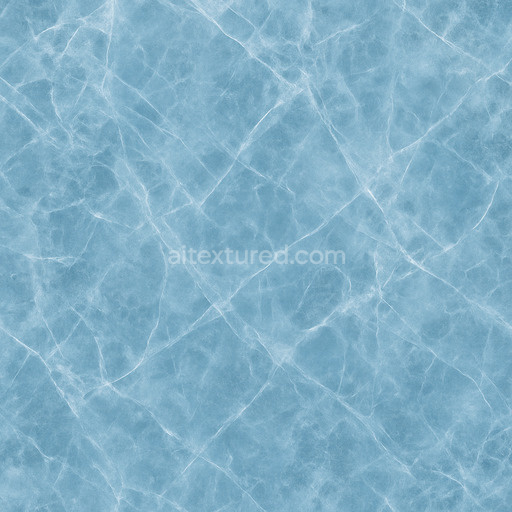
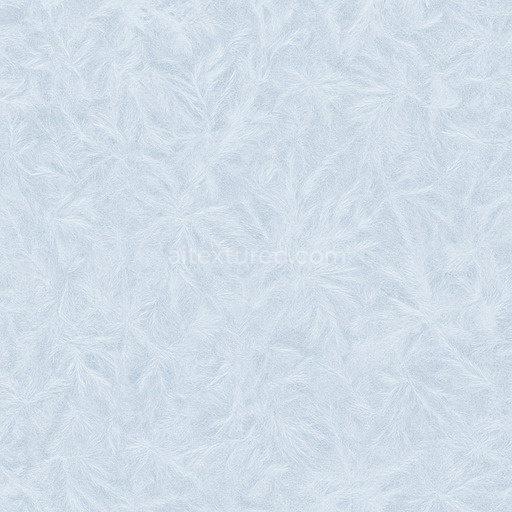
The icicles close up striations texture is a meticulously crafted seamless snow-ice material that replicates the intricate surface composition of natural icicles with exceptional clarity and realism. At its core this texture features a predominantly translucent ice substrate characterized by delicate mineral layers of frozen water crystals. These layers form elongated fine linear striations that trace the surface of each icicle creating a rich pattern of subtle grooves and micro-fissures. The surface finish balances between smooth glassy translucency and faintly weathered frost exhibiting slight internal refraction and micro-roughness that mimics the natural interplay of ice and accumulated frost. This combination of mineral composition and fine grain orientation imparts a polished yet organic appearance capturing both the pristine and environmentally worn qualities typical of icicles in snow-ice environments.
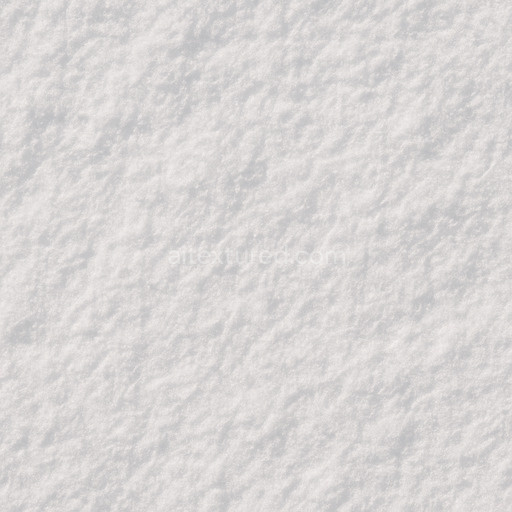
Designed for seamless integration into physically based rendering (PBR) workflows this tileable icicles close up striations texture supports ultra-high resolutions up to 8K making it ideal for detailed 3D projects in Blender Unreal Engine and Unity. The full PBR map set enhances material authenticity: the BaseColor/Albedo channel delivers icy blue-white hues with subtle pigment variations reflecting translucent frozen water; the Normal map accentuates the fine linear ridges and delicate bumps that define the striations; Roughness values vary from polished glossy zones to frost-induced matte finishes accurately simulating environmental wear; the Metallic map remains near zero consistent with ice’s non-metallic nature; Ambient Occlusion provides realistic shadowing in micro-indentations and crevices; and Height/Displacement maps add tangible depth and surface relief for enhanced close-up realism in both cinematic and real-time renderings.
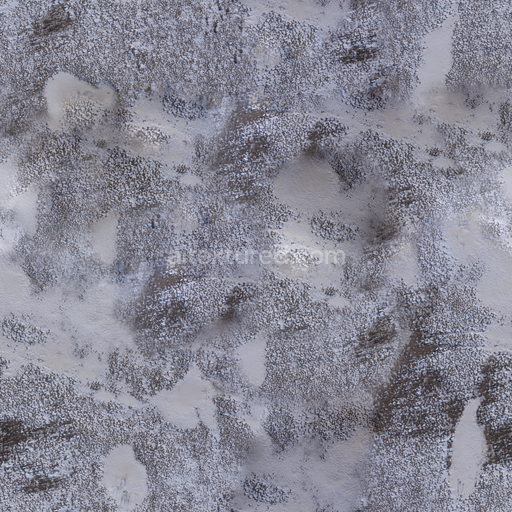
This texture icicles close up striations asset offers a clean repeatable pattern without visible seams ensuring it scales elegantly on large surfaces and maintains micro-detail consistency under varied lighting conditions. Its fine surface details and naturalistic striation pattern make it especially suitable for snow-ice environments requiring authentic icicle formations. For optimal results it is recommended to keep UV scaling uniform to preserve the crispness of the texture’s fine details and to adjust the roughness map to simulate different ice surface finishes—from smooth reflective patches to diffuse frosted areas—enhancing visual depth and material response across diverse workflows. The seamless icicles close up striations texture combined with snow-ice textures can also be evaluated through a 3D preview for accurate assessment of material composition and lighting interaction.
Import the texture maps into Blender with sRGB color space for albedo/base color and Non-Color for normal, roughness, metallic, AO, height, and ORM maps. Connect normal maps through a Normal Map node, then adjust UV scale with a Mapping node so the material repeats naturally on your model.
For the full step-by-step setup, see How to Use Seamless Textures in Blender. Browse related material examples in wood, concrete, and metal.
Yes. This texture is designed as a seamless tileable PBR material, so it can repeat across large surfaces without visible borders.
You can download PNG/WEBP versions and use 1K, 2K, 4K and 8K download options when available on the page.
Yes. The download options and engine-mapped ZIP workflow are designed for Blender, Unreal Engine, Unity Standard, URP and HDRP material pipelines.
Yes. The texture is available under the AITextured free commercial license. Review the license page for redistribution and AI-training restrictions.

Build, preview, and export seamless PBR materials. Generate full map sets from a single image, inspect them in a real-time WebGL viewer, and re-package maps for Unreal, Unity, and Blender—directly in your browser.
AI text-to-texture: type a prompt and get a seamless, tileable base image ready for PBR workflows (great starting point for materials).
Create a full PBR set (Normal, Roughness, AO, Metallic, etc.) from a single image. Seamless and tiling-friendly.
Instant WebGL viewer: inspect materials on a sphere, plane, and cube. Check tiling and lighting in real time.
Re-packages maps per engine: Unreal (BaseColor + ORM), Unity (Mask/MetallicSmoothness), Blender (separate channels).
PNG ↔ JPG ↔ SVG: fast convert, SVG rasterize, embed/trace options, quality & background controls.