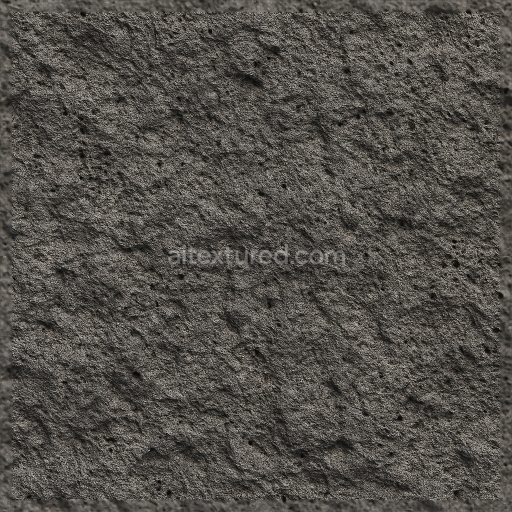
Basalt Igneous Rock Rough Stone Grainy Stone Natural
Seamless texture (tileable) · PNG, WEBP, PBR ZIP. License: AITextured Free Commercial License (FCL) v1.1. Free personal and commercial use. Raw resale, standalone redistribution, mirroring/scraping, competing asset packs, and AI/ML training are not allowed without written permission. Attribution is not required, but appreciated..

| ID | seamless-3d-texture-pbr-8k-chiseled-gneiss-stone-surface-for-detailed-architectural-elements |
|---|---|
| Category | Stone |
| Formats | PNG, WEBP, PBR ZIP |
| Size | 1k (1024x1024px), 2k (2048x2048px), 4k (4096x4096px), 8k (8192x8192px) |
| Color | sRGB |
| Tileable | Yes |
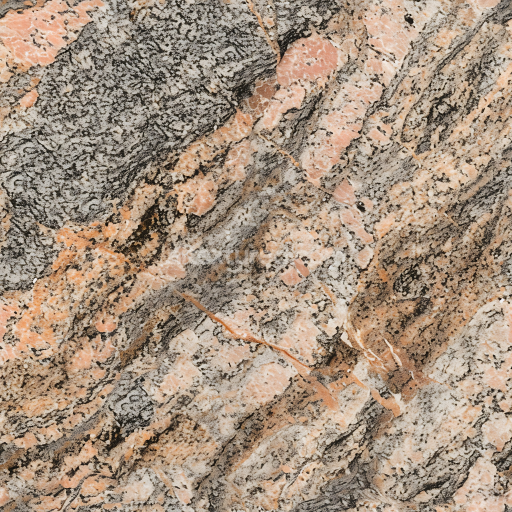
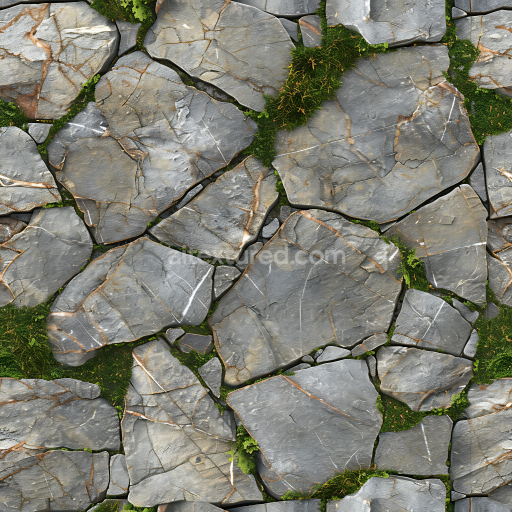
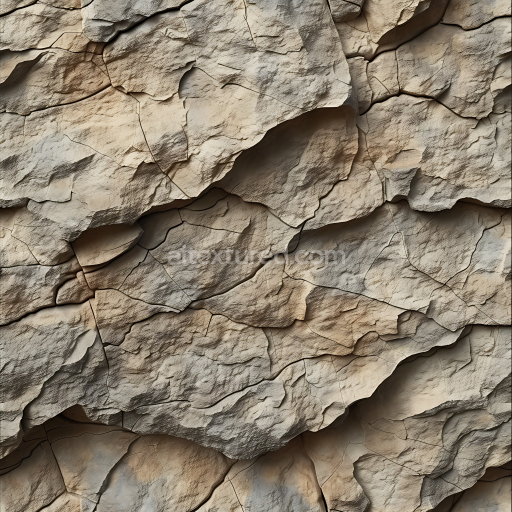
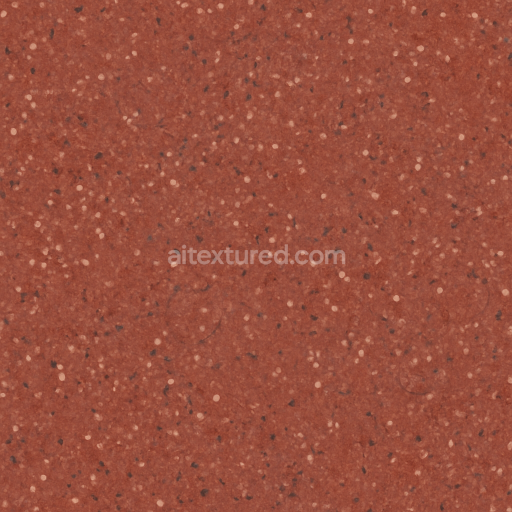
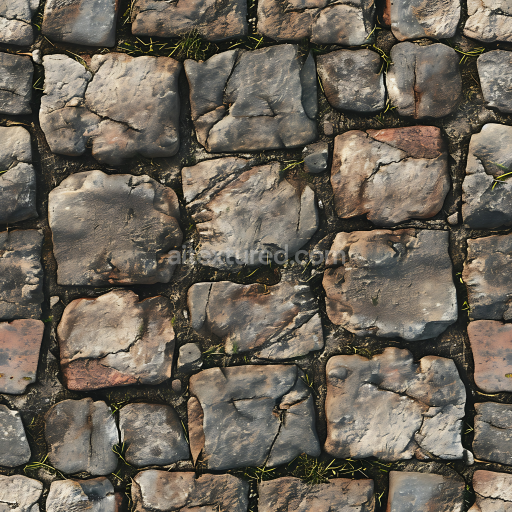
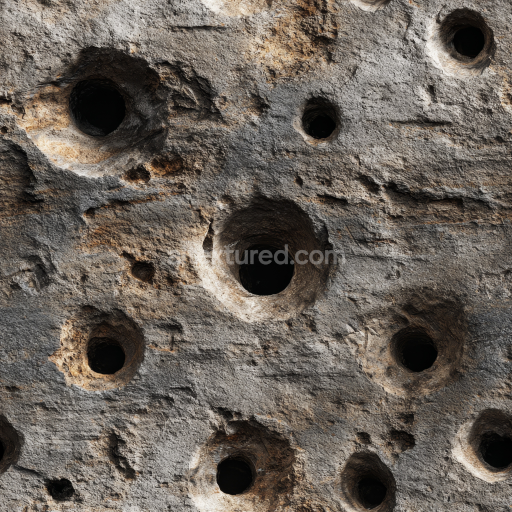
This seamless 3D texture represents a high-resolution photorealistic depiction of chiseled gneiss stone crafted specifically for detailed architectural elements such as stone slabs and bricks. Gneiss is a metamorphic rock known for its distinctive foliated grain composed primarily of quartz feldspar and mica minerals. The texture captures the intrinsic complexity of this natural stone including its layered mineral grains subtle color variations and rugged surface fractures. The base material exhibits a dense solid substrate typical of gneiss with fine interlocking crystals forming a durable and weather-resistant surface. The stone fragments and rough edges reflect natural erosion processes as well as deliberate chisel work lending authenticity to surfaces requiring a worn yet structured appearance.
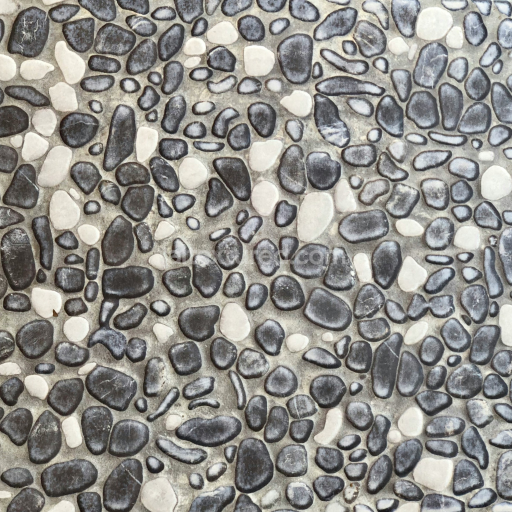
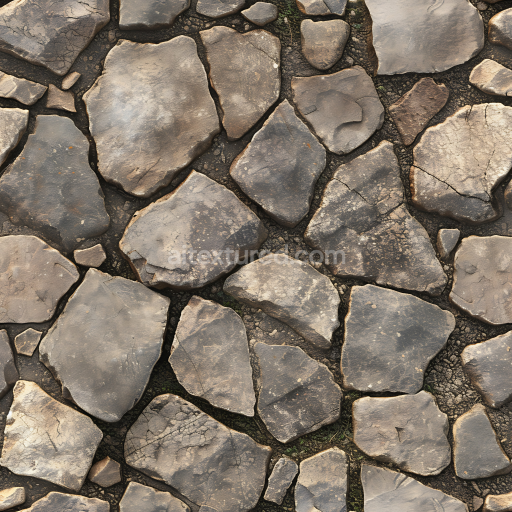
From a geometric perspective the texture organizes into a pattern resembling tightly fitted stone slabs and bricks each piece separated by fine cracks and fissures that simulate mortar joints or natural separations. The chiseled details are emphasized through normal and height maps which accurately reproduce carved grooves chipped edges and subtle indentations. The surface finish can be described as rough and matte with minimal specularity highlighting the tactile nature of chiseled stone rather than polished or glazed variants. Colorants appear as muted earth tones—grays browns and slight reddish hues—that correspond to typical gneiss coloration created through mineral composition rather than artificial pigmentation. Porosity is low but small micro-cracks and grain variations introduce realistic ambient occlusion effects enhancing depth perception under different lighting conditions.
Technically this texture is designed with physically based rendering (PBR) workflows in mind offering separate high-definition maps including BaseColor for accurate diffuse color representation Normal for detailed surface relief Roughness to control microsurface reflectivity Metallic which remains near zero to reflect the stone's non-metallic nature Ambient Occlusion for shadowing in crevices and Height/Displacement for geometric depth and parallax effects. The 8K resolution ensures extreme detail fidelity making it ideal for close-up architectural visualization game asset texturing and rendering within modern engines. It is fully compatible and optimized for use in Blender Unreal Engine and Unity supporting seamless tileability without visible repetition or seams.
For practical application it is recommended to carefully adjust the UV scale to balance detail density against performance demands especially when used in large-scale environments. Fine-tuning the roughness map can help simulate different weathering stages or surface wear while blending height and normal maps can enhance the perception of depth without excessively increasing polygon count. This approach yields a realistic tactile stone surface that responds naturally to lighting and camera angles making it a versatile choice for projects requiring authentic chiseled stone finishes.
Import the texture maps into Blender with sRGB color space for albedo/base color and Non-Color for normal, roughness, metallic, AO, height, and ORM maps. Connect normal maps through a Normal Map node, then adjust UV scale with a Mapping node so the material repeats naturally on your model.
For the full step-by-step setup, see How to Use Seamless Textures in Blender. Browse related material examples in wood, concrete, and metal.
Yes. This texture is designed as a seamless tileable PBR material, so it can repeat across large surfaces without visible borders.
You can download PNG/WEBP versions and use 1K, 2K, 4K and 8K download options when available on the page.
Yes. The download options and engine-mapped ZIP workflow are designed for Blender, Unreal Engine, Unity Standard, URP and HDRP material pipelines.
Yes. The texture is available under the AITextured free commercial license. Review the license page for redistribution and AI-training restrictions.

Build, preview, and export seamless PBR materials. Generate full map sets from a single image, inspect them in a real-time WebGL viewer, and re-package maps for Unreal, Unity, and Blender—directly in your browser.
AI text-to-texture: type a prompt and get a seamless, tileable base image ready for PBR workflows (great starting point for materials).
Create a full PBR set (Normal, Roughness, AO, Metallic, etc.) from a single image. Seamless and tiling-friendly.
Instant WebGL viewer: inspect materials on a sphere, plane, and cube. Check tiling and lighting in real time.
Re-packages maps per engine: Unreal (BaseColor + ORM), Unity (Mask/MetallicSmoothness), Blender (separate channels).
PNG ↔ JPG ↔ SVG: fast convert, SVG rasterize, embed/trace options, quality & background controls.