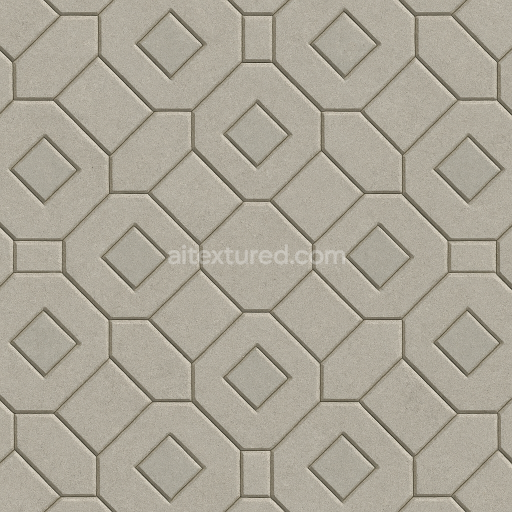
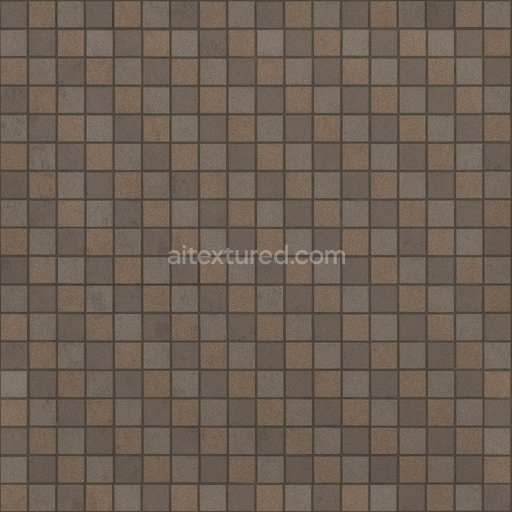
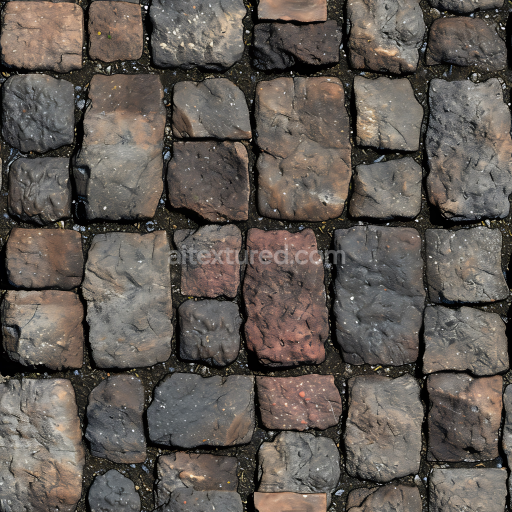
Seamless Stone PBR Texture - Park Pathway Made Trapezoidal Tiles Each Containing Square
Seamless texture (tileable) · PNG, WEBP, PBR ZIP. License: AITextured Free Commercial License (FCL) v1.1. Free personal and commercial use. Raw resale, standalone redistribution, mirroring/scraping, competing asset packs, and AI/ML training are not allowed without written permission. Attribution is not required, but appreciated..

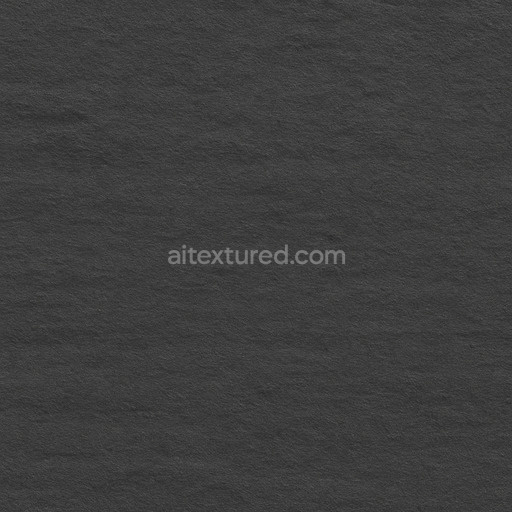
| ID | tuff-porous-volcanic-stone |
|---|---|
| Category | Stone |
| Formats | PNG, WEBP, PBR ZIP |
| Size | 1k (1024x1024px), 2k (2048x2048px), 4k (4096x4096px), 8k (8192x8192px) |
| Color | sRGB |
| Tileable | Yes |
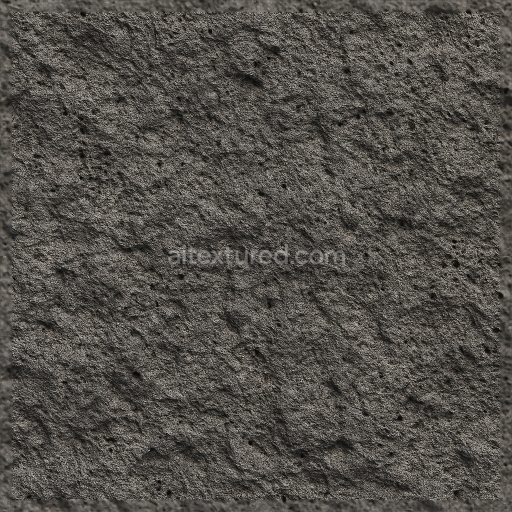
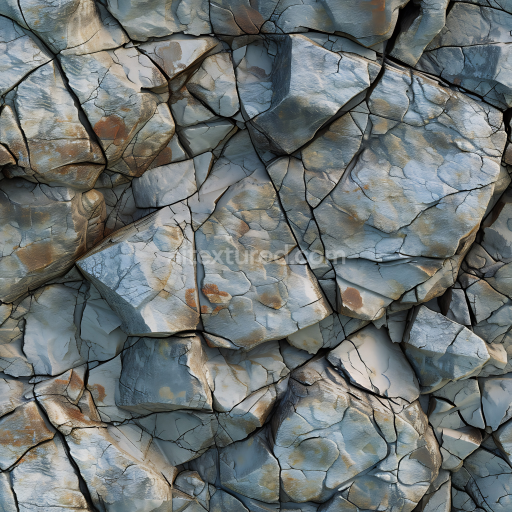
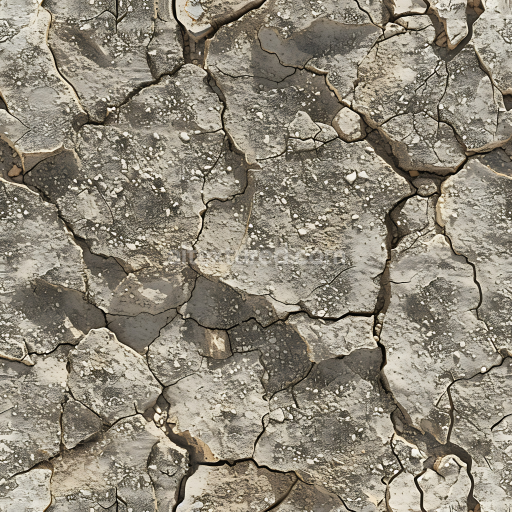
The tuff porous volcanic stone texture authentically replicates the natural composition and complex surface characteristics of volcanic tuff a lightweight rock formed from compacted volcanic ash and fragmented debris. This stone’s base substrate consists of fine mineral grains intricately cemented together by silicate binders resulting in a highly porous and breathable matrix. The texture captures the weathered rough surface finish typical of volcanic stone showcasing subtle tonal variations from soft grays to earthy browns. These color shifts arise from natural oxide layers and mineral impurities embedded in the rock enhancing the texture’s realistic appearance. The porous structure is defined by numerous tiny cavities and irregular pits creating a visually rich and tactilely intricate surface that mirrors natural erosion and sedimentation patterns found in volcanic environments. The grain orientation and surface imperfections are carefully modeled to emphasize this authentic geological formation adding depth and complexity to the texture’s overall visual appeal.
This seamless tuff porous volcanic stone texture is expertly designed for physically based rendering (PBR) workflows including a full set of essential maps such as BaseColor/Albedo Normal Roughness Metallic Ambient Occlusion and Height/Displacement. The BaseColor map reveals the nuanced mineral pigmentation and subtle color gradients while the Normal and Height maps highlight the porous surface topography accentuating the fine relief sculpted by natural weathering processes. The Roughness channel accurately portrays the stone’s matte and uneven finish controlling surface reflectivity to simulate the non-glossy natural feel of volcanic tuff. The Metallic map remains minimal reflecting the stone’s inherently non-metallic nature. Ambient Occlusion enhances depth perception by darkening shadowed crevices and pores contributing to the texture’s lifelike dimensionality. With resolution options up to 8K this tileable tuff porous volcanic stone texture maintains exceptional detail and clarity making it suitable for large-scale architectural visualization realistic game environments and high-quality product mockups.
Optimized for seamless integration and compatibility with leading 3D software and game engines such as Blender Unreal Engine and Unity this PBR material tuff porous volcanic stone supports efficient and flexible workflows. Its tileable design ensures extensive coverage without visible seams or repetitive patterns preserving a natural cohesive surface appearance across diverse projects. For enhanced realism adjusting the UV scale is recommended to align the texture’s porosity and mineral grain size with the specific scene context allowing fine control over visual impact. Additionally fine-tuning the roughness map can help modulate how light interacts with the stone’s porous surface emphasizing subtle weathering effects and natural surface irregularities. Whether applied in immersive game worlds detailed architectural renders or precise product staging this seamless tuff porous volcanic stone texture delivers a robust high-resolution foundation that elevates the authenticity and visual quality of 3D stone materials.
Import the texture maps into Blender with sRGB color space for albedo/base color and Non-Color for normal, roughness, metallic, AO, height, and ORM maps. Connect normal maps through a Normal Map node, then adjust UV scale with a Mapping node so the material repeats naturally on your model.
For the full step-by-step setup, see How to Use Seamless Textures in Blender. Browse related material examples in wood, concrete, and metal.
Yes. This texture is designed as a seamless tileable PBR material, so it can repeat across large surfaces without visible borders.
You can download PNG/WEBP versions and use 1K, 2K, 4K and 8K download options when available on the page.
Yes. The download options and engine-mapped ZIP workflow are designed for Blender, Unreal Engine, Unity Standard, URP and HDRP material pipelines.
Yes. The texture is available under the AITextured free commercial license. Review the license page for redistribution and AI-training restrictions.

Build, preview, and export seamless PBR materials. Generate full map sets from a single image, inspect them in a real-time WebGL viewer, and re-package maps for Unreal, Unity, and Blender—directly in your browser.
AI text-to-texture: type a prompt and get a seamless, tileable base image ready for PBR workflows (great starting point for materials).
Create a full PBR set (Normal, Roughness, AO, Metallic, etc.) from a single image. Seamless and tiling-friendly.
Instant WebGL viewer: inspect materials on a sphere, plane, and cube. Check tiling and lighting in real time.
Re-packages maps per engine: Unreal (BaseColor + ORM), Unity (Mask/MetallicSmoothness), Blender (separate channels).
PNG ↔ JPG ↔ SVG: fast convert, SVG rasterize, embed/trace options, quality & background controls.