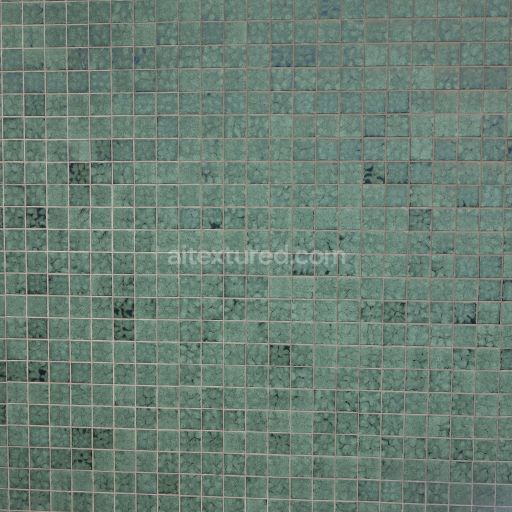
Seamless Green Square Tile Texture with Marble-like Pattern for PBR 3D Rendering
Seamless texture (tileable) · PNG, WEBP, PBR ZIP. License: AITextured Free Commercial License (FCL) v1.1. Free personal and commercial use. Raw resale, standalone redistribution, mirroring/scraping, competing asset packs, and AI/ML training are not allowed without written permission. Attribution is not required, but appreciated..

| ID | seamless-8k-pbr-3d-texture-of-rough-distressed-handmade-terracotta-tile-with-red-tones-and-textured-surface |
|---|---|
| Category | Tile |
| Formats | PNG, WEBP, PBR ZIP |
| Size | 1k (1024x1024px), 2k (2048x2048px), 4k (4096x4096px), 8k (8192x8192px) |
| Color | sRGB |
| Tileable | Yes |
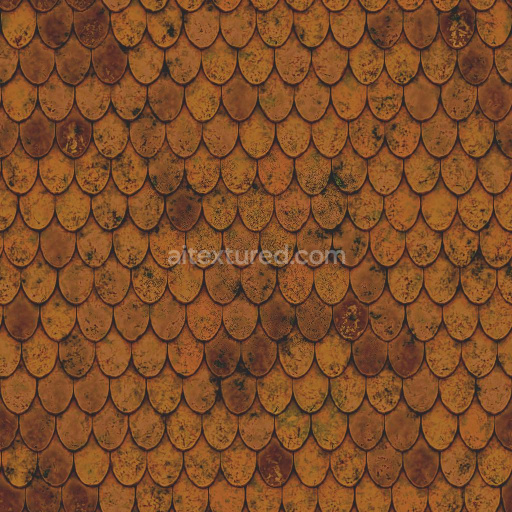
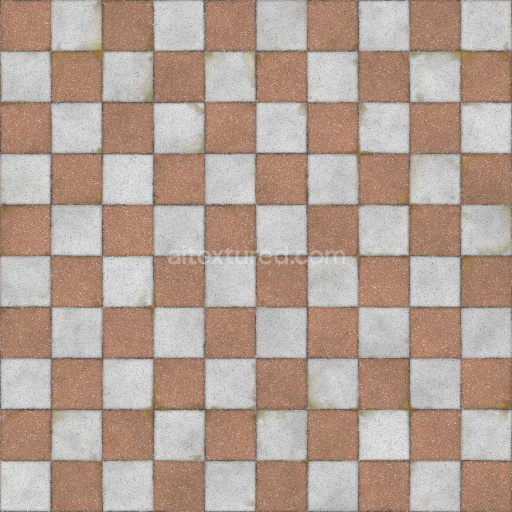
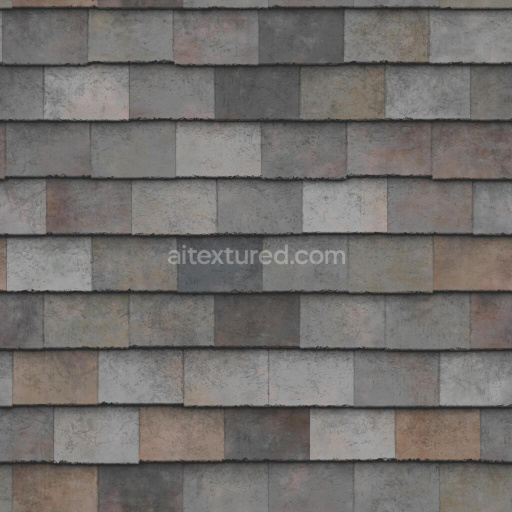
This seamless 8K PBR texture represents a rough, distressed handmade terracotta tile, characterized by warm red tones and a richly textured surface. The tile’s base material is traditional terracotta clay, fired at moderate temperatures to achieve its signature earthy red coloration. The handmade nature of the tile is evident in its irregular geometric form, typically a square or rectangular floor tile with slightly uneven edges and surface imperfections. The substrate contains natural clay minerals combined with organic binders and fine sand aggregates, contributing to a moderately porous structure that exhibits subtle weathering effects such as small cracks, chips, and surface fissures.
The surface finish is matte and unpolished, retaining the tactile roughness and textural variability expected from artisanal terracotta. Pigments derived from iron oxide give the tile its deep red to burnt sienna hues, which are unevenly distributed due to the handmade firing process. This unevenness enhances the authentic distressed look, with occasional darker spots and lighter patches where the clay body is thinner or more exposed. The high-resolution 8K texture maps capture these nuances with exceptional fidelity, revealing fine grain details, surface pits, and subtle tonal gradients that contribute to a lifelike appearance.
In terms of PBR channel representation, the BaseColor (Albedo) map carries the rich red pigments and natural clay variations without baked lighting, allowing for accurate color rendering. The Normal map encodes the rough, uneven surface topology, including cracks and chips, which enhances the tactile realism under dynamic lighting. The Roughness map reflects the matte, non-reflective surface, showing high roughness values with slight variations to mimic worn spots. The Metallic map is uniformly black, as terracotta is a non-metallic ceramic. Ambient Occlusion captures the subtle shadowing within surface crevices and cracks, adding depth. Height or Displacement maps provide finely detailed relief information to simulate the tile’s uneven surface geometry and enhance parallax effects.
This texture is fully optimized for use in Blender, Unreal Engine, and Unity, supporting seamless tiling for large surface coverage without visible repetition. For practical application, adjusting the UV scale to a slightly larger tile size can enhance the perception of the handmade irregularities. Additionally, fine-tuning the roughness channel can help balance realism between matte clay and subtly worn glazes or dirt accumulation. Blending height and normal maps carefully will further improve depth perception, especially in close-up renders or real-time environments with parallax occlusion mapping enabled.
Import the texture maps into Blender with sRGB color space for albedo/base color and Non-Color for normal, roughness, metallic, AO, height, and ORM maps. Connect normal maps through a Normal Map node, then adjust UV scale with a Mapping node so the material repeats naturally on your model.
For the full step-by-step setup, see How to Use Seamless Textures in Blender. Browse related material examples in wood, concrete, and metal.
Yes. This texture is designed as a seamless tileable PBR material, so it can repeat across large surfaces without visible borders.
You can download PNG/WEBP versions and use 1K, 2K, 4K and 8K download options when available on the page.
Yes. The download options and engine-mapped ZIP workflow are designed for Blender, Unreal Engine, Unity Standard, URP and HDRP material pipelines.
Yes. The texture is available under the AITextured free commercial license. Review the license page for redistribution and AI-training restrictions.


Build, preview, and export seamless PBR materials. Generate full map sets from a single image, inspect them in a real-time WebGL viewer, and re-package maps for Unreal, Unity, and Blender—directly in your browser.
AI text-to-texture: type a prompt and get a seamless, tileable base image ready for PBR workflows (great starting point for materials).
Create a full PBR set (Normal, Roughness, AO, Metallic, etc.) from a single image. Seamless and tiling-friendly.
Instant WebGL viewer: inspect materials on a sphere, plane, and cube. Check tiling and lighting in real time.
Re-packages maps per engine: Unreal (BaseColor + ORM), Unity (Mask/MetallicSmoothness), Blender (separate channels).
PNG ↔ JPG ↔ SVG: fast convert, SVG rasterize, embed/trace options, quality & background controls.