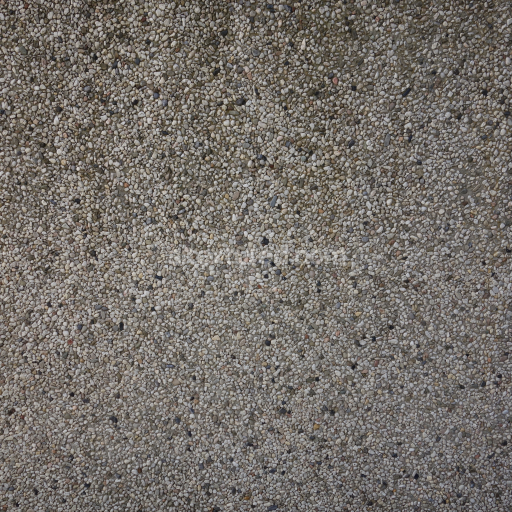
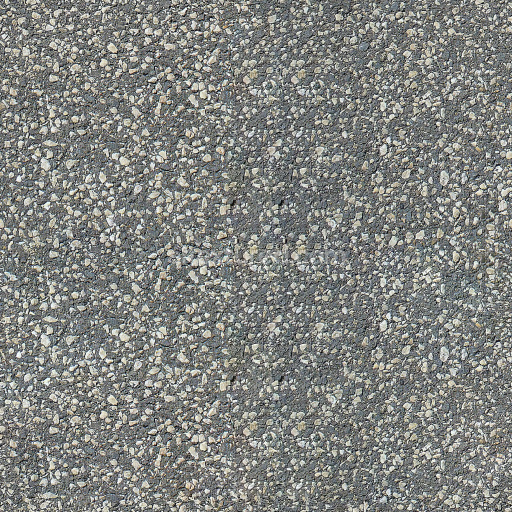
Gravel Road
Seamless texture (tileable) · PNG, WEBP, PBR ZIP. License: AITextured Free Commercial License (FCL) v1.1. Free personal and commercial use. Raw resale, standalone redistribution, mirroring/scraping, competing asset packs, and AI/ML training are not allowed without written permission. Attribution is not required, but appreciated..

| ID | porous-asphalt-open-graded |
|---|---|
| Category | Asphalt |
| Formats | PNG, WEBP, PBR ZIP |
| Size | 1k (1024x1024px), 2k (2048x2048px), 4k (4096x4096px), 8k (8192x8192px) |
| Color | sRGB |
| Tileable | Yes |
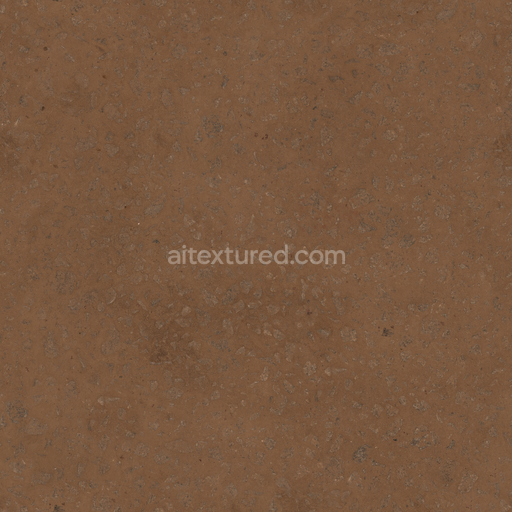
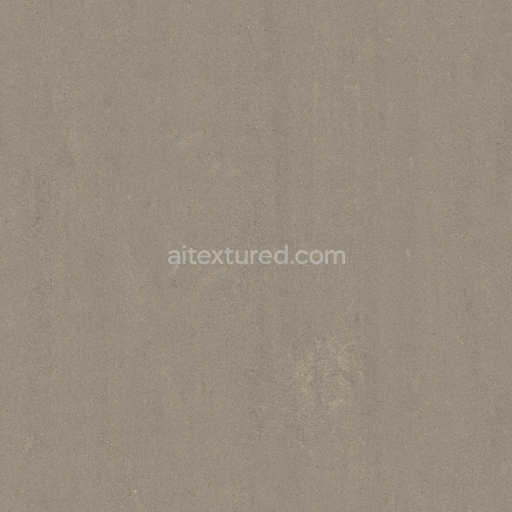
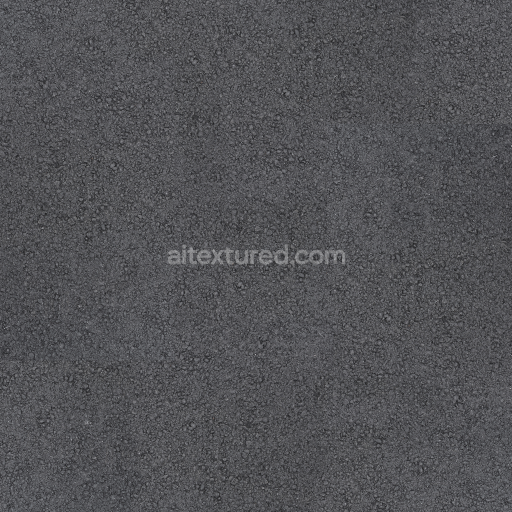
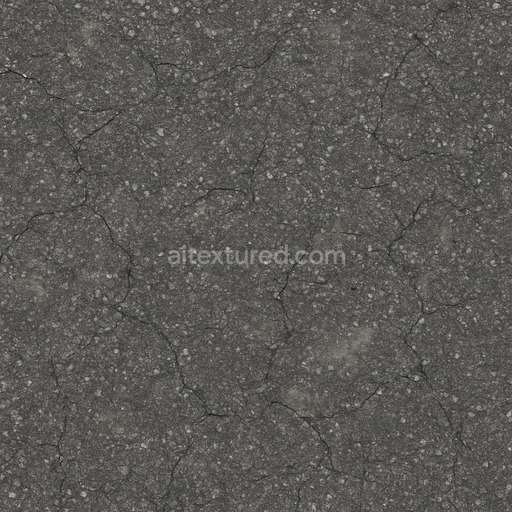
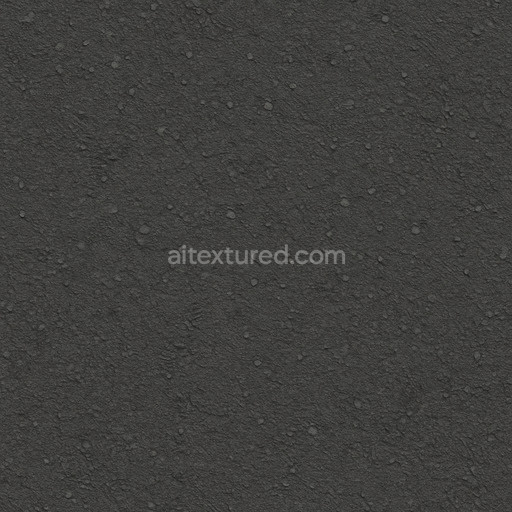
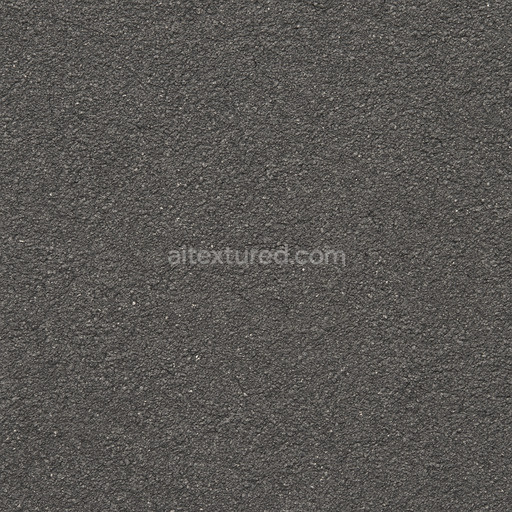
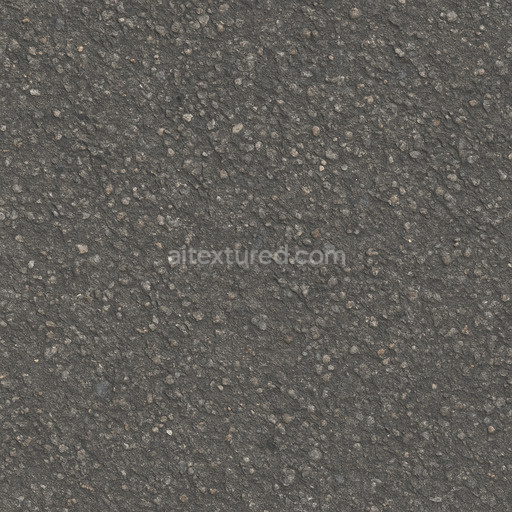
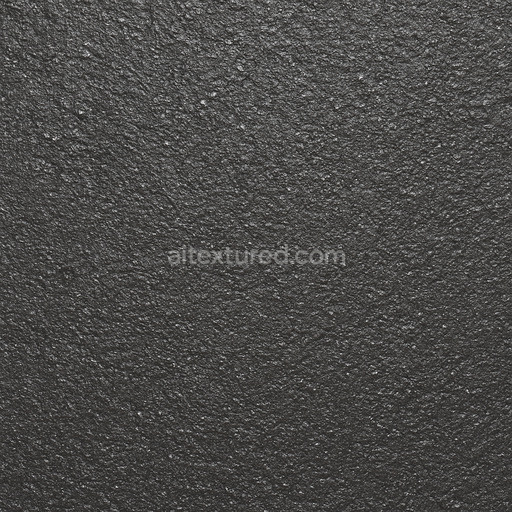
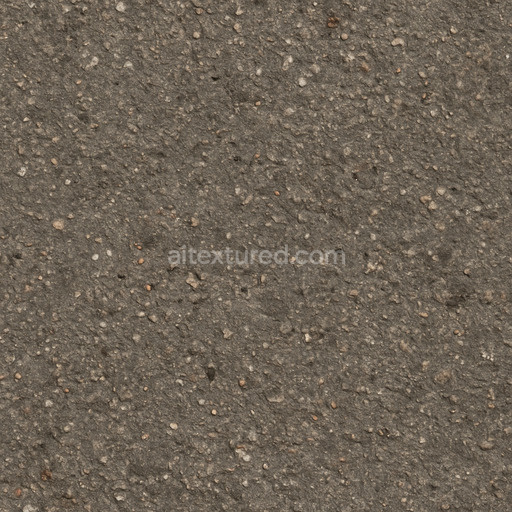
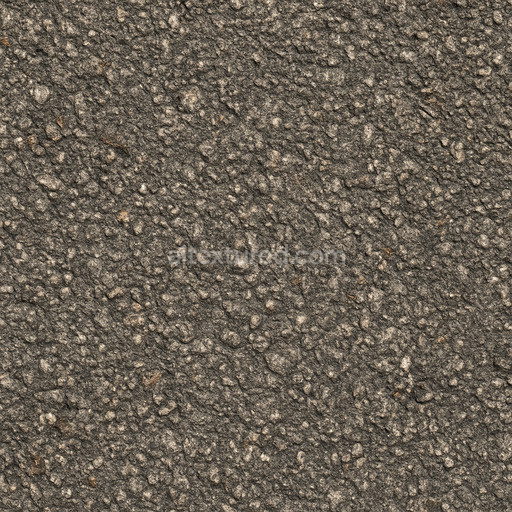
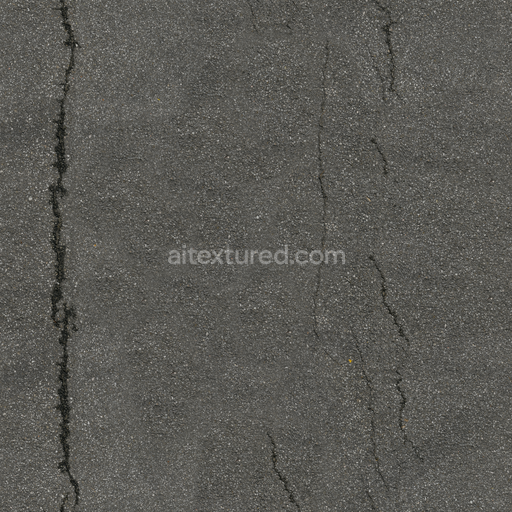
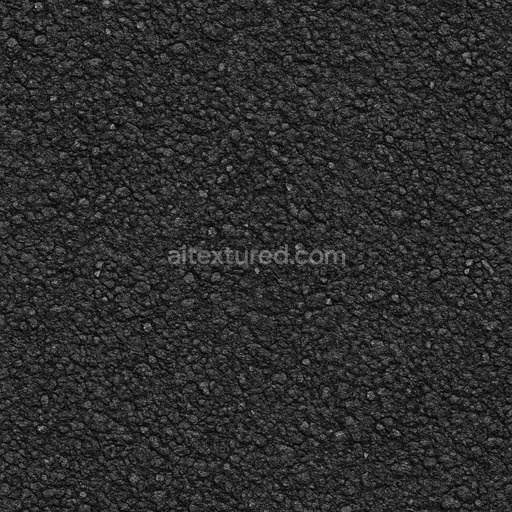
The porous asphalt open graded texture is a meticulously crafted PBR texture designed to authentically replicate the complex composition and unique surface characteristics of real-world porous asphalt. This material features a carefully balanced blend of mineral aggregates—typically crushed stone and gravel—embedded within a polymer-modified bituminous binder matrix. The open graded structure is defined by its high porosity created through interconnected air voids that allow enhanced water permeability and contribute to noise reduction. The surface finish captures the subtly weathered and roughened qualities of open graded asphalt with natural variations in aggregate size shape and coloration influenced by mineral oxide layers and inherent pigment diversity. These fine details are accurately portrayed in the BaseColor/Albedo map offering realistic color tones and nuanced shading while the Normal map accentuates the micro-relief of aggregate edges and binder transitions to add tactile depth and realism.
Supporting a complete physically based rendering (PBR) workflow this seamless porous asphalt open graded texture includes all essential maps to achieve photorealistic results across diverse rendering platforms such as Blender Unreal Engine and Unity. The Roughness map effectively simulates the heterogeneous reflectivity of the surface capturing the contrast between the smooth binder and coarse exposed aggregates while the Metallic map remains minimal to reflect the non-metallic nature of asphalt. Ambient Occlusion enhances the perception of depth by emphasizing shadows within pores and crevices formed by the open graded structure. Height and Displacement maps further enrich the texture by reproducing subtle elevation changes highlighting the porous surface’s intricate topology especially in close-up views. Offered in resolutions up to 8K this tileable porous asphalt open graded texture guarantees exceptional clarity and detail ideal for large-scale infrastructure visualizations architectural renders and detailed environment dressing where surface fidelity is paramount.
Designed for seamless tiling this texture integrates smoothly into various 3D workflows enabling expansive surface coverage without visible repetition or loss of micro-detail. To optimize visual realism adjusting the UV scale to align with scene dimensions helps maintain a natural proportion of porous features relative to camera perspective. Additionally fine-tuning the roughness and normal map intensities based on lighting conditions can significantly enhance the subtle surface variations characteristic of open graded asphalt. Utilizing height or parallax mapping techniques further elevates the material’s immersive quality offering a convincing tactile experience when viewed up close. This texture porous asphalt open graded material provides a reliable and versatile solution for creating realistic asphalt textures complemented by a detailed 3D preview that accurately represents its porous composition and physical properties for professional-grade rendering projects.
Import the texture maps into Blender with sRGB color space for albedo/base color and Non-Color for normal, roughness, metallic, AO, height, and ORM maps. Connect normal maps through a Normal Map node, then adjust UV scale with a Mapping node so the material repeats naturally on your model.
For the full step-by-step setup, see How to Use Seamless Textures in Blender. Browse related material examples in wood, concrete, and metal.
Yes. This texture is designed as a seamless tileable PBR material, so it can repeat across large surfaces without visible borders.
You can download PNG/WEBP versions and use 1K, 2K, 4K and 8K download options when available on the page.
Yes. The download options and engine-mapped ZIP workflow are designed for Blender, Unreal Engine, Unity Standard, URP and HDRP material pipelines.
Yes. The texture is available under the AITextured free commercial license. Review the license page for redistribution and AI-training restrictions.

Build, preview, and export seamless PBR materials. Generate full map sets from a single image, inspect them in a real-time WebGL viewer, and re-package maps for Unreal, Unity, and Blender—directly in your browser.
AI text-to-texture: type a prompt and get a seamless, tileable base image ready for PBR workflows (great starting point for materials).
Create a full PBR set (Normal, Roughness, AO, Metallic, etc.) from a single image. Seamless and tiling-friendly.
Instant WebGL viewer: inspect materials on a sphere, plane, and cube. Check tiling and lighting in real time.
Re-packages maps per engine: Unreal (BaseColor + ORM), Unity (Mask/MetallicSmoothness), Blender (separate channels).
PNG ↔ JPG ↔ SVG: fast convert, SVG rasterize, embed/trace options, quality & background controls.