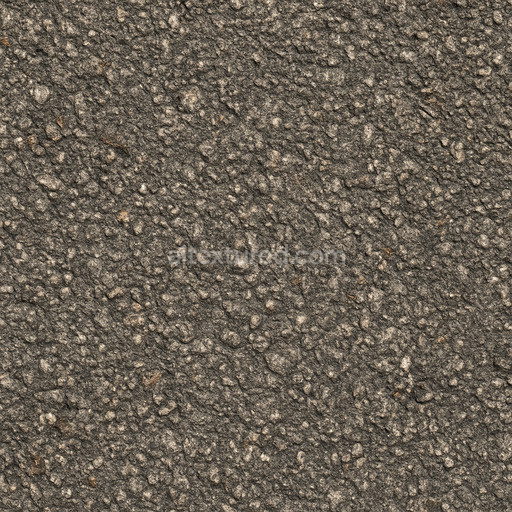
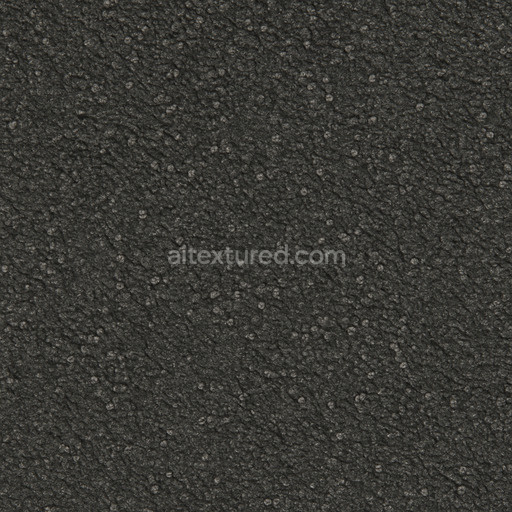
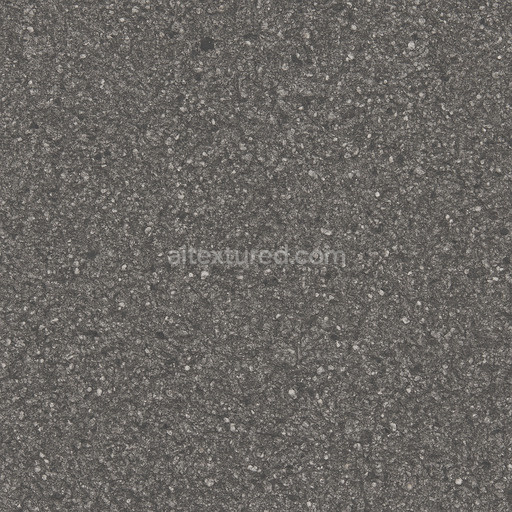
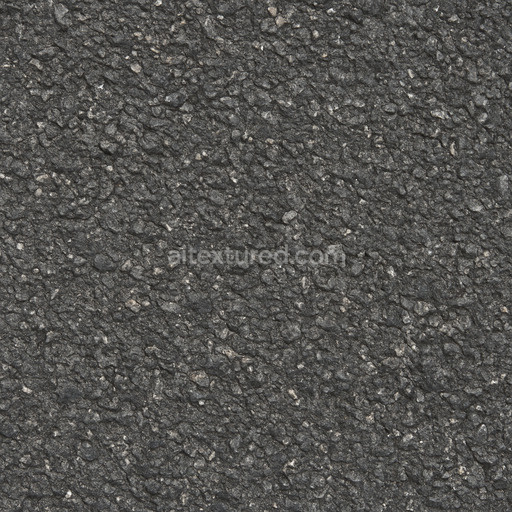
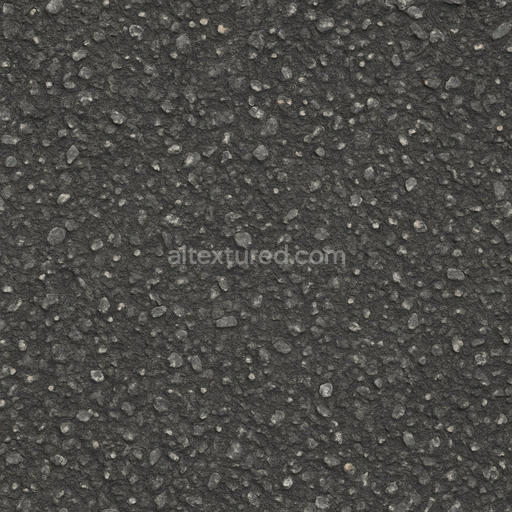
Coarse Weathered Asphalt Seamless Texture
Seamless texture (tileable) · PNG, WEBP, PBR ZIP. License: AITextured Free Commercial License (FCL) v1.1. Free personal and commercial use. Raw resale, standalone redistribution, mirroring/scraping, competing asset packs, and AI/ML training are not allowed without written permission. Attribution is not required, but appreciated..

| ID | speed-bump-asphalt-patch |
|---|---|
| Category | Asphalt |
| Formats | PNG, WEBP, PBR ZIP |
| Size | 1k (1024x1024px), 2k (2048x2048px), 4k (4096x4096px), 8k (8192x8192px) |
| Color | sRGB |
| Tileable | Yes |
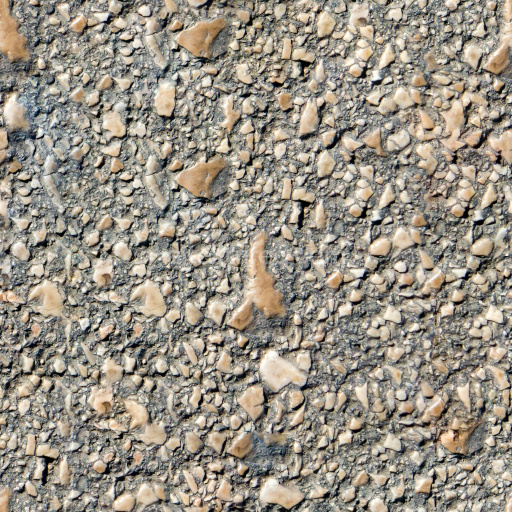
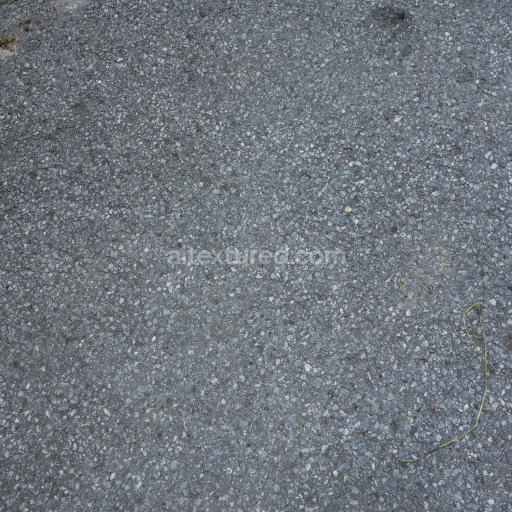
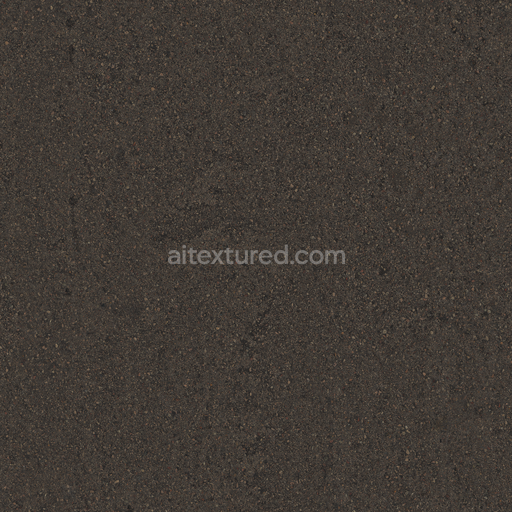
The Speed Bump Asphalt Patch texture is a premium seamless speed bump asphalt patch designed to deliver exceptional realism and intricate detail for asphalt surfaces in 3D environments. Crafted from a complex composition of dense mineral aggregates bound by bituminous polymers this texture authentically captures the rugged yet cohesive nature of asphalt. Fine grains and subtle fiber inclusions are embedded within the patch contributing to a natural variability in surface texture. Weathering elements such as small cracks surface porosity and slight discoloration caused by oxidation and embedded pigments are carefully represented providing an aged and worn look that enhances realism. The surface finish exhibits a natural balance of roughness and noise preserving the fine granularity and weathered character essential for realistic urban and roadway scenes.
This high-resolution PBR texture speed bump asphalt patch is available up to 8K ensuring crisp detailed visuals that tile flawlessly without visible seams or distortion making it ideal for large-scale surfaces. The texture’s material properties are accurately conveyed across PBR channels: the BaseColor/Albedo map reflects the dark muted tones of aged asphalt with varied colorations from mineral inclusions and subtle oil stains; the Normal map simulates the uneven rough topography distinctive to speed bump surfaces; Roughness and Ambient Occlusion maps emphasize the interplay of light on the textured worn finish; Metallic remains minimal highlighting the organic polymer binder’s non-metallic nature; and Height/Displacement maps provide enhanced depth perception through parallax or tessellation accentuating subtle elevation changes and surface contours of the patch.
Designed for seamless integration with popular 3D software such as Blender Unreal Engine and Unity this tileable speed bump asphalt patch texture supports real-time 3D preview functionality allowing artists to quickly iterate and maintain visual consistency across environments. Users can easily adjust the UV scale to fit the speed bump pattern proportionally within their scenes ensuring a natural appearance. For optimal realism fine-tuning the roughness map intensity based on the specific lighting setup can help anchor the material convincingly within its environment enhancing the overall authenticity of the asphalt surface in any visualization or game project.
Import the texture maps into Blender with sRGB color space for albedo/base color and Non-Color for normal, roughness, metallic, AO, height, and ORM maps. Connect normal maps through a Normal Map node, then adjust UV scale with a Mapping node so the material repeats naturally on your model.
For the full step-by-step setup, see How to Use Seamless Textures in Blender. Browse related material examples in wood, concrete, and metal.
Yes. This texture is designed as a seamless tileable PBR material, so it can repeat across large surfaces without visible borders.
You can download PNG/WEBP versions and use 1K, 2K, 4K and 8K download options when available on the page.
Yes. The download options and engine-mapped ZIP workflow are designed for Blender, Unreal Engine, Unity Standard, URP and HDRP material pipelines.
Yes. The texture is available under the AITextured free commercial license. Review the license page for redistribution and AI-training restrictions.

Build, preview, and export seamless PBR materials. Generate full map sets from a single image, inspect them in a real-time WebGL viewer, and re-package maps for Unreal, Unity, and Blender—directly in your browser.
AI text-to-texture: type a prompt and get a seamless, tileable base image ready for PBR workflows (great starting point for materials).
Create a full PBR set (Normal, Roughness, AO, Metallic, etc.) from a single image. Seamless and tiling-friendly.
Instant WebGL viewer: inspect materials on a sphere, plane, and cube. Check tiling and lighting in real time.
Re-packages maps per engine: Unreal (BaseColor + ORM), Unity (Mask/MetallicSmoothness), Blender (separate channels).
PNG ↔ JPG ↔ SVG: fast convert, SVG rasterize, embed/trace options, quality & background controls.