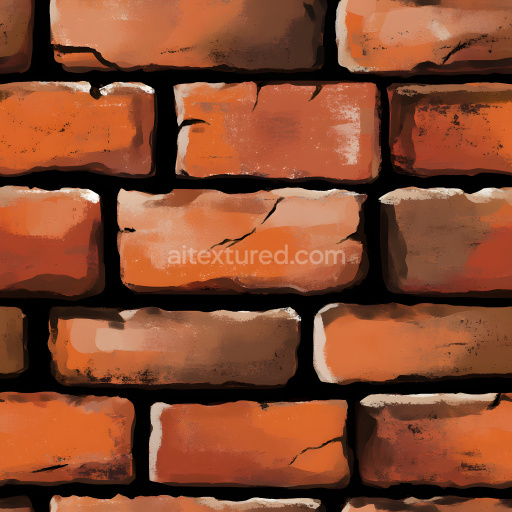
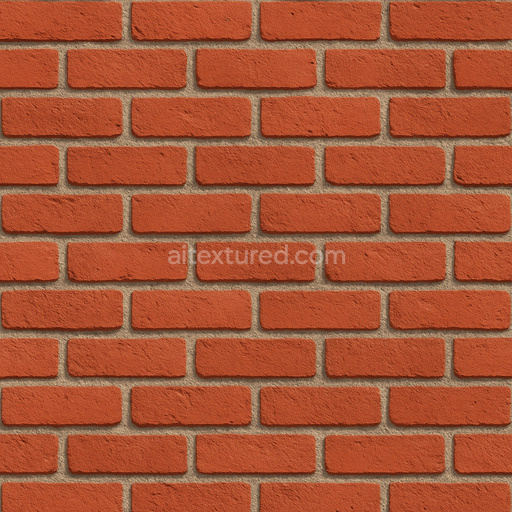
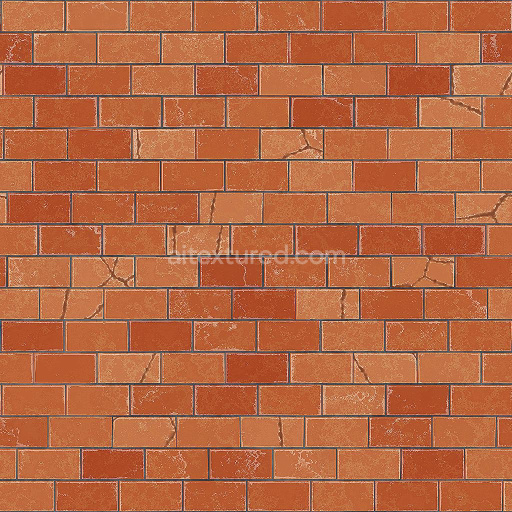
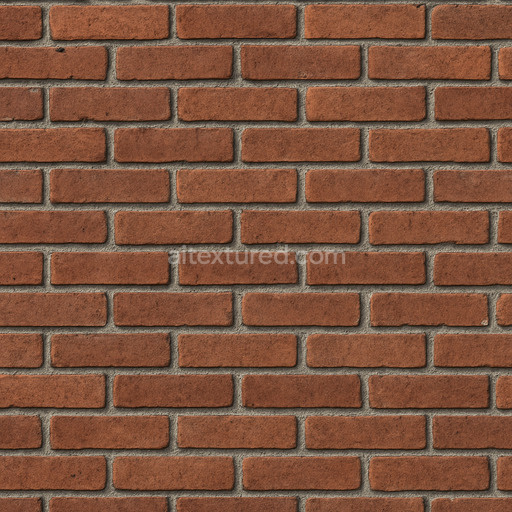
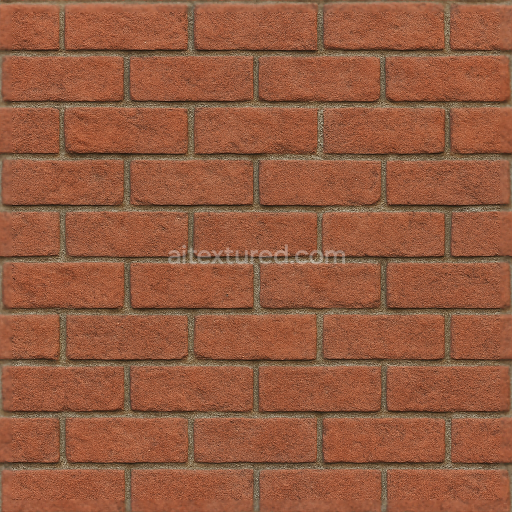
Cracked Red Brick Wall PBR Texture with Weathered Details
Seamless texture (tileable) · PNG, WEBP, PBR ZIP. License: AITextured Free Commercial License (FCL) v1.1. Free personal and commercial use. Raw resale, standalone redistribution, mirroring/scraping, competing asset packs, and AI/ML training are not allowed without written permission. Attribution is not required, but appreciated..

| ID | blue-floor-tiles-01-by-texture-haven-pbr-seamless-8k |
|---|---|
| Category | Brick |
| Formats | PNG, WEBP, PBR ZIP |
| Size | 1k (1024x1024px), 2k (2048x2048px), 4k (4096x4096px), 8k (8192x8192px) |
| Color | sRGB |
| Tileable | Yes |
Seamless Blue Floor Tiles 01 by Texture Haven is a meticulously crafted PBR 3D texture that authentically replicates the look and feel of ceramic floor tiles commonly utilized in architectural and interior design projects. These tiles are composed of a durable mineral-based ceramic substrate made primarily from finely ground clays and natural silicates. The raw materials are expertly bonded using inorganic adhesives resulting in a hard low-porosity surface that offers excellent resistance to wear weathering and daily foot traffic. The surface finish is characterized by a polished glaze enriched with subtle blue oxide pigments which impart a vibrant yet natural coloration. This glaze not only enhances the visual appeal but also produces a smooth semi-gloss finish that balances soft reflections with refined texture. Precise grain orientation and subtle grout lines define each tile’s edges contributing to an authentic ceramic floor appearance suitable for both indoor and outdoor 3D applications.
In terms of PBR texture channels the Base Color (Albedo) map captures the rich blue hues and nuanced tonal variations introduced by the oxide pigments embedded within the ceramic glaze delivering a true-to-life color representation free of baked-in shadows or lighting artifacts. The Normal map conveys fine surface details such as delicate grout indentations and tile boundaries simulating microscopic surface geometry to elevate realism. Roughness is carefully calibrated to reflect the polished yet slightly worn finish enabling realistic specular highlights that complement diffused light. The Metallic channel remains minimal as ceramic materials are inherently non-metallic. Ambient Occlusion enhances depth perception in grout joints and crevices accentuating tile separation and subtle surface wear. Height or Displacement maps emphasize slight elevation differences between tiles and grout lines allowing for enhanced visual depth through parallax or tessellation without increasing polygon complexity.
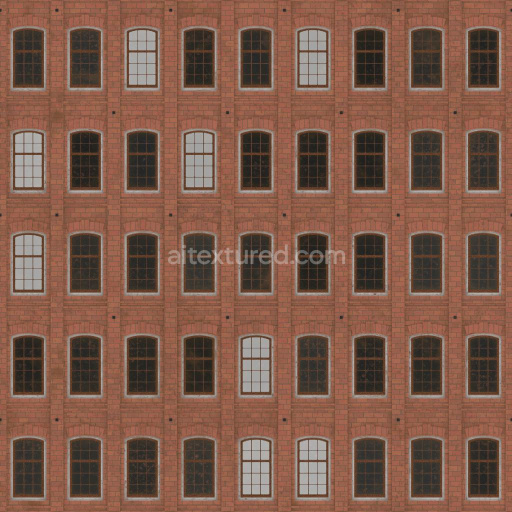
This texture pack is delivered in an 8K resolution optimized for seamless tiling across extensive surfaces to maintain consistent shading and texel density critical for high-quality rendering workflows. It is fully compatible with major 3D engines including Blender Unreal Engine and Unity supporting advanced material setups for photorealistic visualization. For optimal results import the Base Color texture as sRGB to preserve accurate color fidelity while loading Roughness Normal Ambient Occlusion and Height maps as non-color data to ensure precise shader interpretation. When applying the texture it is advisable to adjust the UV scale carefully to avoid noticeable repetition and to combine normal maps with height or parallax effects to amplify surface depth and realism without adding extra geometry overhead.
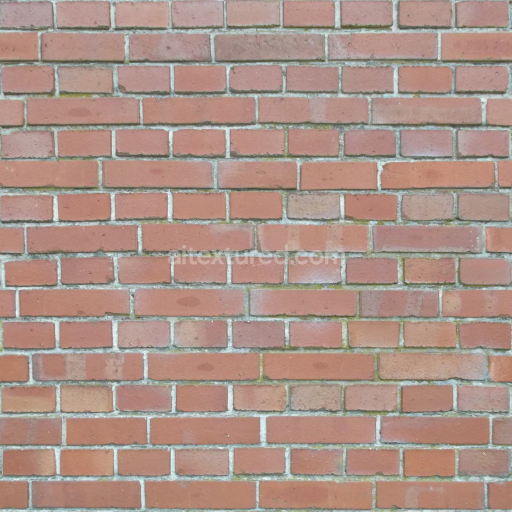
Import the texture maps into Blender with sRGB color space for albedo/base color and Non-Color for normal, roughness, metallic, AO, height, and ORM maps. Connect normal maps through a Normal Map node, then adjust UV scale with a Mapping node so the material repeats naturally on your model.
For the full step-by-step setup, see How to Use Seamless Textures in Blender. Browse related material examples in wood, concrete, and metal.
Yes. This texture is designed as a seamless tileable PBR material, so it can repeat across large surfaces without visible borders.
You can download PNG/WEBP versions and use 1K, 2K, 4K and 8K download options when available on the page.
Yes. The download options and engine-mapped ZIP workflow are designed for Blender, Unreal Engine, Unity Standard, URP and HDRP material pipelines.
Yes. The texture is available under the AITextured free commercial license. Review the license page for redistribution and AI-training restrictions.


Build, preview, and export seamless PBR materials. Generate full map sets from a single image, inspect them in a real-time WebGL viewer, and re-package maps for Unreal, Unity, and Blender—directly in your browser.
AI text-to-texture: type a prompt and get a seamless, tileable base image ready for PBR workflows (great starting point for materials).
Create a full PBR set (Normal, Roughness, AO, Metallic, etc.) from a single image. Seamless and tiling-friendly.
Instant WebGL viewer: inspect materials on a sphere, plane, and cube. Check tiling and lighting in real time.
Re-packages maps per engine: Unreal (BaseColor + ORM), Unity (Mask/MetallicSmoothness), Blender (separate channels).
PNG ↔ JPG ↔ SVG: fast convert, SVG rasterize, embed/trace options, quality & background controls.