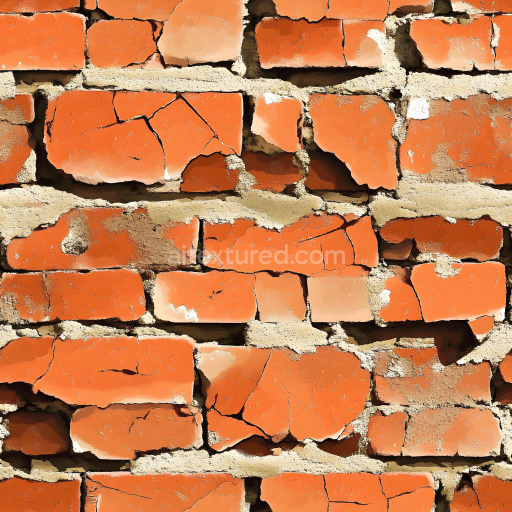
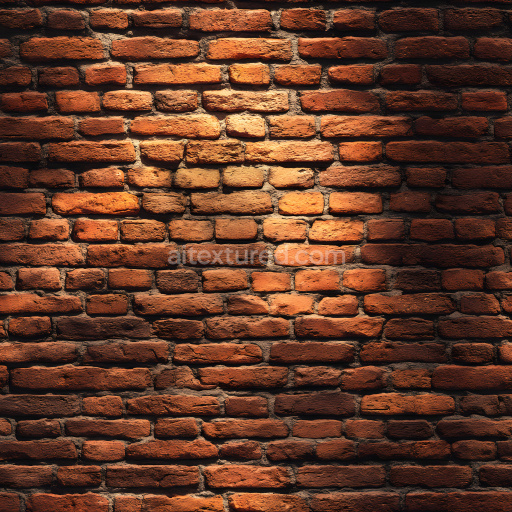
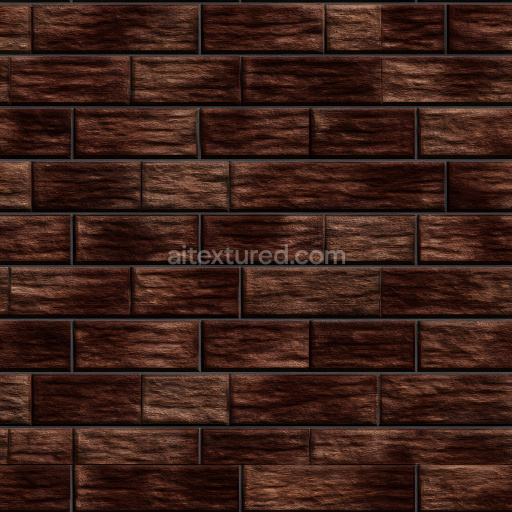
cracked brick wall PBR texture with chipped orange-red bricks and eroded mortar
Seamless texture (tileable) · PNG, WEBP, PBR ZIP. License: AITextured Free Commercial License (FCL) v1.1. Free personal and commercial use. Raw resale, standalone redistribution, mirroring/scraping, competing asset packs, and AI/ML training are not allowed without written permission. Attribution is not required, but appreciated..

| ID | seamless-glazed-brick-3d-texture-pbr-8k-glossy-smooth-decorative-wall |
|---|---|
| Category | Brick |
| Formats | PNG, WEBP, PBR ZIP |
| Size | 1k (1024x1024px), 2k (2048x2048px), 4k (4096x4096px), 8k (8192x8192px) |
| Color | sRGB |
| Tileable | Yes |
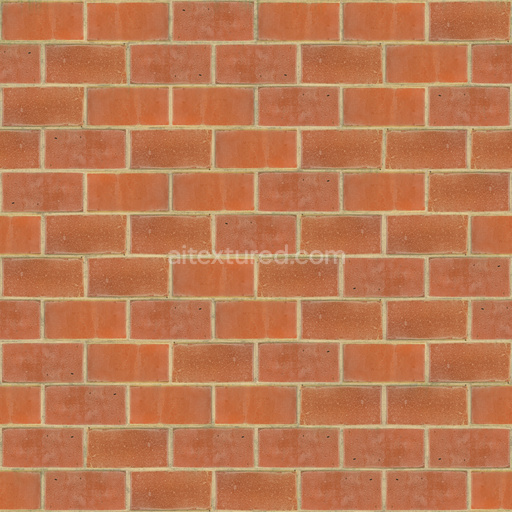
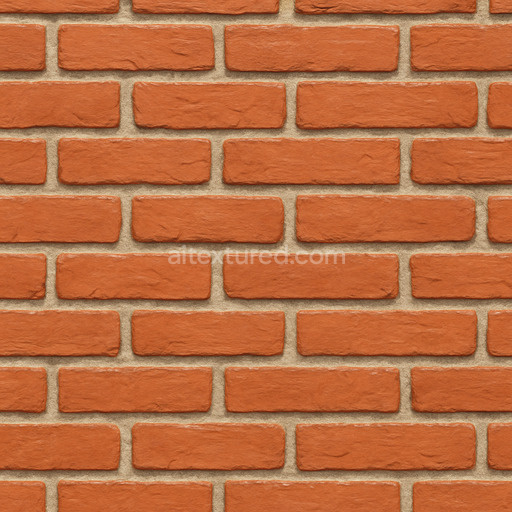
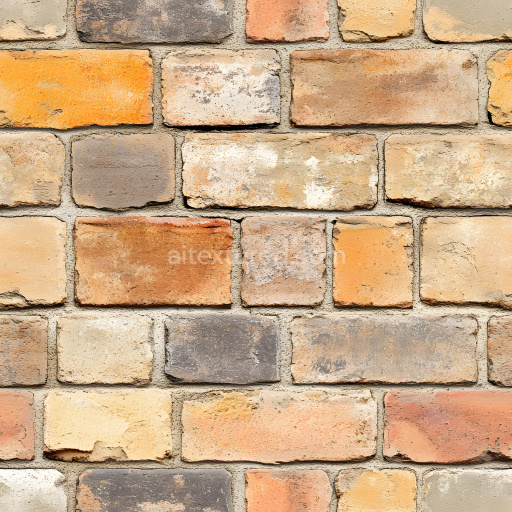
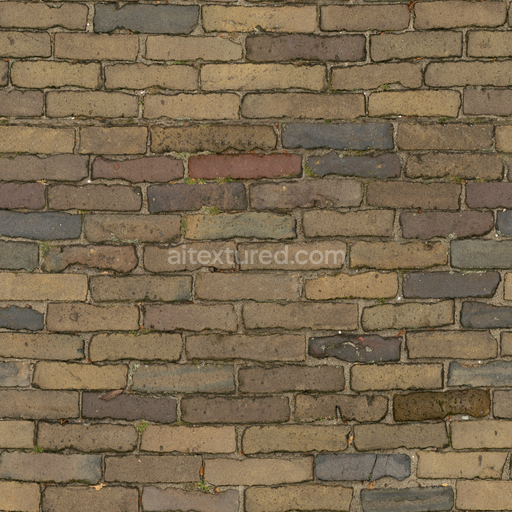
This seamless glazed brick texture showcases a meticulously crafted running bond pattern composed of smooth rectangular bricks with a thin mortar joint separating each unit. The base material is traditional fired clay refined and coated with a durable vitreous glaze that produces a highly reflective glossy surface. The glaze enhances the brick’s density reducing porosity and creating a smooth finish that resists weathering and stains. The substrate beneath consists of a dense ceramic body while the glaze layer provides subtle variations in sheen and coloration achieved through a combination of mineral-based pigments and firing techniques that produce rich vibrant red and brown hues with occasional slight tonal shifts.
The geometric form emphasizes a classic brick shape with sharp clean edges and a consistent size that creates a uniform and orderly running bond layout. The thin mortar joints are rendered with a slightly rougher matte texture to contrast the glossy bricks simulating cementitious material with fine aggregates that produce a subtle grain. This mortar is portrayed with a slightly lighter tone and minimal displacement to visually separate the bricks without overpowering the composition. The overall surface finish is predominantly polished due to the glaze while the mortar provides a tactile contrast to highlight the brick pattern’s dimensionality and form.
In terms of PBR workflow the texture includes a high-resolution 8K BaseColor map representing the rich ceramic pigment and reflective glaze variations. The Normal map captures the fine detail of the brick edges and subtle surface imperfections enhancing the sense of depth and form. The Roughness map accurately defines the smooth reflective glazed surfaces with low roughness values while the mortar areas show higher roughness for a matte appearance. The Metallic map is uniformly set to zero consistent with non-metallic ceramic materials. Ambient Occlusion adds depth to the thin mortar crevices and brick recesses emphasizing the running bond relief. The Height/Displacement map delivers precise elevation data enhancing the 3D form when parallax or tessellation techniques are employed.
This texture is optimized for seamless tiling and compatibility with Blender Unreal Engine and Unity making it suitable for architectural visualization product design and game environments requiring realistic decorative brick walls. For best results adjusting the UV scale to match real-world brick dimensions ensures accurate proportions while fine-tuning the roughness channel can help achieve any desired variation in glossiness. When using height or parallax mapping blending with the normal map improves the perception of depth without harsh edges preserving the smooth glazed aesthetic of the brick surface.
Import the texture maps into Blender with sRGB color space for albedo/base color and Non-Color for normal, roughness, metallic, AO, height, and ORM maps. Connect normal maps through a Normal Map node, then adjust UV scale with a Mapping node so the material repeats naturally on your model.
For the full step-by-step setup, see How to Use Seamless Textures in Blender. Browse related material examples in wood, concrete, and metal.
Yes. This texture is designed as a seamless tileable PBR material, so it can repeat across large surfaces without visible borders.
You can download PNG/WEBP versions and use 1K, 2K, 4K and 8K download options when available on the page.
Yes. The download options and engine-mapped ZIP workflow are designed for Blender, Unreal Engine, Unity Standard, URP and HDRP material pipelines.
Yes. The texture is available under the AITextured free commercial license. Review the license page for redistribution and AI-training restrictions.
Generate, preview, and export seamless PBR materials for Blender, Unity, and Unreal Engine—directly in your browser.
AI text-to-texture: type a prompt and get a seamless, tileable base image ready for PBR workflows (great starting point for materials).
Create a full PBR set (Normal, Roughness, AO, Metallic, etc.) from a single image. Seamless and tiling-friendly.
Instant WebGL viewer: inspect materials on a sphere, plane, and cube. Check tiling and lighting in real time.
Re-packages maps per engine: Unreal (BaseColor + ORM), Unity (Mask/MetallicSmoothness), Blender (separate channels).
PNG ↔ JPG ↔ SVG: fast convert, SVG rasterize, embed/trace options, quality & background controls.