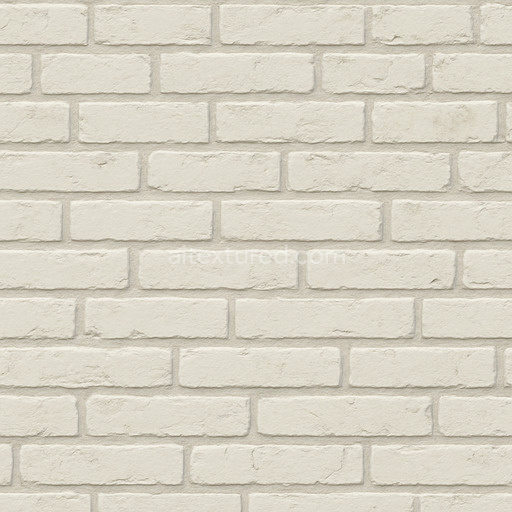
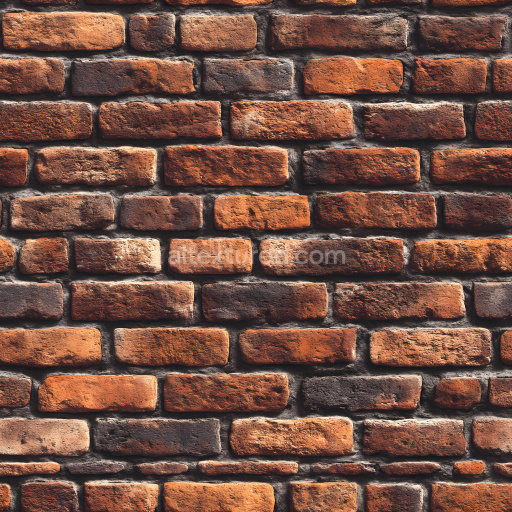
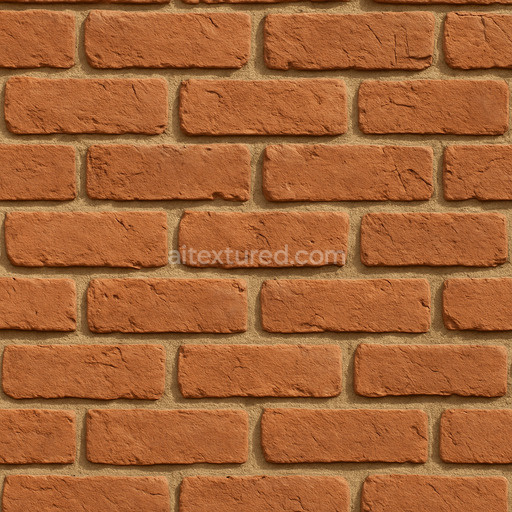
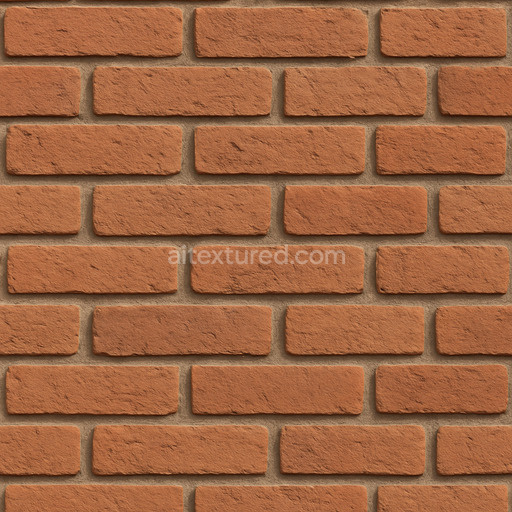
Patterned Brick Wall
Seamless texture (tileable) · PNG, WEBP, PBR ZIP. License: AITextured Free Commercial License (FCL) v1.1. Free personal and commercial use. Raw resale, standalone redistribution, mirroring/scraping, competing asset packs, and AI/ML training are not allowed without written permission. Attribution is not required, but appreciated..

| ID | brick-wall-5-by-share-textures-pbr-seamless-8k |
|---|---|
| Category | Brick |
| Formats | PNG, WEBP, PBR ZIP |
| Size | 1k (1024x1024px), 2k (2048x2048px), 4k (4096x4096px), 8k (8192x8192px) |
| Color | sRGB |
| Tileable | Yes |
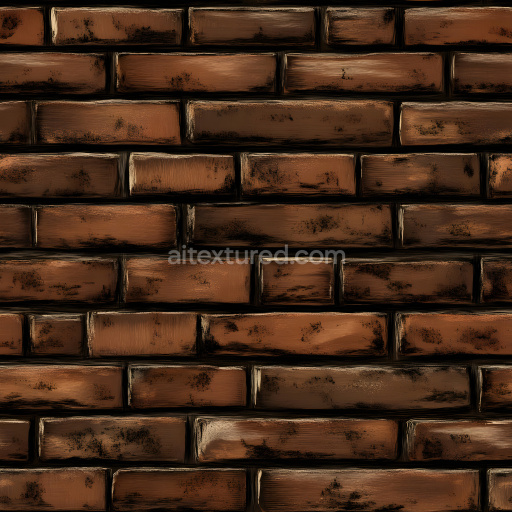
Seamless Brick Wall 5 by Share Textures is a meticulously crafted PBR 3D texture that authentically replicates the traditional masonry appearance and tactile feel of fired clay bricks. The base substrate is a mineral-rich ceramic composition typical of classic brickwork featuring natural grain orientation and fine aggregate inclusions that add complexity and subtle variation to the surface. These bricks exhibit a range of porosity levels and gentle weathering effects simulating natural erosion and age-related wear that enhance realism. Held together by a cementitious mortar binder the texture highlights the contrast between the rough matte brick faces and the slightly recessed coarse mortar joints. Natural iron oxide pigments imbue the bricks with a warm reddish-brown color palette enriched by nuanced tonal shifts and subtle staining that are characteristic of authentic brick surfaces exposed to the elements over time.
The texture pack includes a comprehensive set of PBR channels designed for realistic rendering and seamless integration across popular engines such as Blender Unreal Engine and Unity. The Base Color (Albedo) map captures intricate color variations and natural discolorations while the Normal map emphasizes fine surface relief including the edges of bricks and the depth of mortar joints adding perceptible depth and tactile detail. The Roughness map balances the matte finish of the bricks with softer highlights on areas of wear creating a convincing interplay of light and shadow. The Metallic channel remains non-reflective consistent with the ceramic nature of fired clay bricks. Ambient Occlusion enhances shadowed crevices improving volumetric depth and the Height/Displacement maps enable advanced parallax or displacement effects for additional geometric detail heightening the surface’s tactile realism under dynamic lighting conditions.
Available in resolutions up to 8K this seamless tileable texture guarantees crisp detail even on large surfaces making it ideal for high-fidelity architectural visualization and game environments. It is fully compatible with the Principled BSDF shader in Blender as well as the Base Color Roughness Normal and Ambient Occlusion inputs in Unreal Engine and Unity’s URP and HDRP Lit shaders. For optimal results it is recommended to maintain a consistent UV scale across the mesh and to combine the Normal map with Height or Parallax displacement to enrich the surface depth and realism further. Applying base color textures in sRGB color space alongside non-color data maps for normals and height ensures accurate color rendition and physically based shading delivering a natural and consistent brick wall appearance across multiple platforms and lighting scenarios.
Import the texture maps into Blender with sRGB color space for albedo/base color and Non-Color for normal, roughness, metallic, AO, height, and ORM maps. Connect normal maps through a Normal Map node, then adjust UV scale with a Mapping node so the material repeats naturally on your model.
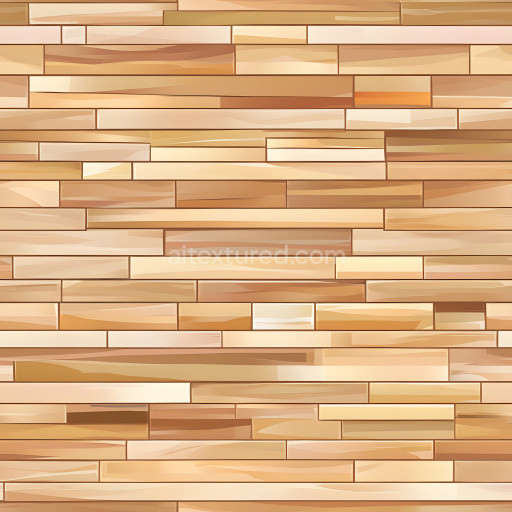
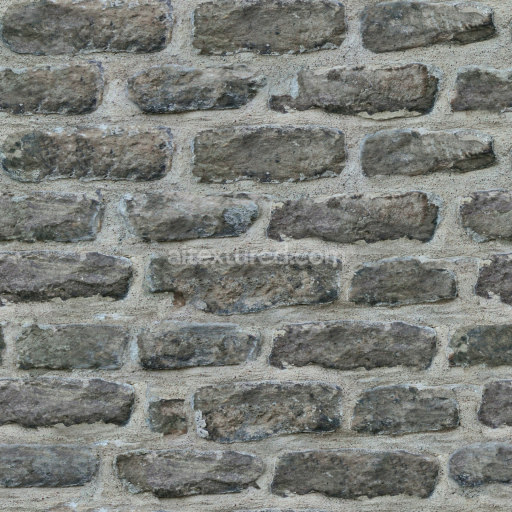
For the full step-by-step setup, see How to Use Seamless Textures in Blender. Browse related material examples in wood, concrete, and metal.
Yes. This texture is designed as a seamless tileable PBR material, so it can repeat across large surfaces without visible borders.
You can download PNG/WEBP versions and use 1K, 2K, 4K and 8K download options when available on the page.
Yes. The download options and engine-mapped ZIP workflow are designed for Blender, Unreal Engine, Unity Standard, URP and HDRP material pipelines.
Yes. The texture is available under the AITextured free commercial license. Review the license page for redistribution and AI-training restrictions.
Build, preview, and export seamless PBR materials. Generate full map sets from a single image, inspect them in a real-time WebGL viewer, and re-package maps for Unreal, Unity, and Blender—directly in your browser.
AI text-to-texture: type a prompt and get a seamless, tileable base image ready for PBR workflows (great starting point for materials).
Create a full PBR set (Normal, Roughness, AO, Metallic, etc.) from a single image. Seamless and tiling-friendly.
Instant WebGL viewer: inspect materials on a sphere, plane, and cube. Check tiling and lighting in real time.
Re-packages maps per engine: Unreal (BaseColor + ORM), Unity (Mask/MetallicSmoothness), Blender (separate channels).
PNG ↔ JPG ↔ SVG: fast convert, SVG rasterize, embed/trace options, quality & background controls.