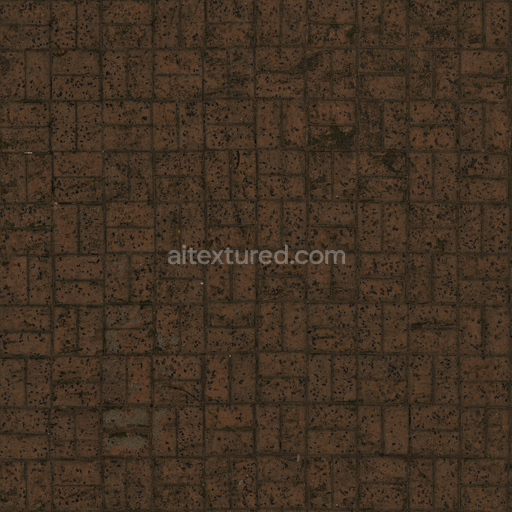
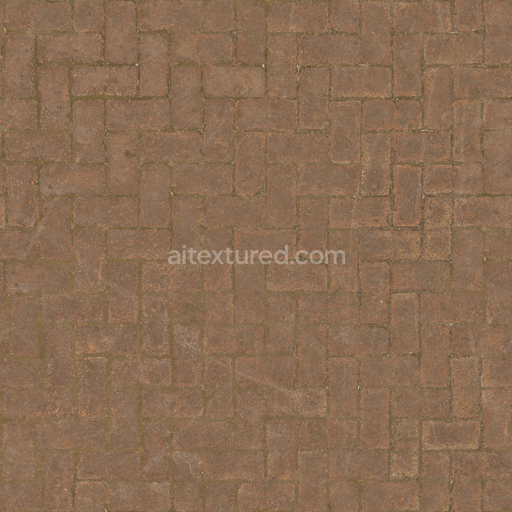
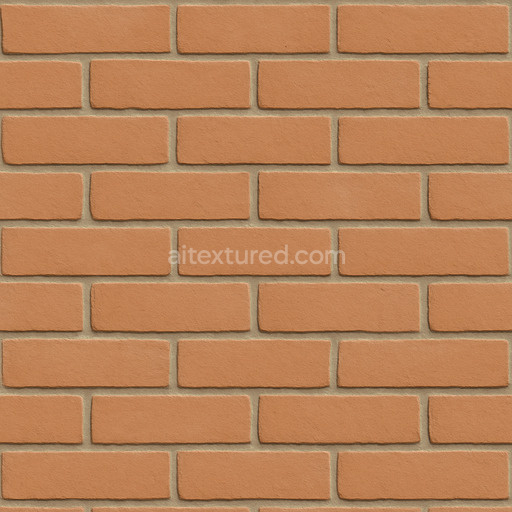
Brick Villa Floor - Rough Brick Bricks Pattern Patterned Floor
Seamless texture (tileable) · PNG, WEBP, PBR ZIP. License: AITextured Free Commercial License (FCL) v1.1. Free personal and commercial use. Raw resale, standalone redistribution, mirroring/scraping, competing asset packs, and AI/ML training are not allowed without written permission. Attribution is not required, but appreciated..

| ID | seamless-cracked-brick-3d-texture-pbr-8k-rough-aged-weathered-wall-surface |
|---|---|
| Category | Brick |
| Formats | PNG, WEBP, PBR ZIP |
| Size | 1k (1024x1024px), 2k (2048x2048px), 4k (4096x4096px), 8k (8192x8192px) |
| Color | sRGB |
| Tileable | Yes |
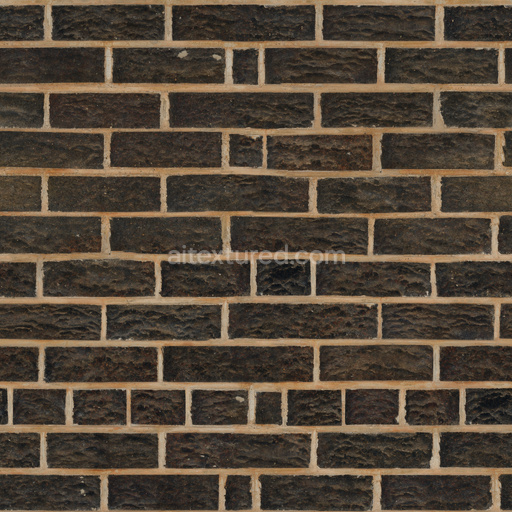
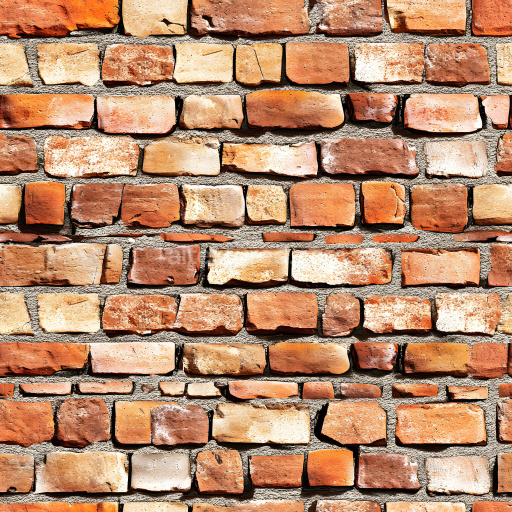
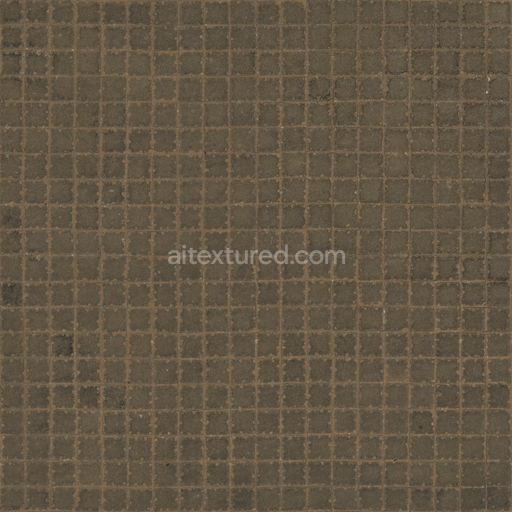
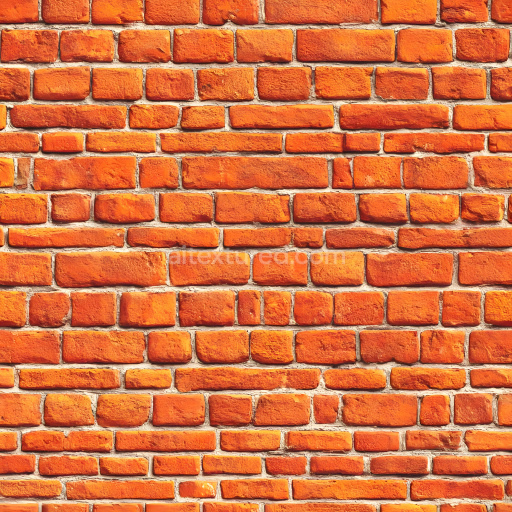
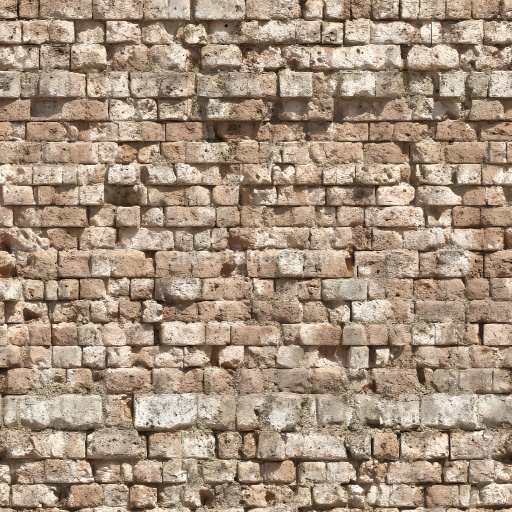
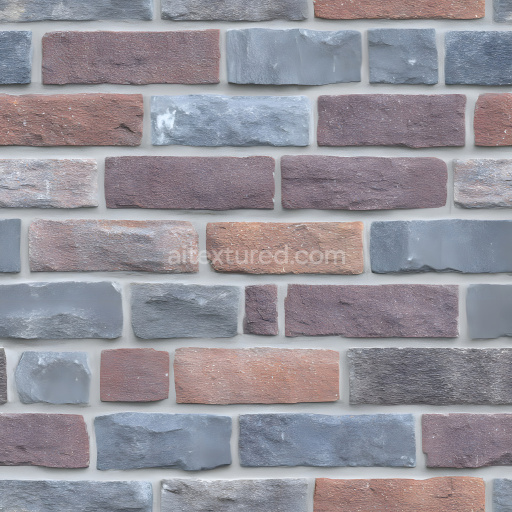
This seamless cracked brick 3D texture showcases a detailed brick wall surface composed of traditional fired clay bricks bonded with weathered mortar. The bricks themselves exhibit a rough porous structure typical of aged masonry where the original clay substrate reveals granular aggregates and mineral inclusions that contribute to its uneven grainy surface. The mortar formed from a lime-cement binder mixed with fine sand appears eroded and cracked adding to the natural randomness of the brick bond pattern. This random bond arrangement enhances the organic non-repetitive feel of the texture where each brick displays unique fissures chips and surface irregularities that reflect decades of weathering and mechanical stress.
From a material perspective the bricks' surface finish is matte and coarse lacking any polished or glazed treatment which emphasizes their roughness and age. The natural reddish-brown base color of the bricks is interspersed with darker soot stains and lighter efflorescence deposits creating subtle color variation across the wall. The weathered mortar joints contrast with a lighter gray tone showing granular texture and slight erosion. These variations are accurately captured in the BaseColor (Albedo) map while the Normal and Height/Displacement maps provide fine detail of cracks chipped edges and surface depth. The Roughness map highlights the non-reflective matte quality of the brick and mortar surfaces with higher roughness values around the cracked and porous areas whereas the Metallic channel remains consistently low reflecting the non-metallic nature of the materials. Ambient Occlusion enhances the perception of depth in crevices and recessed mortar joints contributing to the overall realism.
The texture is rendered at an impressive 8K resolution ensuring exceptional clarity and fine detail reproduction ideal for close-up architectural visualization urban decay environments and restoration project simulations. Its PBR compatibility means it integrates seamlessly with physically based rendering workflows in Blender Unreal Engine and Unity allowing for accurate interaction with scene lighting and shadows. The texture’s seamless tiling capability ensures it can cover large surfaces without visible repetition or discontinuities maintaining visual authenticity across expansive brick walls.
For optimal use it is advisable to adjust the UV scale to match the real-world brick dimensions preventing distortion or unnatural repetition. Additionally fine-tuning the roughness map can help simulate varying degrees of weathering from relatively smooth patches to heavily eroded areas. When working with height or parallax mapping blending these with the normal map can enhance the perception of depth in cracks and mortar joints without excessive geometric complexity preserving performance while achieving rich surface detail.
Import the texture maps into Blender with sRGB color space for albedo/base color and Non-Color for normal, roughness, metallic, AO, height, and ORM maps. Connect normal maps through a Normal Map node, then adjust UV scale with a Mapping node so the material repeats naturally on your model.
For the full step-by-step setup, see How to Use Seamless Textures in Blender. Browse related material examples in wood, concrete, and metal.
Yes. This texture is designed as a seamless tileable PBR material, so it can repeat across large surfaces without visible borders.
You can download PNG/WEBP versions and use 1K, 2K, 4K and 8K download options when available on the page.
Yes. The download options and engine-mapped ZIP workflow are designed for Blender, Unreal Engine, Unity Standard, URP and HDRP material pipelines.
Yes. The texture is available under the AITextured free commercial license. Review the license page for redistribution and AI-training restrictions.
Generate, preview, and export seamless PBR materials for Blender, Unity, and Unreal Engine—directly in your browser.
AI text-to-texture: type a prompt and get a seamless, tileable base image ready for PBR workflows (great starting point for materials).
Create a full PBR set (Normal, Roughness, AO, Metallic, etc.) from a single image. Seamless and tiling-friendly.
Instant WebGL viewer: inspect materials on a sphere, plane, and cube. Check tiling and lighting in real time.
Re-packages maps per engine: Unreal (BaseColor + ORM), Unity (Mask/MetallicSmoothness), Blender (separate channels).
PNG ↔ JPG ↔ SVG: fast convert, SVG rasterize, embed/trace options, quality & background controls.