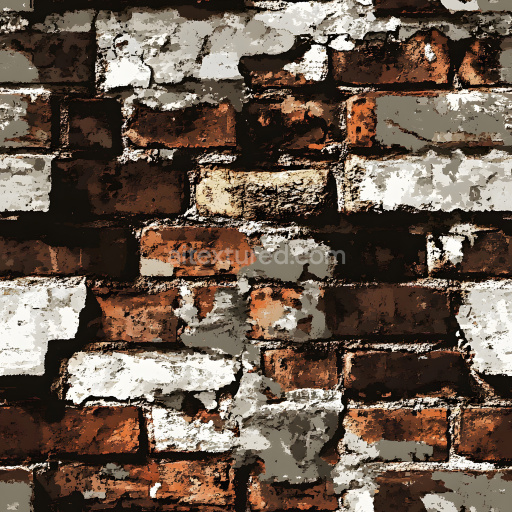
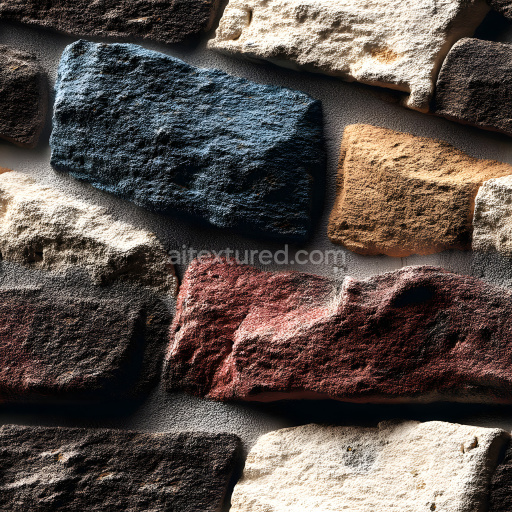
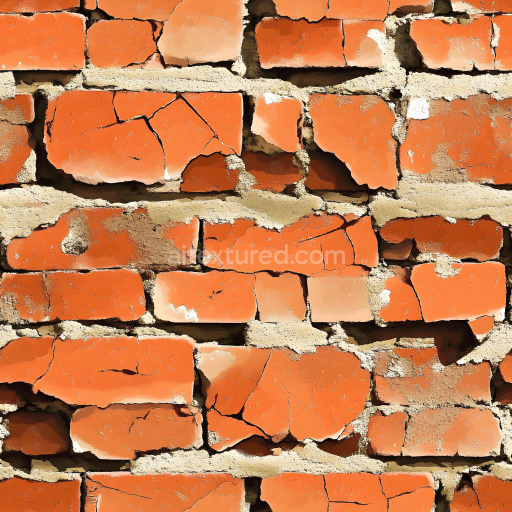
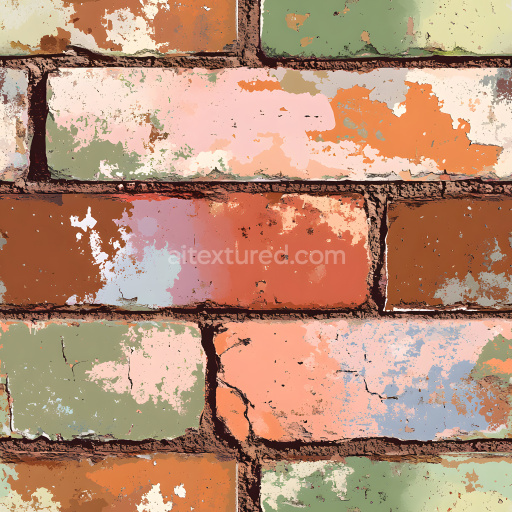
cracked brick wall PBR texture featuring chipped paint and weathered surfaces
Seamless texture (tileable) · PNG, WEBP, PBR ZIP. License: AITextured Free Commercial License (FCL) v1.1. Free personal and commercial use. Raw resale, standalone redistribution, mirroring/scraping, competing asset packs, and AI/ML training are not allowed without written permission. Attribution is not required, but appreciated..

| ID | seamless-painted-brick-3d-texture-pbr-8k-smooth-colorful-facade-wall-surface |
|---|---|
| Category | Brick |
| Formats | PNG, WEBP, PBR ZIP |
| Size | 1k (1024x1024px), 2k (2048x2048px), 4k (4096x4096px), 8k (8192x8192px) |
| Color | sRGB |
| Tileable | Yes |
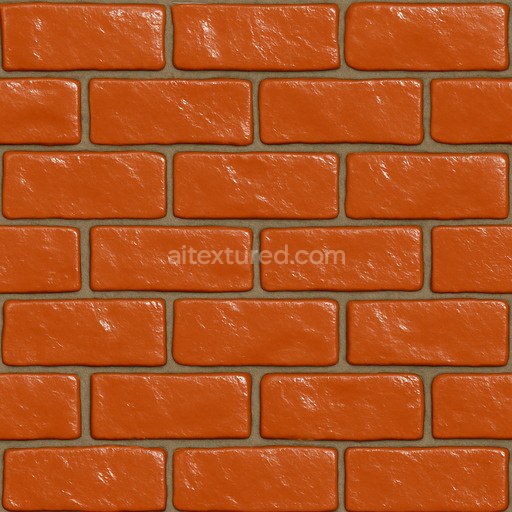
This seamless painted brick 3D texture features a dense arrangement of rectangular bricks laid in a classic running bond pattern characterized by offset horizontal rows and thin mortar joints. The base material consists primarily of fired clay bricks known for their durable slightly porous structure. Each brick is coated with a smooth glossy paint layer that enhances the visual uniformity and adds a subtle sheen to the surface suggesting a well-maintained exterior facade. The thin mortar lines between bricks are composed of a cementitious binder mixed with fine aggregates providing a narrow but distinct separation that emphasizes the geometric regularity of the brickwork. The overall form is flat yet detailed balancing the hard edges of the bricks with the delicate mortar crevices which contribute to the texture’s photorealistic depth and complexity.
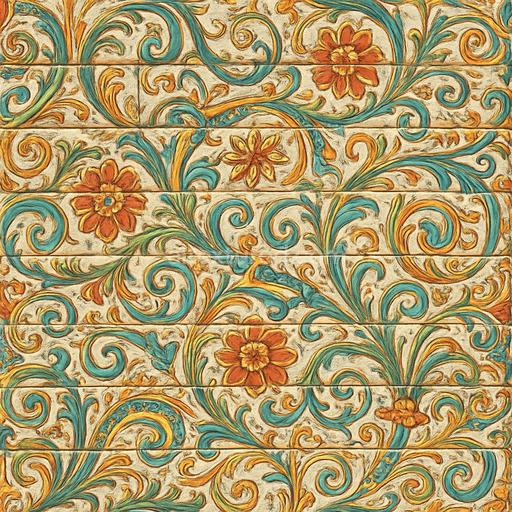
The paint finish on the bricks incorporates synthetic pigments and binders that deliver vibrant colorful tones while maintaining a slightly worn natural appearance to avoid an overly artificial look. This painted surface exhibits minimal weathering with fine micro-scratches and subtle variations in roughness that simulate real-world exposure to environmental factors. The texture’s porosity is low due to the paint layer sealing the clay bricks but the underlying roughness and grain of the fired clay remain perceptible beneath the coating. Such detailed surface characteristics are captured in the Normal and Height maps which provide precise displacement and surface relief enhancing the 3D realism. The Roughness map controls the glossiness reflecting the smooth semi-gloss finish of the painted bricks while the Ambient Occlusion map accentuates shadowed crevices and mortar depth. The Metallic channel remains at zero consistent with the non-metallic nature of brick and paint materials.
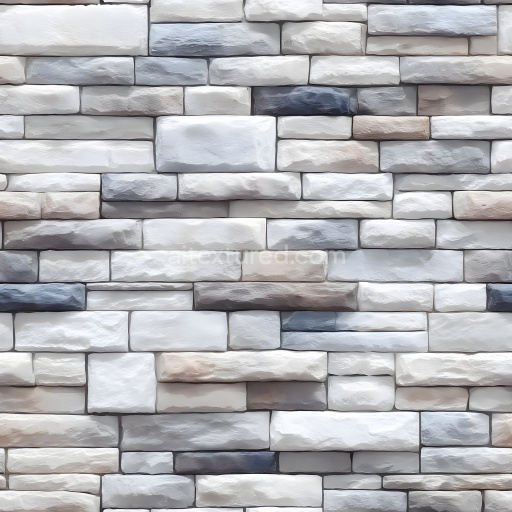
Rendered at an impressive 8K resolution this texture supports physically based rendering (PBR) workflows ensuring accurate light interaction and material response in real-time and offline applications. Its high resolution allows for close-up viewing without loss of detail making it suitable for modern rendering engines such as Blender’s Cycles and Eevee Unreal Engine and Unity. The texture’s clean colorful aesthetic suits urban architectural visualizations modern facades or stylized game environments where a smooth yet realistic painted brick surface is required. The seamless nature of the texture enables easy tiling across large surfaces without visible repetition preserving the integrity of the material’s form and pattern.
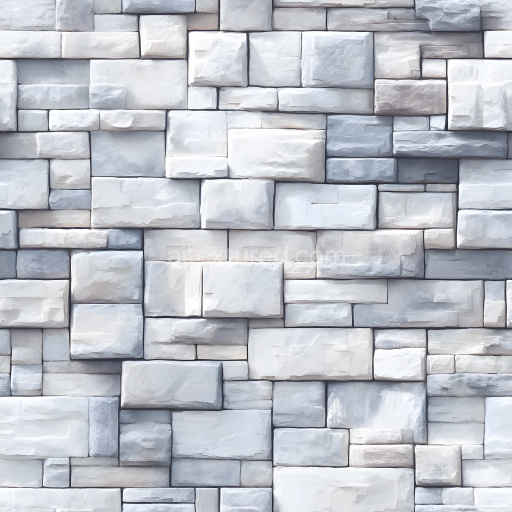
For optimal usage it is recommended to carefully adjust the UV scale when applying the texture to avoid distortion of the running bond pattern maintaining consistent brick proportions. Additionally fine-tuning the roughness map can help achieve the desired level of glossiness from a more matte finish to a subtly reflective surface. When incorporating height and normal maps blending these channels thoughtfully can enhance the tactile quality of the bricks particularly around mortar edges without exaggerating displacement artifacts. This approach ensures the painted brick wall remains visually coherent and physically plausible under varying lighting conditions.
Import the texture maps into Blender with sRGB color space for albedo/base color and Non-Color for normal, roughness, metallic, AO, height, and ORM maps. Connect normal maps through a Normal Map node, then adjust UV scale with a Mapping node so the material repeats naturally on your model.
For the full step-by-step setup, see How to Use Seamless Textures in Blender. Browse related material examples in wood, concrete, and metal.
Yes. This texture is designed as a seamless tileable PBR material, so it can repeat across large surfaces without visible borders.
You can download PNG/WEBP versions and use 1K, 2K, 4K and 8K download options when available on the page.
Yes. The download options and engine-mapped ZIP workflow are designed for Blender, Unreal Engine, Unity Standard, URP and HDRP material pipelines.
Yes. The texture is available under the AITextured free commercial license. Review the license page for redistribution and AI-training restrictions.

Generate, preview, and export seamless PBR materials for Blender, Unity, and Unreal Engine—directly in your browser.
AI text-to-texture: type a prompt and get a seamless, tileable base image ready for PBR workflows (great starting point for materials).
Create a full PBR set (Normal, Roughness, AO, Metallic, etc.) from a single image. Seamless and tiling-friendly.
Instant WebGL viewer: inspect materials on a sphere, plane, and cube. Check tiling and lighting in real time.
Re-packages maps per engine: Unreal (BaseColor + ORM), Unity (Mask/MetallicSmoothness), Blender (separate channels).
PNG ↔ JPG ↔ SVG: fast convert, SVG rasterize, embed/trace options, quality & background controls.