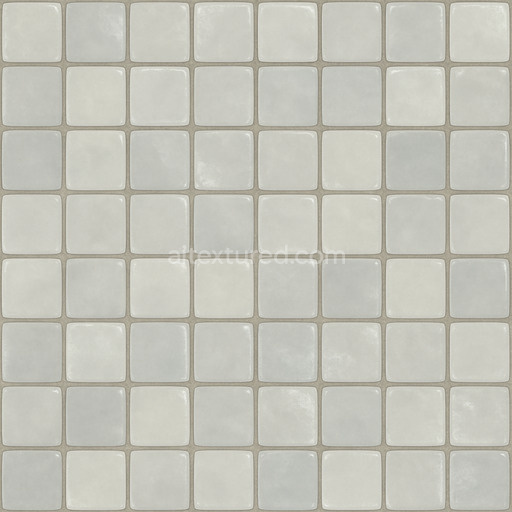
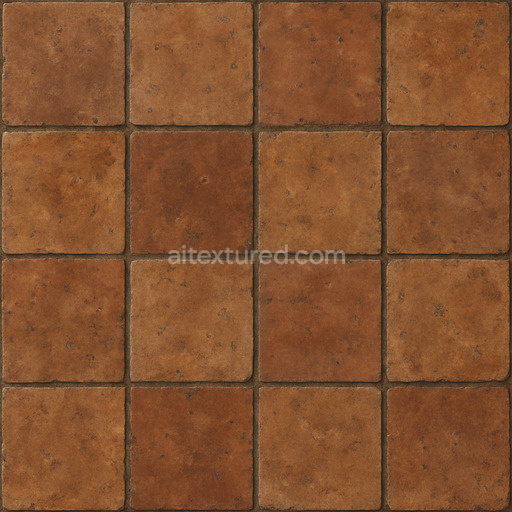
Seamless PBR Terracotta Floor
Seamless texture (tileable) · PNG, WEBP, PBR ZIP. License: AITextured Free Commercial License (FCL) v1.1. Free personal and commercial use. Raw resale, standalone redistribution, mirroring/scraping, competing asset packs, and AI/ML training are not allowed without written permission. Attribution is not required, but appreciated..

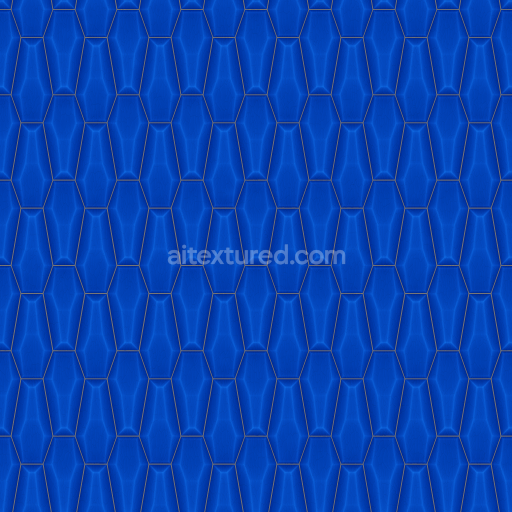
| ID | fluted-sci-fi-floor-wall-tiles |
|---|---|
| Category | Ceramic-tile |
| Formats | PNG, WEBP, PBR ZIP |
| Size | 1k (1024x1024px), 2k (2048x2048px), 4k (4096x4096px), 8k (8192x8192px) |
| Color | sRGB |
| Tileable | Yes |
The Fluted Sci-Fi Floor and Wall Tiles texture is a meticulously crafted high-quality PBR material designed to bring a futuristic modular aesthetic to architectural visualization 3D modeling and game development projects. This texture simulates a complex composite surface where a durable polymer base substrate is expertly combined with embedded mineral and metallic elements. The polymer acts as a resilient binder reinforced with fine mineral aggregates that introduce subtle grain orientation and controlled porosity. This composition not only provides structural integrity but also allows for realistic weathering effects and nuanced light interaction. The distinctive fluted design showcases elongated grooves and ridges enhancing surface depth and tactile interest while the surface finish strikes a balanced semi-matte sheen—somewhere between industrial ceramic and brushed metal—accentuated by carefully applied oxide colorants that produce a muted palette of grays and silvers with faint iridescent undertones perfectly suited for immersive sci-fi environments.
In terms of PBR channel mapping this texture excels in conveying the intricacies of its material composition and surface detail. The BaseColor (Albedo) channel captures the nuanced pigments and oxide layers responsible for the tile’s sleek sci-fi appearance. The Normal map emphasizes the fluted geometry’s depth and curvature adding critical dimensionality to floors and walls in any scene. Roughness is finely calibrated to reflect the semi-matte finish avoiding overly glossy reflections while preserving subtle highlights characteristic of polymer-metal composites. The Metallic channel selectively accentuates embedded metal components enhancing realism and the futuristic character of the surface. Ambient Occlusion amplifies shadow detail within grooves and crevices adding depth and contrast while the Height/Displacement map provides parallax effects that boost 3D realism in real-time engines and rendering workflows. With ultra-high 8K resolution this texture maintains exceptional clarity and detail even under close-up inspection supporting high-end architectural and game visualization pipelines seamlessly.
Ready for effortless integration in Blender Unreal Engine and Unity these fluted sci-fi floor and wall tiles textures are optimized for seamless tiling across expansive surfaces without visible seams ensuring a professional finish in any futuristic or modular design context. For best results it is recommended to adjust the UV scale to match the modular dimensions of your scene and fine-tune the roughness parameter to control the surface’s reflectivity according to different lighting setups. Additionally leveraging the Height/Displacement map for parallax occlusion can significantly enhance the perceived depth of the fluted grooves adding immersive realism and a tangible sense of structure to your architectural or game environments.
Import the texture maps into Blender with sRGB color space for albedo/base color and Non-Color for normal, roughness, metallic, AO, height, and ORM maps. Connect normal maps through a Normal Map node, then adjust UV scale with a Mapping node so the material repeats naturally on your model.
For the full step-by-step setup, see How to Use Seamless Textures in Blender. Browse related material examples in wood, concrete, and metal.
Yes. This texture is designed as a seamless tileable PBR material, so it can repeat across large surfaces without visible borders.
You can download PNG/WEBP versions and use 1K, 2K, 4K and 8K download options when available on the page.
Yes. The download options and engine-mapped ZIP workflow are designed for Blender, Unreal Engine, Unity Standard, URP and HDRP material pipelines.
Yes. The texture is available under the AITextured free commercial license. Review the license page for redistribution and AI-training restrictions.


Generate, preview, and export seamless PBR materials for Blender, Unity, and Unreal Engine—directly in your browser.
AI text-to-texture: type a prompt and get a seamless, tileable base image ready for PBR workflows (great starting point for materials).
Create a full PBR set (Normal, Roughness, AO, Metallic, etc.) from a single image. Seamless and tiling-friendly.
Instant WebGL viewer: inspect materials on a sphere, plane, and cube. Check tiling and lighting in real time.
Re-packages maps per engine: Unreal (BaseColor + ORM), Unity (Mask/MetallicSmoothness), Blender (separate channels).
PNG ↔ JPG ↔ SVG: fast convert, SVG rasterize, embed/trace options, quality & background controls.