
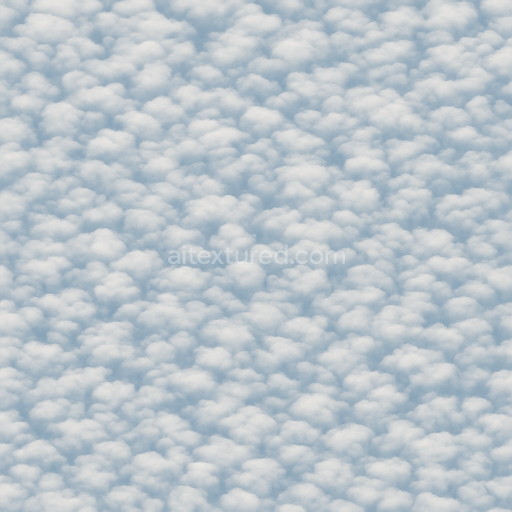
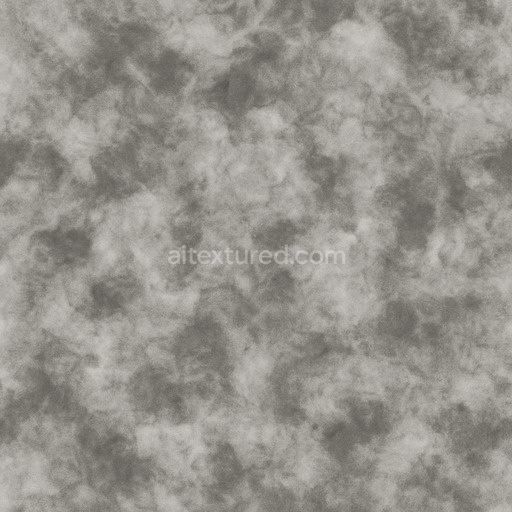
Dark Mist Seamless Texture
Seamless texture (tileable) · PNG, WEBP, PBR ZIP. License: AITextured Free Commercial License (FCL) v1.1. Free personal and commercial use. Raw resale, standalone redistribution, mirroring/scraping, competing asset packs, and AI/ML training are not allowed without written permission. Attribution is not required, but appreciated..

| ID | smooth-cumulus-seamless-texture |
|---|---|
| Category | Clouds |
| Formats | PNG, WEBP, PBR ZIP |
| Size | 1k (1024x1024px), 2k (2048x2048px), 4k (4096x4096px), 8k (8192x8192px) |
| Color | sRGB |
| Tileable | Yes |
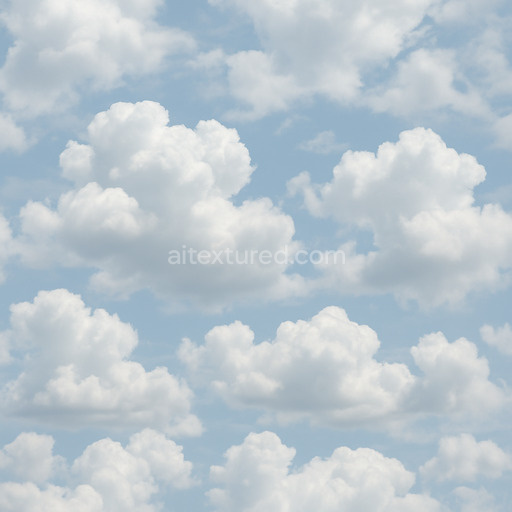
Discover the Smooth Cumulus Seamless Texture a premium high-resolution AI-generated material designed to replicate the soft and billowy characteristics of cumulus cloud formations. This tileable smooth cumulus seamless texture captures a naturally diffused and visually balanced pattern ideal for covering large surfaces without any visible seams or repetition artifacts. Composed with an organic base substrate that mimics the airy and porous nature of clouds the texture’s appearance is enhanced through subtle variations in opacity and density simulating the volumetric fluffiness typical of cumulus clouds. The surface finish is matte with a gentle softness achieved through carefully calibrated roughness and minimal metallic influence giving a non-reflective natural look that integrates seamlessly into real-time scenes and cinematic renders alike.
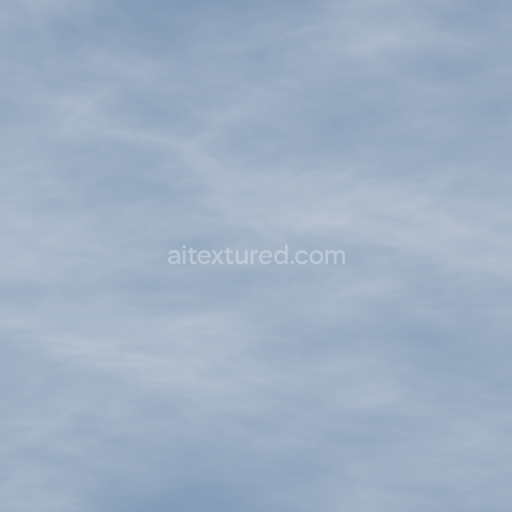
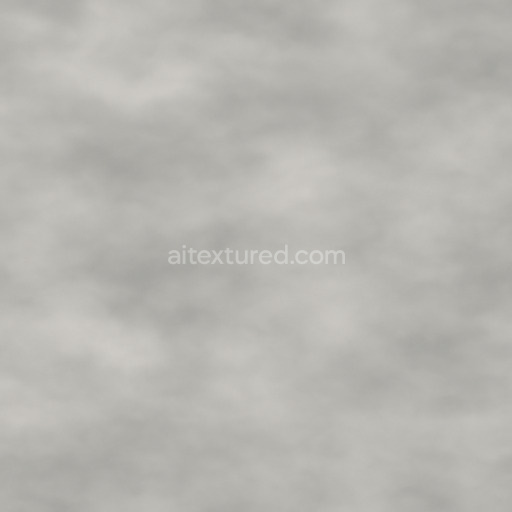
In terms of physically based rendering (PBR) channels the BaseColor/Albedo map presents a smooth gradient of muted whites and pale grays replicating the natural light diffusion within cloud bodies. The Normal map adds delicate surface undulations that enhance depth perception and tactile realism without introducing harsh angles. Roughness is tuned to moderate levels ensuring a soft diffuse reflection that avoids glossy highlights while the Metallic channel remains near zero reflecting the non-metallic organic nature of clouds. Ambient Occlusion subtly reinforces the shadowing within folds and creases lending dimensionality without overpowering the airy feel. The Height/Displacement map provides gentle elevation changes to support parallax effects in engines like Unreal and Unity adding realistic volume to the texture when viewed at oblique angles.
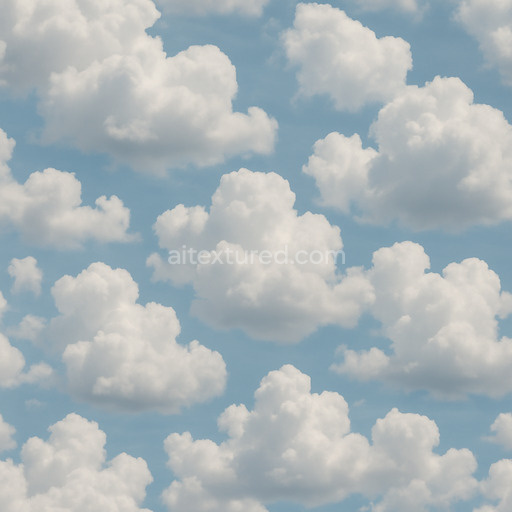
Rendered at up to 8K resolution this seamless smooth cumulus seamless texture is optimized for demanding workflows delivering crisp details and smooth gradients even on expansive surfaces. It’s fully compatible and works out of the box with Blender Unity and Unreal Engine enabling fast iteration loops for artists and developers. For best results maintain consistent texel density across your UV maps and consider adjusting the roughness slightly to match specific lighting conditions or stylistic needs within your scene. Utilizing the height map for subtle parallax displacement can further enhance the tactile perception of cloud layers in close-up shots or interactive environments.
This asset’s careful design avoids the common pitfalls of auto-generated textures such as repetitive patterning or pixelation ensuring clarity and stability throughout your project. Whether applied in level dressing environmental studies or cinematic cloud effects the Smooth Cumulus Seamless Texture offers a versatile and visually pleasing solution for realistic clouds textures in 3D preview and real-time applications.
Import the texture maps into Blender with sRGB color space for albedo/base color and Non-Color for normal, roughness, metallic, AO, height, and ORM maps. Connect normal maps through a Normal Map node, then adjust UV scale with a Mapping node so the material repeats naturally on your model.
For the full step-by-step setup, see How to Use Seamless Textures in Blender. Browse related material examples in wood, concrete, and metal.
Yes. This texture is designed as a seamless tileable PBR material, so it can repeat across large surfaces without visible borders.
You can download PNG/WEBP versions and use 1K, 2K, 4K and 8K download options when available on the page.
Yes. The download options and engine-mapped ZIP workflow are designed for Blender, Unreal Engine, Unity Standard, URP and HDRP material pipelines.
Yes. The texture is available under the AITextured free commercial license. Review the license page for redistribution and AI-training restrictions.


Build, preview, and export seamless PBR materials. Generate full map sets from a single image, inspect them in a real-time WebGL viewer, and re-package maps for Unreal, Unity, and Blender—directly in your browser.
AI text-to-texture: type a prompt and get a seamless, tileable base image ready for PBR workflows (great starting point for materials).
Create a full PBR set (Normal, Roughness, AO, Metallic, etc.) from a single image. Seamless and tiling-friendly.
Instant WebGL viewer: inspect materials on a sphere, plane, and cube. Check tiling and lighting in real time.
Re-packages maps per engine: Unreal (BaseColor + ORM), Unity (Mask/MetallicSmoothness), Blender (separate channels).
PNG ↔ JPG ↔ SVG: fast convert, SVG rasterize, embed/trace options, quality & background controls.