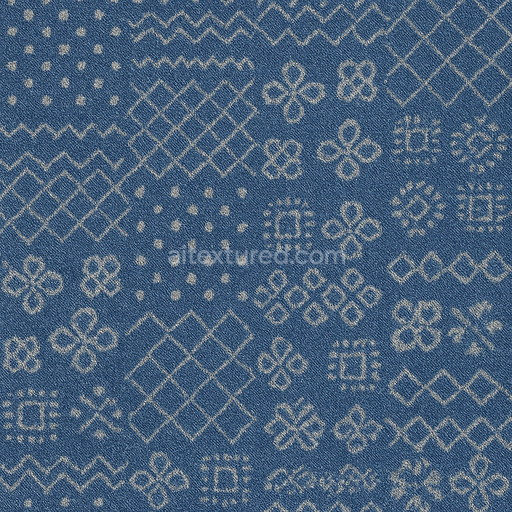
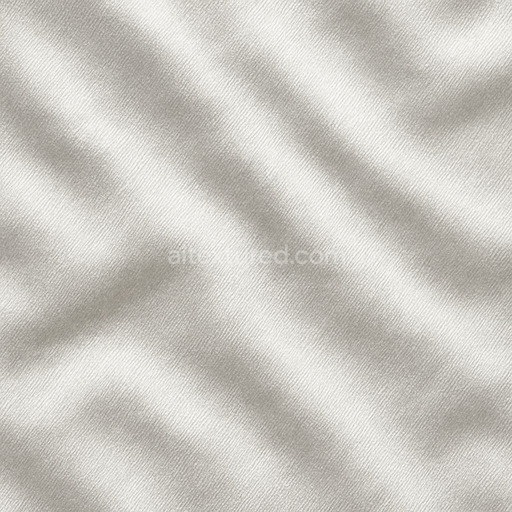
Patterned Denim Seamless Texture
Seamless texture (tileable) · PNG, WEBP, PBR ZIP. License: AITextured Free Commercial License (FCL) v1.1. Free personal and commercial use. Raw resale, standalone redistribution, mirroring/scraping, competing asset packs, and AI/ML training are not allowed without written permission. Attribution is not required, but appreciated..

| ID | denim-fabric-02-denmin-fabric-02-jeans-pants-cloth-clothing-denim |
|---|---|
| Category | Fabric |
| Formats | PNG, WEBP, PBR ZIP |
| Size | 1k (1024x1024px), 2k (2048x2048px), 4k (4096x4096px), 8k (8192x8192px) |
| Color | sRGB |
| Tileable | Yes |
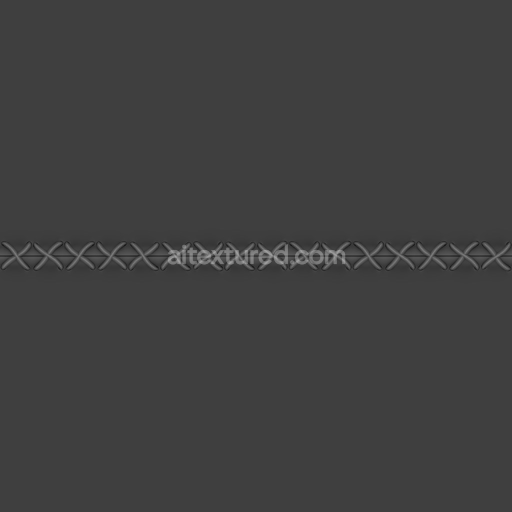
This Clothing Denim Textile features a detailed and physically based 3D texture designed specifically to replicate the complex structure of denim fabric 02 commonly found in jeans and pants. The base substrate is woven cotton fibers arranged to create a durable yet flexible cloth material with characteristic creased folds that add natural variation and realism. The textile’s surface finish reflects a slightly worn brushed effect emphasizing the subtle height differences caused by fabric folds and weave patterns. Colorants include indigo dyes typical of denim lending a rich blue tone captured precisely in the albedo (BaseColor) map. The normal map effectively simulates the intricate grain orientation and fiber texture enhancing the fabric’s dimensionality without increasing polygon count. Roughness values are calibrated to represent the soft yet slightly coarse feel of denim balancing matte and specular reflections while the ambient occlusion channel adds depth to creases and seams highlighting natural shading variations. The height map captures the elevation changes of the creased folds supporting realistic parallax effects and displacement in advanced renderers.
This seamless tileable PBR material is optimized for modern pipelines and supports resolutions up to 8K for high-end projects with a standard 4K option that balances detail and performance. It is fully compatible with Blender Unreal Engine and Unity utilizing the metal/roughness workflow to ensure consistent shading across both real-time and offline renderers. The texture’s seamless design allows for efficient tiling over large surfaces without visible repetition making it ideal for clothing assets in games and 3D visualizations. Additionally the texture includes PNG and EXR formats supporting diverse workflows and ensuring maximum flexibility in production environments. Calibration across all maps delivers reliable results for denim fabric 02 and related textile uses without requiring manual tweaking enabling faster iteration and more predictable outcomes in digital content creation.
For practical use it is recommended to carefully adjust UV scaling to maintain realistic fabric grain size and prevent texture stretching on clothing models. Fine-tuning the roughness map can enhance the balance between matte and subtle sheen adding to the authenticity of worn denim. Leveraging the height map for parallax or displacement can further emphasize the creased folds enhancing visual richness especially in close-up shots or cinematic renders. Overall this PBR denim textile offers a well-rounded physically accurate material solution for detailed clothing pants and jeans combining natural fabric characteristics with high-fidelity rendering capabilities across DCCs and game engines.
Import the texture maps into Blender with sRGB color space for albedo/base color and Non-Color for normal, roughness, metallic, AO, height, and ORM maps. Connect normal maps through a Normal Map node, then adjust UV scale with a Mapping node so the material repeats naturally on your model.
For the full step-by-step setup, see How to Use Seamless Textures in Blender. Browse related material examples in wood, concrete, and metal.
Yes. This texture is designed as a seamless tileable PBR material, so it can repeat across large surfaces without visible borders.
You can download PNG/WEBP versions and use 1K, 2K, 4K and 8K download options when available on the page.
Yes. The download options and engine-mapped ZIP workflow are designed for Blender, Unreal Engine, Unity Standard, URP and HDRP material pipelines.
Yes. The texture is available under the AITextured free commercial license. Review the license page for redistribution and AI-training restrictions.


Build, preview, and export seamless PBR materials. Generate full map sets from a single image, inspect them in a real-time WebGL viewer, and re-package maps for Unreal, Unity, and Blender—directly in your browser.
AI text-to-texture: type a prompt and get a seamless, tileable base image ready for PBR workflows (great starting point for materials).
Create a full PBR set (Normal, Roughness, AO, Metallic, etc.) from a single image. Seamless and tiling-friendly.
Instant WebGL viewer: inspect materials on a sphere, plane, and cube. Check tiling and lighting in real time.
Re-packages maps per engine: Unreal (BaseColor + ORM), Unity (Mask/MetallicSmoothness), Blender (separate channels).
PNG ↔ JPG ↔ SVG: fast convert, SVG rasterize, embed/trace options, quality & background controls.