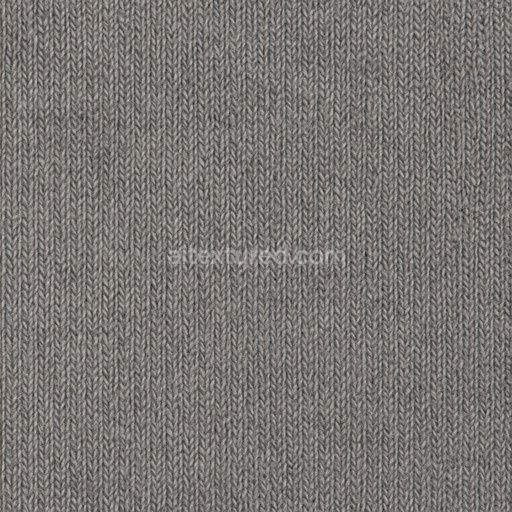
Crepe Georgette
Seamless texture (tileable) · PNG, WEBP, PBR ZIP. License: AITextured Free Commercial License (FCL) v1.1. Free personal and commercial use. Raw resale, standalone redistribution, mirroring/scraping, competing asset packs, and AI/ML training are not allowed without written permission. Attribution is not required, but appreciated..

| ID | smooth-denim-texture-seamless |
|---|---|
| Category | Fabric |
| Formats | PNG, WEBP, PBR ZIP |
| Size | 1k (1024x1024px), 2k (2048x2048px), 4k (4096x4096px), 8k (8192x8192px) |
| Color | sRGB |
| Tileable | Yes |
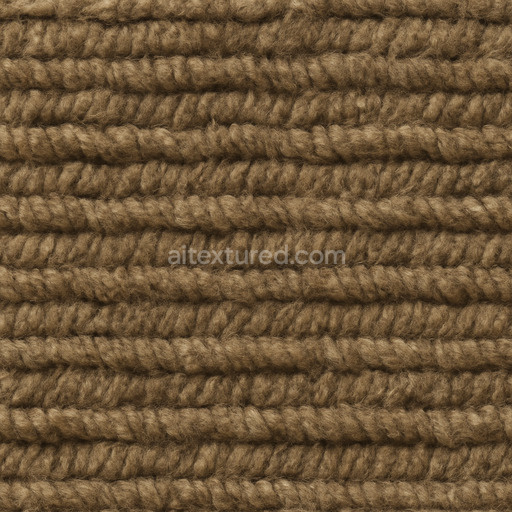
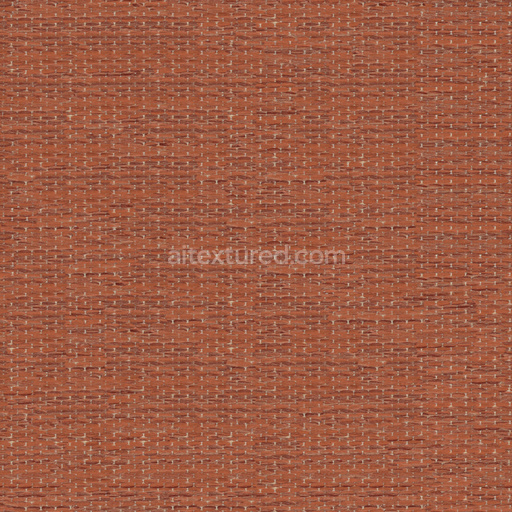
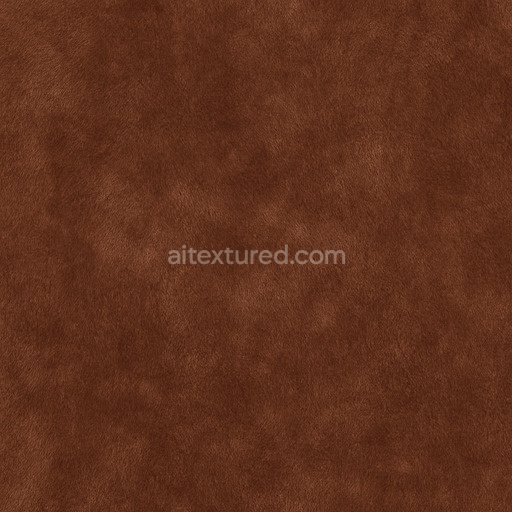
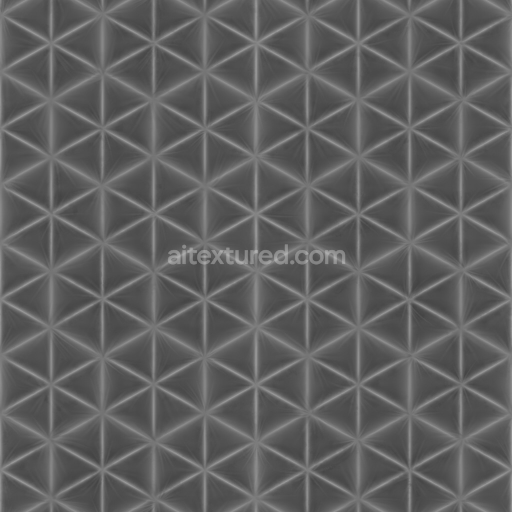
The smooth denim texture seamless high resolution up to 8K is a finely detailed generated fabric texture designed to capture the essence of woven cotton fibers typical of denim material. Its base substrate consists primarily of tightly interlaced organic cotton fibers bound by durable polymerized adhesives representing the textile’s warp and weft structure. The texture’s composition mimics the characteristic diagonal twill weave pattern where the grain orientation subtly shifts to create the iconic denim surface. The fabric’s porosity is low reflecting a tightly woven textile with minimal air gaps while the surface finish is smooth yet slightly matte indicative of a lightly brushed cotton denim with natural pigment dyes that give the fabric its deep indigo and faded blue tones. These colorants are simulated through the BaseColor/Albedo channel which captures both the rich hue and subtle variations in dye concentration across the surface.
This seamless smooth denim texture leverages physically based rendering (PBR) channels to faithfully reproduce material properties. The Normal map highlights the fine weave and fiber protrusions enhancing surface detail and fabric depth without visible repetition. The Roughness channel is tuned to mimic the soft diffused reflection typical of cotton denim avoiding glossy or metallic reflections while the Metallic channel remains negligible reinforcing the organic non-metallic nature of the fabric. Ambient Occlusion adds realistic shadowing within the weave emphasizing texture depth and enhancing visual complexity. The Height or Displacement map provides subtle surface relief enabling realistic parallax effects that simulate the raised twill pattern when viewed at oblique angles. This combination ensures the tileable smooth denim texture seamless high resolution up to 8K scales elegantly across large surfaces without noticeable seams or artifacts.
Optimized for high-end workflows this texture supports resolutions up to 8k delivering crisp detail suitable for cinematic renders real-time scenes and detailed level dressing in engines like Blender Unreal Engine and Unity. Its seamless tiling capability makes it ideal for large fabric surfaces such as clothing upholstery or environment props while maintaining visual consistency. The texture is tuned for clarity and stability avoiding the repetitive artifacts that often affect auto-generated patterns ensuring predictable high-quality results across diverse 3D projects. A practical tip for users is to adjust the roughness intensity based on your scene’s lighting rig; increasing roughness can soften reflections to match softer studio lighting while decreasing it can simulate worn or polished denim finishes enhancing realism in your fabric material studies.
The generated smooth denim texture seamless high resolution up to 8K offers a highly detailed fabric texture with a realistic PBR appearance ideal for 3D preview and advanced material composition.
Import the texture maps into Blender with sRGB color space for albedo/base color and Non-Color for normal, roughness, metallic, AO, height, and ORM maps. Connect normal maps through a Normal Map node, then adjust UV scale with a Mapping node so the material repeats naturally on your model.
For the full step-by-step setup, see How to Use Seamless Textures in Blender. Browse related material examples in wood, concrete, and metal.
Yes. This texture is designed as a seamless tileable PBR material, so it can repeat across large surfaces without visible borders.
You can download PNG/WEBP versions and use 1K, 2K, 4K and 8K download options when available on the page.
Yes. The download options and engine-mapped ZIP workflow are designed for Blender, Unreal Engine, Unity Standard, URP and HDRP material pipelines.
Yes. The texture is available under the AITextured free commercial license. Review the license page for redistribution and AI-training restrictions.


Generate, preview, and export seamless PBR materials for Blender, Unity, and Unreal Engine—directly in your browser.
AI text-to-texture: type a prompt and get a seamless, tileable base image ready for PBR workflows (great starting point for materials).
Create a full PBR set (Normal, Roughness, AO, Metallic, etc.) from a single image. Seamless and tiling-friendly.
Instant WebGL viewer: inspect materials on a sphere, plane, and cube. Check tiling and lighting in real time.
Re-packages maps per engine: Unreal (BaseColor + ORM), Unity (Mask/MetallicSmoothness), Blender (separate channels).
PNG ↔ JPG ↔ SVG: fast convert, SVG rasterize, embed/trace options, quality & background controls.