
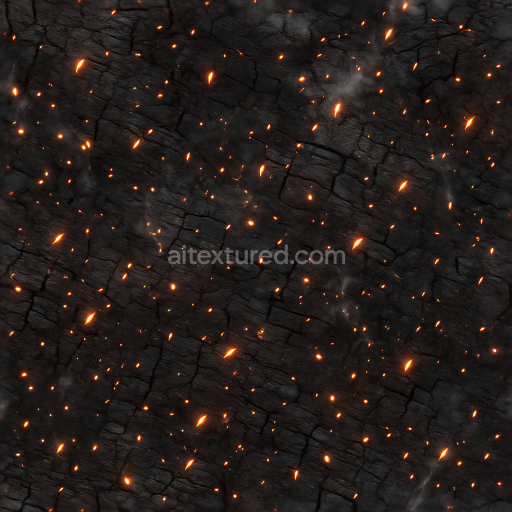
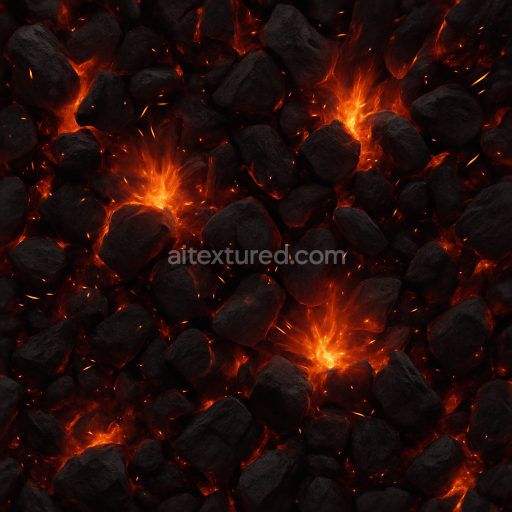
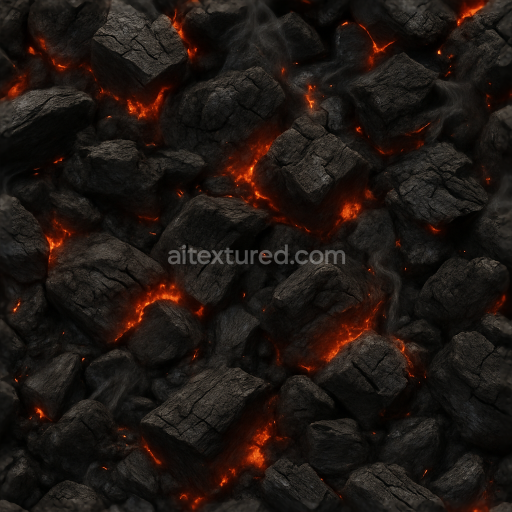
flickering fire blaze PBR 8K surface
Seamless texture (tileable) · PNG, WEBP, PBR ZIP. License: AITextured Free Commercial License (FCL) v1.1. Free personal and commercial use. Raw resale, standalone redistribution, mirroring/scraping, competing asset packs, and AI/ML training are not allowed without written permission. Attribution is not required, but appreciated..

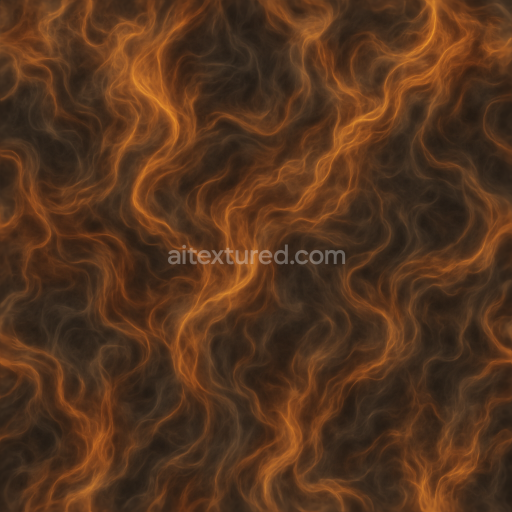
| ID | seamless-3d-texture-of-fire-scorch-and-burn-marks-on-surfaces-pbr-8k |
|---|---|
| Category | Fire |
| Formats | PNG, WEBP, PBR ZIP |
| Size | 1k (1024x1024px), 2k (2048x2048px), 4k (4096x4096px), 8k (8192x8192px) |
| Color | sRGB |
| Tileable | Yes |
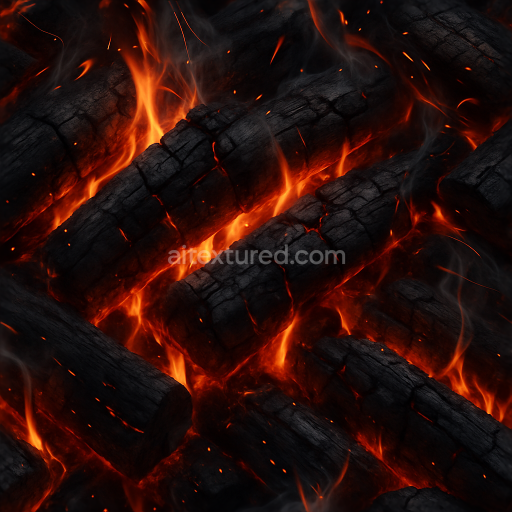
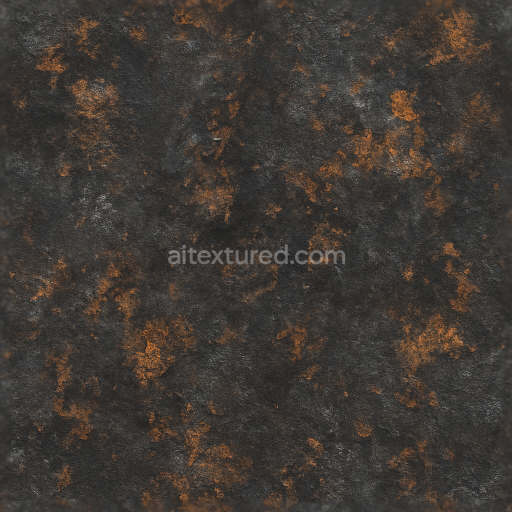
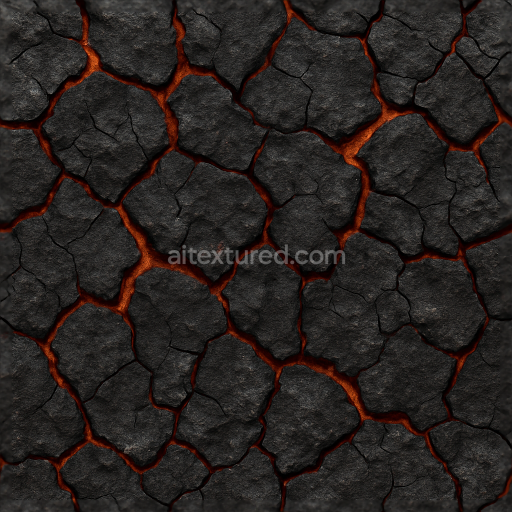
This seamless 3D texture captures the intricate details of fire scorch and burn marks on a variety of surfaces including mineral substrates weathered wood oxidized metals and aged polymers. The composition reflects the complex interplay of heat damage and material response featuring charred residues and burn stains created by organic and inorganic binders breaking down under intense thermal stress. Fine ash and soot deposits settle into surface pores and microscopic cracks while subtle grain orientation and fiber damage reveal the underlying structure affected by combustion. The surface finish varies from roughened blistered patches to polished heat-altered zones with colorants ranging from blackened carbon deposits to reddish oxide layers and faded pigments altered by flame exposure.
Rendered in photorealistic 8K resolution with PBR workflow compatibility this texture’s channels are meticulously designed to enhance realism across engines like Unreal Blender and Unity. The BaseColor/Albedo map displays natural burn gradients and soot accumulation with high fidelity. The Normal map simulates the micro-variations of scorched surfaces including raised ash deposits and cracked paint or wood fibers. Roughness values vary dynamically to reflect areas of charred matte finish versus residual gloss from melted resins or oxidized metals. The Metallic channel remains subtle or null depending on the substrate while Ambient Occlusion adds depth to crevices and burnt cavities. Height/Displacement maps provide surface relief that enhances parallax effects and authentic tactile damage.
Optimized for seamless tiling this texture ensures perfect repetition across large UV layouts making it ideal for damage modeling visual effects and scene creation that require authentic fire-damaged surface details. For best results adjusting roughness to fine-tune the balance between soot matte and residual gloss can greatly improve material realism. Additionally scaling the UV coordinates to emphasize the size of burn patterns helps integrate the texture naturally into both close-up and distant views.
Import the texture maps into Blender with sRGB color space for albedo/base color and Non-Color for normal, roughness, metallic, AO, height, and ORM maps. Connect normal maps through a Normal Map node, then adjust UV scale with a Mapping node so the material repeats naturally on your model.
For the full step-by-step setup, see How to Use Seamless Textures in Blender. Browse related material examples in wood, concrete, and metal.
Yes. This texture is designed as a seamless tileable PBR material, so it can repeat across large surfaces without visible borders.
You can download PNG/WEBP versions and use 1K, 2K, 4K and 8K download options when available on the page.
Yes. The download options and engine-mapped ZIP workflow are designed for Blender, Unreal Engine, Unity Standard, URP and HDRP material pipelines.
Yes. The texture is available under the AITextured free commercial license. Review the license page for redistribution and AI-training restrictions.


Generate, preview, and export seamless PBR materials for Blender, Unity, and Unreal Engine—directly in your browser.
AI text-to-texture: type a prompt and get a seamless, tileable base image ready for PBR workflows (great starting point for materials).
Create a full PBR set (Normal, Roughness, AO, Metallic, etc.) from a single image. Seamless and tiling-friendly.
Instant WebGL viewer: inspect materials on a sphere, plane, and cube. Check tiling and lighting in real time.
Re-packages maps per engine: Unreal (BaseColor + ORM), Unity (Mask/MetallicSmoothness), Blender (separate channels).
PNG ↔ JPG ↔ SVG: fast convert, SVG rasterize, embed/trace options, quality & background controls.