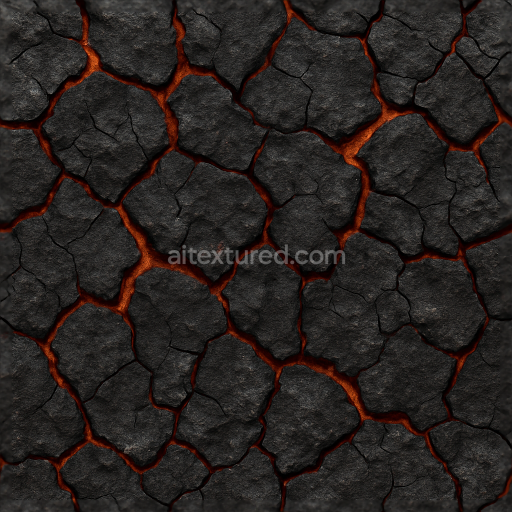
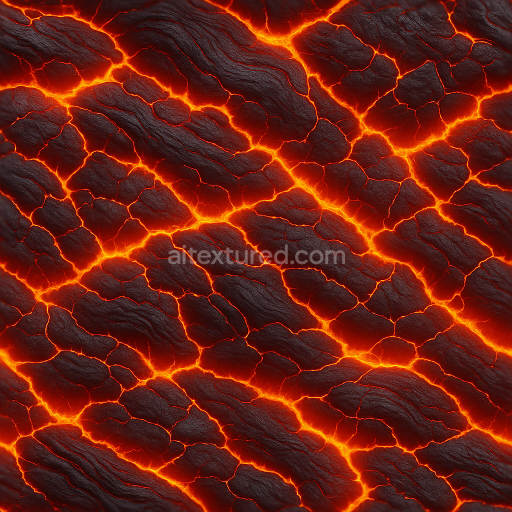
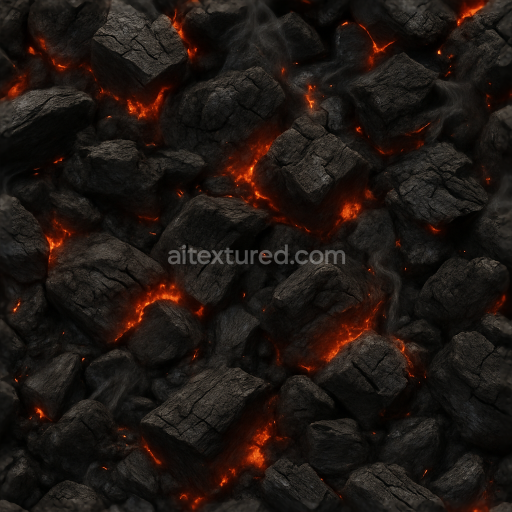
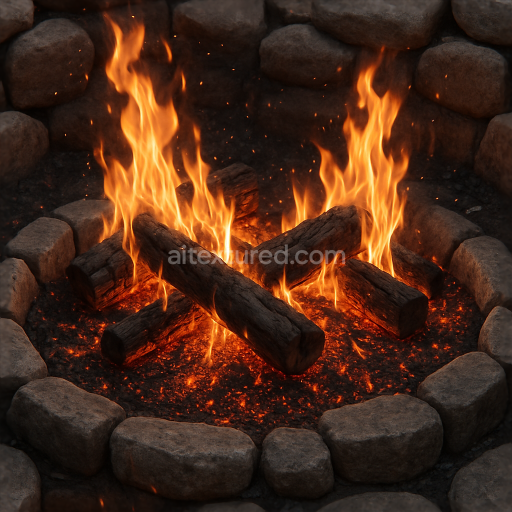
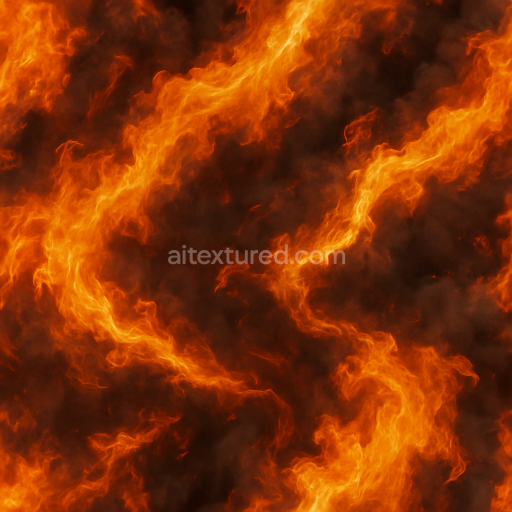
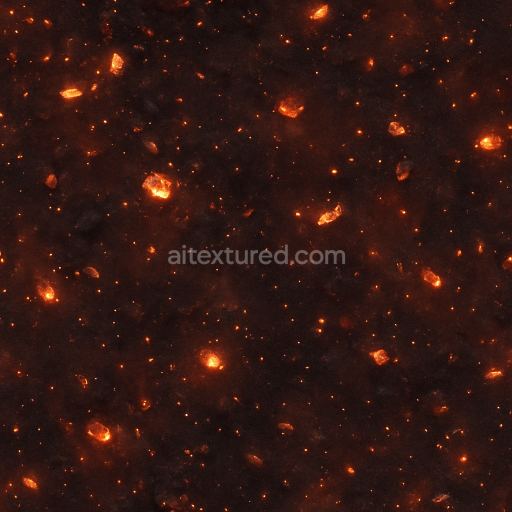
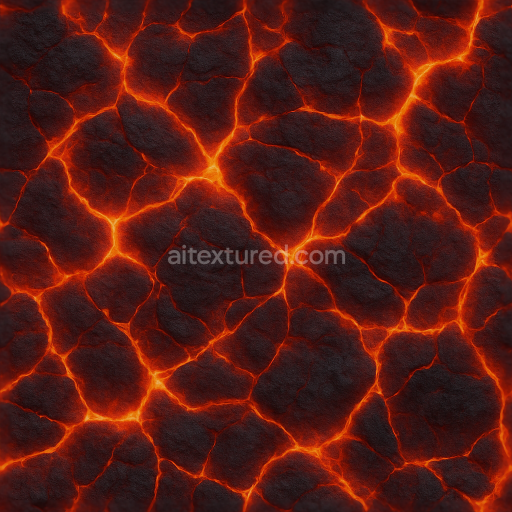
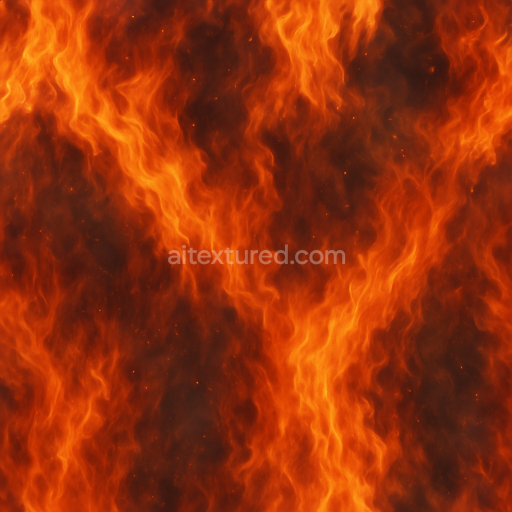
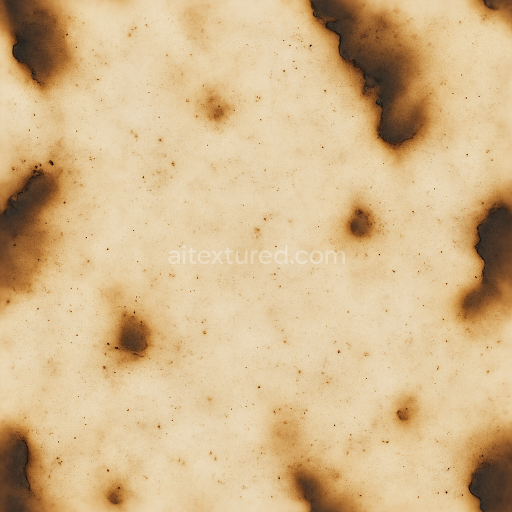
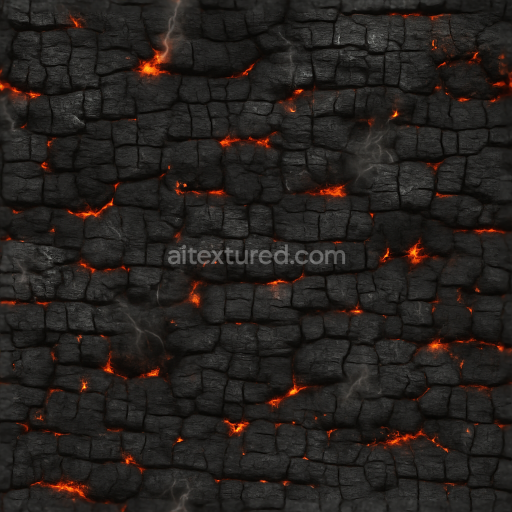
Fire Cracked Earth With Charred Cracks And Cinder Dust
Seamless texture (tileable) · PNG, WEBP, PBR ZIP. License: AITextured Free Commercial License (FCL) v1.1. Free personal and commercial use. Raw resale, standalone redistribution, mirroring/scraping, competing asset packs, and AI/ML training are not allowed without written permission. Attribution is not required, but appreciated..

| ID | seamless-3d-texture-of-fire-smoke-trails-and-smoke-wisps-pbr-8k |
|---|---|
| Category | Fire |
| Formats | PNG, WEBP, PBR ZIP |
| Size | 1k (1024x1024px), 2k (2048x2048px), 4k (4096x4096px), 8k (8192x8192px) |
| Color | sRGB |
| Tileable | Yes |
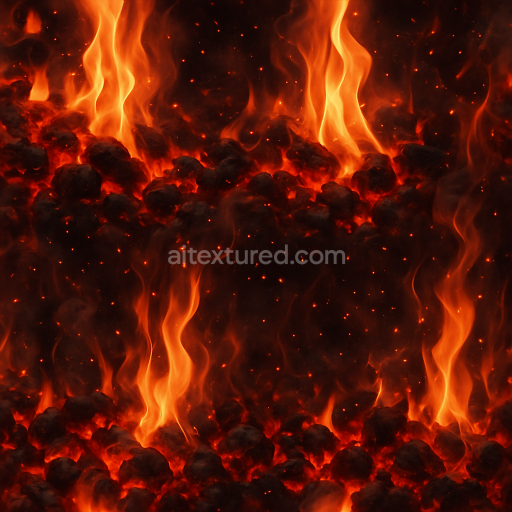
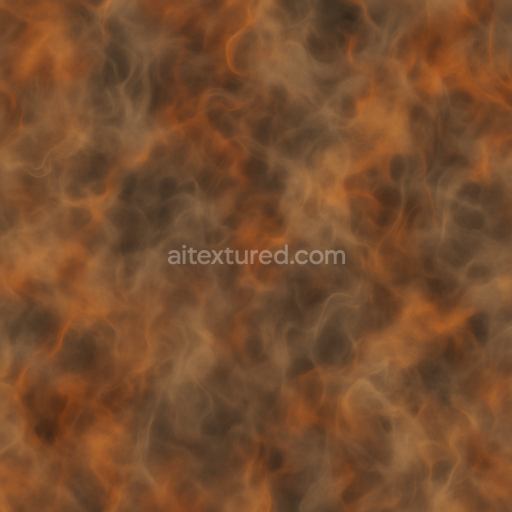
This seamless 3D texture captures the intricate interplay of fire smoke trails and delicate smoke wisps with photorealistic quality at an impressive 8K resolution. Created as a PBR (Physically Based Rendering) material it simulates the organic flow and subtle haze characteristic of fire smoke merging gentle flowing patterns with natural micro-variations that enhance realism. The base substrate of this texture is an organic gaseous matter representation expertly crafted to emulate the semi-transparent ethereal quality of smoke and heat distortion. In the PBR workflow the Albedo (BaseColor) channel illustrates soft muted greys and warm amber hues to convey the subtle fire haze while the Normal map adds fine turbulence and swirling motion to the surface reinforcing the sense of dynamic smoke trails. The Roughness channel balances smooth and diffuse areas mimicking the varying density and opacity of smoke wisps and the Metallic channel remains minimal or null as smoke naturally lacks metallic properties. Ambient Occlusion subtly enhances depth around denser smoke clusters and the Height/Displacement map provides slight volumetric relief ideal for parallax effects that accentuate the texture’s three-dimensionality.
Designed with neutral lighting conditions in mind this texture tiles seamlessly without visible edges making it perfectly suited for digital projects such as atmospheric fire smoke effects in games animations and visual effects. Its high 8K resolution ensures fine detail preservation even in close-up renders supporting workflows in Unreal Engine Blender and Unity with ease. The surface finish is soft and diffusive capturing the transient and wispy nature of smoke as it drifts and dissipates. Colorants in the texture simulate the natural variations found in fire smoke including subtle gradients of warm yellows and cool greys achieved through layered pigment simulation rather than harsh solid colors. This layering effect contributes to the realistic perception of depth and translucency.
For optimal results it is recommended to adjust the UV scale to achieve the desired density of smoke trails relative to your scene as well as to fine-tune the roughness channel to control the balance between sharp and blurred smoke edges. Utilizing the Height/Displacement map with parallax settings can further enhance the illusion of volumetric depth making the fire smoke trails and wisps appear more lifelike within your 3D environment. This seamless 3D texture of fire smoke trails and smoke wisps combines technical precision with artistic subtlety making it a valuable asset for creating refined atmospheric smoke effects that elevate the realism of your digital materials and compositions.
Import the texture maps into Blender with sRGB color space for albedo/base color and Non-Color for normal, roughness, metallic, AO, height, and ORM maps. Connect normal maps through a Normal Map node, then adjust UV scale with a Mapping node so the material repeats naturally on your model.
For the full step-by-step setup, see How to Use Seamless Textures in Blender. Browse related material examples in wood, concrete, and metal.
Yes. This texture is designed as a seamless tileable PBR material, so it can repeat across large surfaces without visible borders.
You can download PNG/WEBP versions and use 1K, 2K, 4K and 8K download options when available on the page.
Yes. The download options and engine-mapped ZIP workflow are designed for Blender, Unreal Engine, Unity Standard, URP and HDRP material pipelines.
Yes. The texture is available under the AITextured free commercial license. Review the license page for redistribution and AI-training restrictions.


Generate, preview, and export seamless PBR materials for Blender, Unity, and Unreal Engine—directly in your browser.
AI text-to-texture: type a prompt and get a seamless, tileable base image ready for PBR workflows (great starting point for materials).
Create a full PBR set (Normal, Roughness, AO, Metallic, etc.) from a single image. Seamless and tiling-friendly.
Instant WebGL viewer: inspect materials on a sphere, plane, and cube. Check tiling and lighting in real time.
Re-packages maps per engine: Unreal (BaseColor + ORM), Unity (Mask/MetallicSmoothness), Blender (separate channels).
PNG ↔ JPG ↔ SVG: fast convert, SVG rasterize, embed/trace options, quality & background controls.