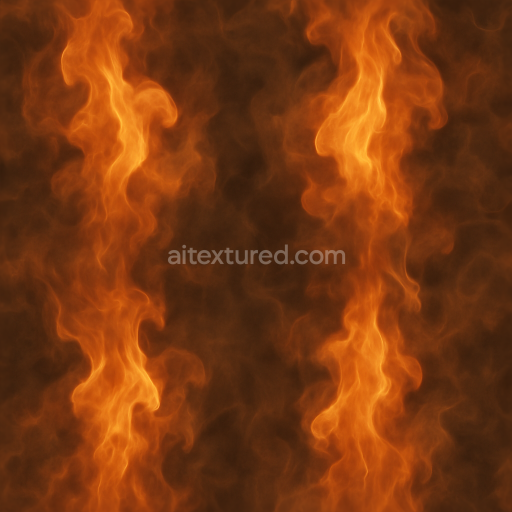
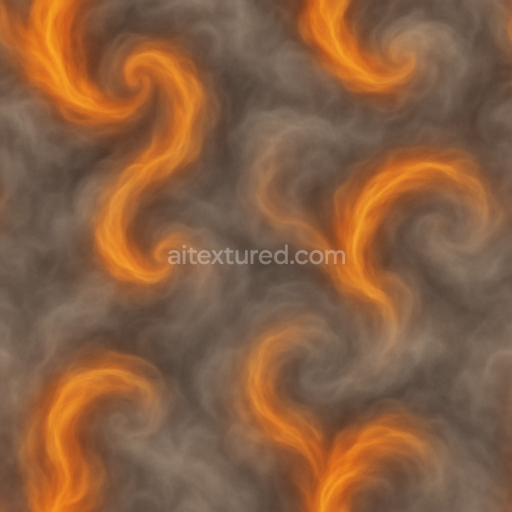
Flickering Flame With Fire Smoke Swirl Effect
Seamless texture (tileable) · PNG, WEBP, PBR ZIP. License: AITextured Free Commercial License (FCL) v1.1. Free personal and commercial use. Raw resale, standalone redistribution, mirroring/scraping, competing asset packs, and AI/ML training are not allowed without written permission. Attribution is not required, but appreciated..

| ID | seamless-3d-texture-of-fire-veins-with-glowing-magma-pbr-8k-surface |
|---|---|
| Category | Fire |
| Formats | PNG, WEBP, PBR ZIP |
| Size | 1k (1024x1024px), 2k (2048x2048px), 4k (4096x4096px), 8k (8192x8192px) |
| Color | sRGB |
| Tileable | Yes |
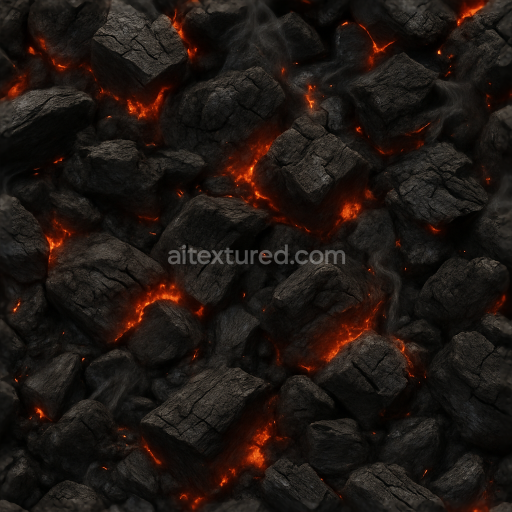
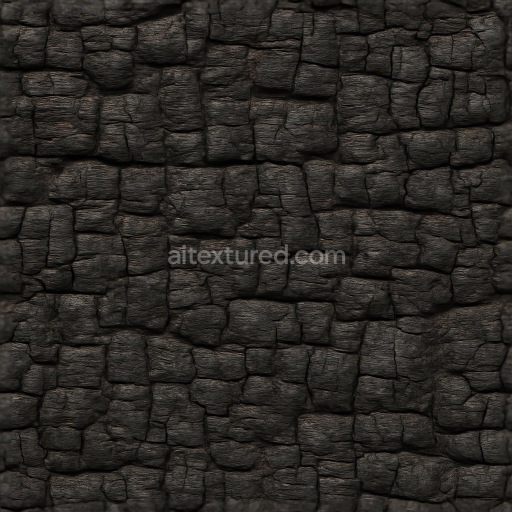
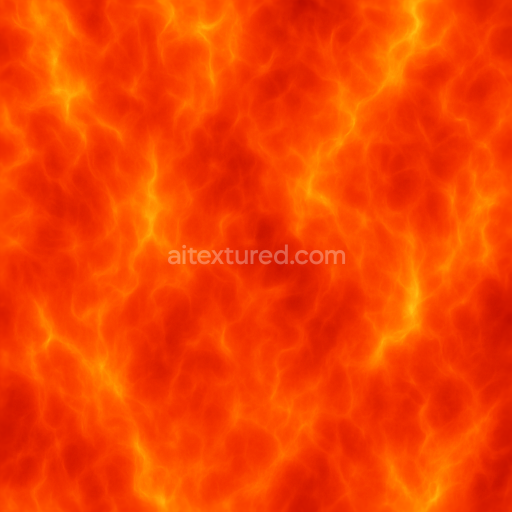
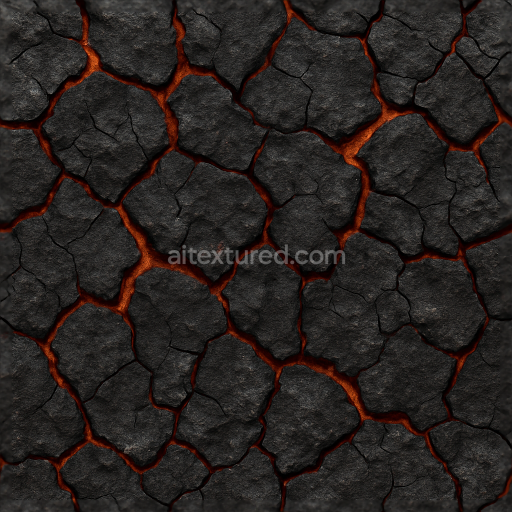
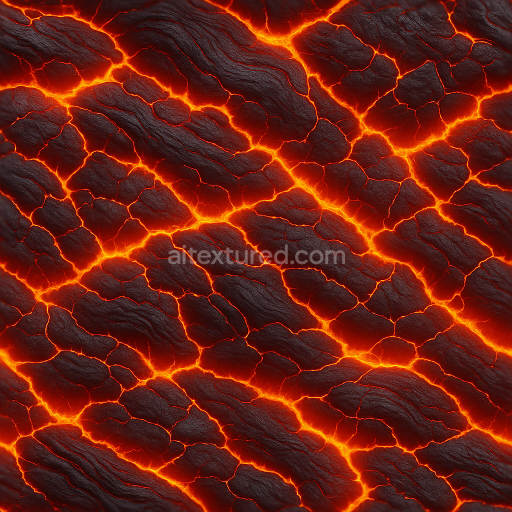
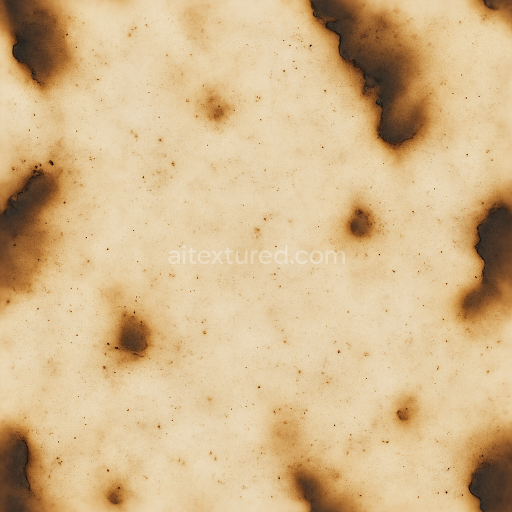
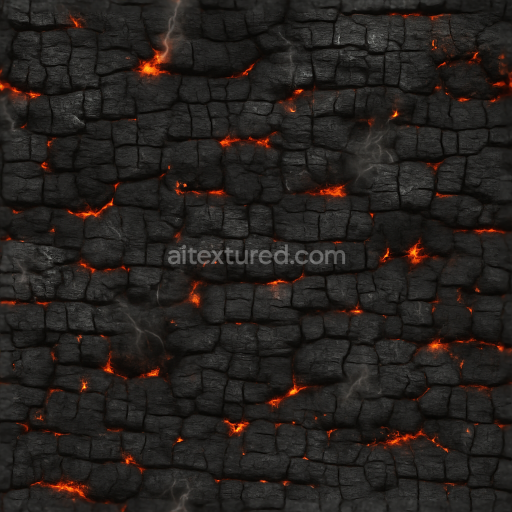
This seamless 3D texture presents an exquisitely detailed surface of fiery veins filled with glowing magma and molten lava rendered in photorealistic 8K resolution with full PBR workflow compatibility. The base substrate mimics a volcanic mineral composition combining dense crystalline rock with porous weathered crust layers. The texture’s intricate network of fire veins is composed of naturally fractured lava flows where fine cracks and fissures expose radiant molten magma beneath a partially solidified oxidized surface. This layered composition is visually reinforced through subtle pigment variations resembling mineral oxides and heat-affected discoloration creating a realistic interplay of dark volcanic stone interspersed with vibrant orange and red lava channels.*
In terms of PBR channels the BaseColor (Albedo) map showcases the natural color gradients of cooled rock and incandescent magma while the Normal map captures the depth of surface cracks rough crust textures and micro-variations in vein geometry. The Roughness channel balances between the rough matte stone areas and the smoother glowing lava surfaces contributing to an authentic tactile feel. The Metallic map is minimal emphasizing the non-metallic nature of volcanic rock whereas the Ambient Occlusion map enhances shadowed crevices and vein recesses to boost realism. Height or Displacement maps enable pronounced relief for the lava veins and cracked crust ideal for parallax or tessellation effects in real-time engines.*
Thanks to its 8K resolution and seamless tiling design this texture is optimized for high-fidelity visualization in Blender Unreal Engine and Unity environments. It performs exceptionally well under neutral lighting and albedo-only rendering setups making it versatile for diverse volcanic or fantasy fire scenarios that require intense glowing lava vein visuals with natural micro-variations. For practical use adjusting the UV scale to slightly smaller repeats enhances detail perception on large surfaces while fine-tuning roughness can simulate wet or cooled lava effects depending on scene requirements.*
Overall this seamless fire veins glowing magma 3D texture serves as a highly realistic and adaptable material solution for projects involving volcanic landscapes lava flows or fantasy environments where dynamic molten surfaces demand photorealistic detail and physical accuracy. Its comprehensive PBR channel integration and ultra-high resolution ensure a convincing representation of the complex interplay between solidified crust and radiant molten magma beneath.
Import the texture maps into Blender with sRGB color space for albedo/base color and Non-Color for normal, roughness, metallic, AO, height, and ORM maps. Connect normal maps through a Normal Map node, then adjust UV scale with a Mapping node so the material repeats naturally on your model.
For the full step-by-step setup, see How to Use Seamless Textures in Blender. Browse related material examples in wood, concrete, and metal.
Yes. This texture is designed as a seamless tileable PBR material, so it can repeat across large surfaces without visible borders.
You can download PNG/WEBP versions and use 1K, 2K, 4K and 8K download options when available on the page.
Yes. The download options and engine-mapped ZIP workflow are designed for Blender, Unreal Engine, Unity Standard, URP and HDRP material pipelines.
Yes. The texture is available under the AITextured free commercial license. Review the license page for redistribution and AI-training restrictions.


Generate, preview, and export seamless PBR materials for Blender, Unity, and Unreal Engine—directly in your browser.
AI text-to-texture: type a prompt and get a seamless, tileable base image ready for PBR workflows (great starting point for materials).
Create a full PBR set (Normal, Roughness, AO, Metallic, etc.) from a single image. Seamless and tiling-friendly.
Instant WebGL viewer: inspect materials on a sphere, plane, and cube. Check tiling and lighting in real time.
Re-packages maps per engine: Unreal (BaseColor + ORM), Unity (Mask/MetallicSmoothness), Blender (separate channels).
PNG ↔ JPG ↔ SVG: fast convert, SVG rasterize, embed/trace options, quality & background controls.