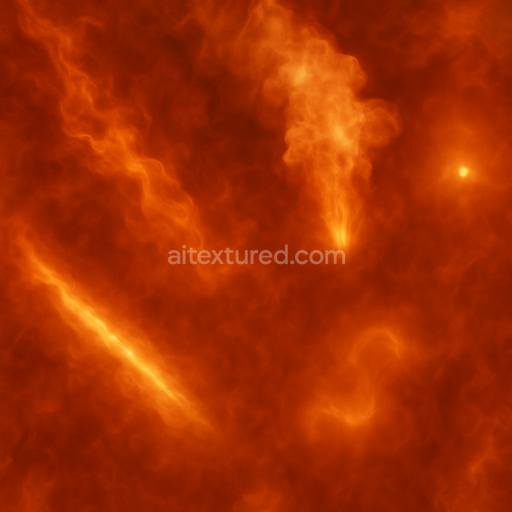
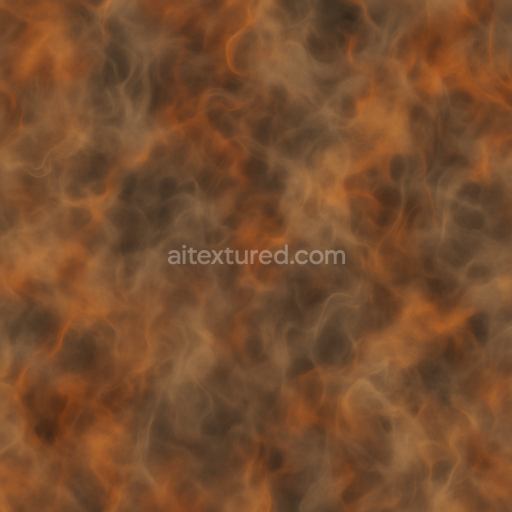
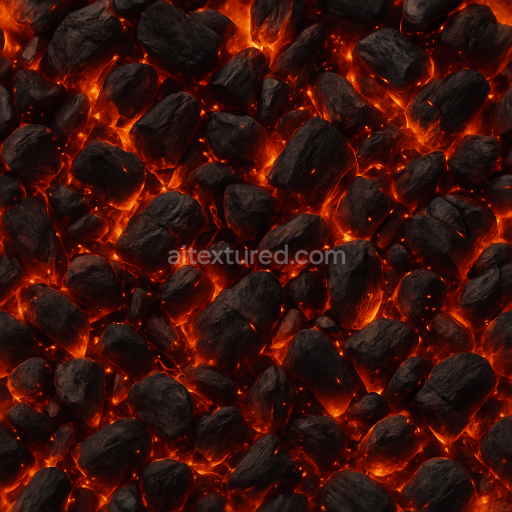
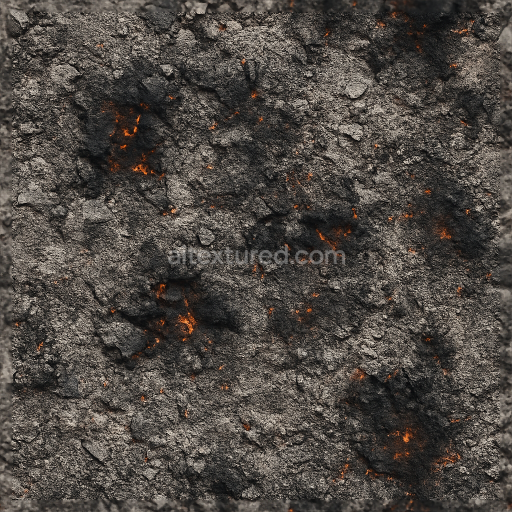
Fire Trail Wave With Fire Smoke Plume And Heat Shimmer
Seamless texture (tileable) · PNG, WEBP, PBR ZIP. License: AITextured Free Commercial License (FCL) v1.1. Free personal and commercial use. Raw resale, standalone redistribution, mirroring/scraping, competing asset packs, and AI/ML training are not allowed without written permission. Attribution is not required, but appreciated..

| ID | seamless-3d-texture-pbr-8k-fire-mesh-with-flickering-flame-and-fire-swirl |
|---|---|
| Category | Fire |
| Formats | PNG, WEBP, PBR ZIP |
| Size | 1k (1024x1024px), 2k (2048x2048px), 4k (4096x4096px), 8k (8192x8192px) |
| Color | sRGB |
| Tileable | Yes |
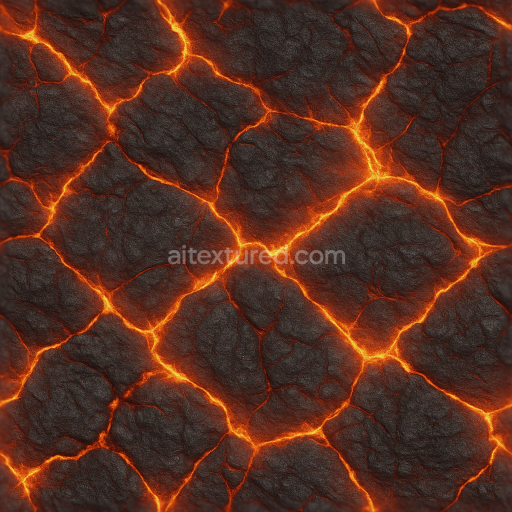
This seamless 3D texture features a highly detailed fire mesh surface rendered at an impressive 8K resolution designed to bring dynamic flickering flames and intricate fire swirl patterns to life in photorealistic PBR materials. The base composition mimics a layered organic substrate where fine ember-like fibers intertwine with glowing plasma tendrils creating natural fractal formations of flame and twirl. The material’s surface finish captures the vibrant energy of burning elements combining subtle translucency with a soft glow gradient that enhances the aura and warmth of the fire. The texture’s porosity and microscopic variations simulate heat distortion and energy pulses providing a rich depth effect without visible tiling or repetition ideal for stylized flaming surfaces requiring continuous natural patterns.
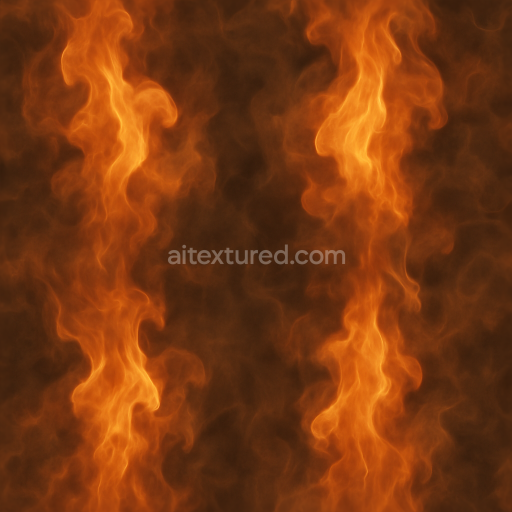
Within PBR channels the BaseColor (Albedo) showcases a vivid palette of fiery reds oranges and yellows that transition smoothly into darker charred edges reflecting the organic combustion process. The Normal map emphasizes the complex mesh structure and swirling flame ridges delivering realistic surface relief and intricate detail. Roughness values vary subtly to simulate the contrast between bright smooth flame cores and rougher smoky embers while the Metallic channel remains minimal to non-metallic preserving the natural fire essence. Ambient Occlusion enhances shadow depth within the swirling patterns and the Height/Displacement map adds volumetric motion accentuating the flickering energy and fire pulses that animate the surface.
This texture is fully optimized and ready for seamless integration into Blender Unreal Engine and Unity workflows supporting artists and developers aiming to add stylized energetic fire effects to 3D visualizations and game assets. For best results it is recommended to adjust UV scale carefully to maintain the intricate fractal detail without distortion and to fine-tune the Roughness parameter to balance the glow intensity and surface reflectivity according to scene lighting conditions. This versatile fire mesh 3D texture is perfect for projects requiring a high-quality visually captivating flame effect with organic motion and natural fire swirl dynamics.
Import the texture maps into Blender with sRGB color space for albedo/base color and Non-Color for normal, roughness, metallic, AO, height, and ORM maps. Connect normal maps through a Normal Map node, then adjust UV scale with a Mapping node so the material repeats naturally on your model.
For the full step-by-step setup, see How to Use Seamless Textures in Blender. Browse related material examples in wood, concrete, and metal.
Yes. This texture is designed as a seamless tileable PBR material, so it can repeat across large surfaces without visible borders.
You can download PNG/WEBP versions and use 1K, 2K, 4K and 8K download options when available on the page.
Yes. The download options and engine-mapped ZIP workflow are designed for Blender, Unreal Engine, Unity Standard, URP and HDRP material pipelines.
Yes. The texture is available under the AITextured free commercial license. Review the license page for redistribution and AI-training restrictions.


Generate, preview, and export seamless PBR materials for Blender, Unity, and Unreal Engine—directly in your browser.
AI text-to-texture: type a prompt and get a seamless, tileable base image ready for PBR workflows (great starting point for materials).
Create a full PBR set (Normal, Roughness, AO, Metallic, etc.) from a single image. Seamless and tiling-friendly.
Instant WebGL viewer: inspect materials on a sphere, plane, and cube. Check tiling and lighting in real time.
Re-packages maps per engine: Unreal (BaseColor + ORM), Unity (Mask/MetallicSmoothness), Blender (separate channels).
PNG ↔ JPG ↔ SVG: fast convert, SVG rasterize, embed/trace options, quality & background controls.