Ice Cream Texture | Free PBR
Seamless texture (tileable) · PNG, WEBP, PBR ZIP. License: AITextured Free Commercial License (FCL) v1.1. Free personal and commercial use. Raw resale, standalone redistribution, mirroring/scraping, competing asset packs, and AI/ML training are not allowed without written permission. Attribution is not required, but appreciated..

| ID | lemon-slice-cross-section-free-pbr |
|---|---|
| Category | Food |
| Formats | PNG, WEBP, PBR ZIP |
| Size | 1k (1024x1024px), 2k (2048x2048px), 4k (4096x4096px), 8k (8192x8192px) |
| Color | sRGB |
| Tileable | Yes |
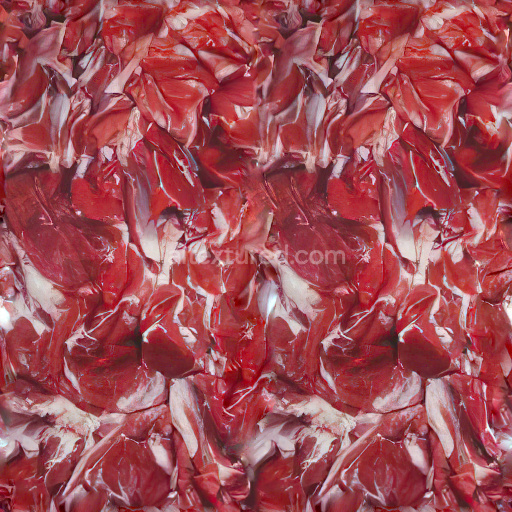
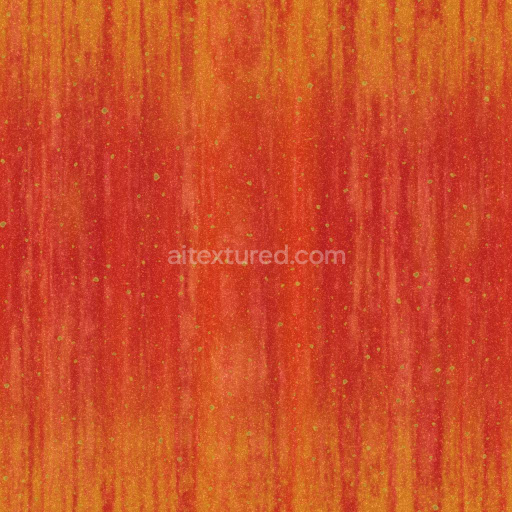
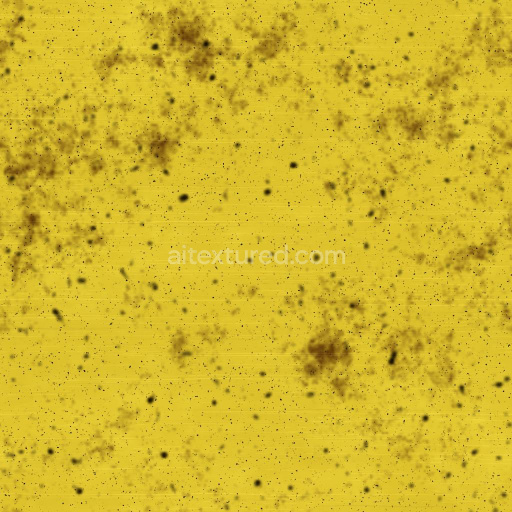
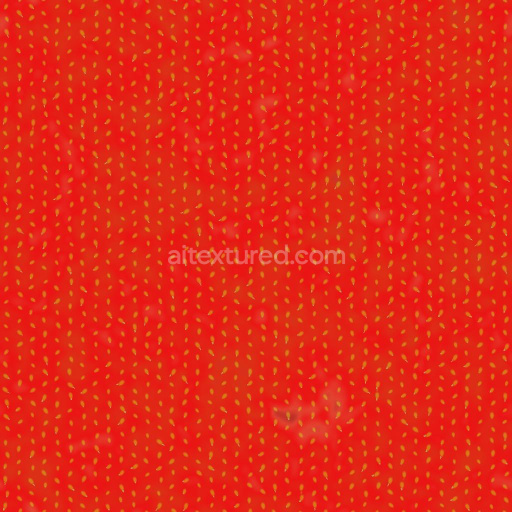
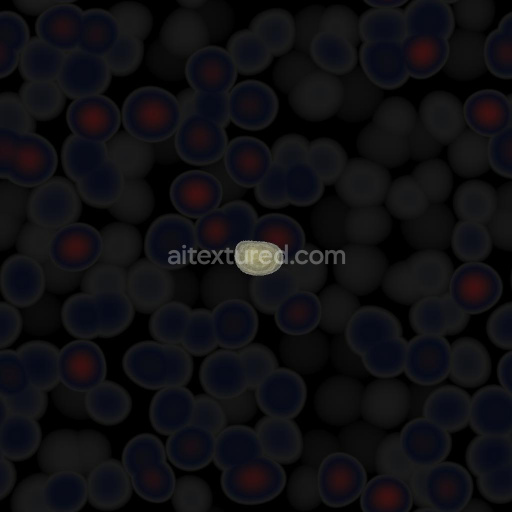
This Lemon Slice Cross Section texture is a meticulously crafted, high-quality seamless PBR material that captures the intricate organic structure of a lemon slice in remarkable detail. The base substrate is purely organic, consisting of the juicy citrus pulp and fibrous membranes typical of lemon fruit anatomy. The texture highlights the natural translucency and subtle variations in the lemon’s flesh, with a fine grain orientation reflecting the radial segmentation of the fruit’s interior. The surface exhibits a slightly moist, matte finish with delicate porous areas where juice vesicles are visible, lending realism to the texture’s roughness and normal maps. Colorants are naturally embedded in the lemon’s tissues, showing gradients of yellow pigments and lighter white pith, which translate beautifully into the BaseColor/Albedo channel to preserve authentic visual vibrancy.
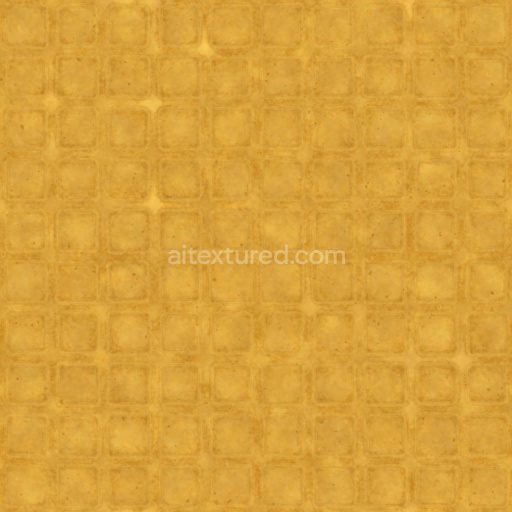
In terms of PBR channel representation, the Normal map emphasizes the minute bumps and fibrous details of the lemon’s cross section, enhancing surface depth without relying solely on height displacement. The Roughness map balances a semi-glossy finish, simulating the wet, fresh appearance of citrus pulp, while the Metallic channel remains neutral as the fruit surface contains no metal content. Ambient Occlusion subtly accentuates the crevices between the segments, adding depth and soft shadows that improve realism in real-time rendering. The Height/Displacement map captures the slight elevation differences between the lemon’s skin, pulp, and membrane, allowing for convincing parallax effects in engines like Unreal Engine and Unity.
Rendered at up to 8K resolution, this texture is optimized for use in a wide range of 3D applications, including Blender, Unreal Engine, and Unity, ensuring clarity and fine detail even in close-up views. For practical application, it is recommended to adjust the UV scale carefully to avoid stretching, especially when mapping onto curved surfaces or organic models, and to fine-tune the roughness value to achieve the desired wetness effect depending on the lighting environment. This seamless lemon slice cross section texture provides an excellent resource for realistic food visualizations, organic material studies, and stylized asset creation, delivering both visual fidelity and technical versatility.
Import the texture maps into Blender with sRGB color space for albedo/base color and Non-Color for normal, roughness, metallic, AO, height, and ORM maps. Connect normal maps through a Normal Map node, then adjust UV scale with a Mapping node so the material repeats naturally on your model.
For the full step-by-step setup, see How to Use Seamless Textures in Blender. Browse related material examples in wood, concrete, and metal.
Yes. This texture is designed as a seamless tileable PBR material, so it can repeat across large surfaces without visible borders.
You can download PNG/WEBP versions and use 1K, 2K, 4K and 8K download options when available on the page.
Yes. The download options and engine-mapped ZIP workflow are designed for Blender, Unreal Engine, Unity Standard, URP and HDRP material pipelines.
Yes. The texture is available under the AITextured free commercial license. Review the license page for redistribution and AI-training restrictions.


Build, preview, and export seamless PBR materials. Generate full map sets from a single image, inspect them in a real-time WebGL viewer, and re-package maps for Unreal, Unity, and Blender—directly in your browser.
AI text-to-texture: type a prompt and get a seamless, tileable base image ready for PBR workflows (great starting point for materials).
Create a full PBR set (Normal, Roughness, AO, Metallic, etc.) from a single image. Seamless and tiling-friendly.
Instant WebGL viewer: inspect materials on a sphere, plane, and cube. Check tiling and lighting in real time.
Re-packages maps per engine: Unreal (BaseColor + ORM), Unity (Mask/MetallicSmoothness), Blender (separate channels).
PNG ↔ JPG ↔ SVG: fast convert, SVG rasterize, embed/trace options, quality & background controls.