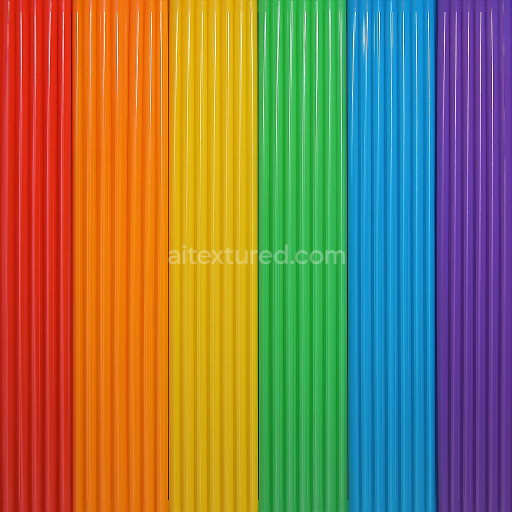
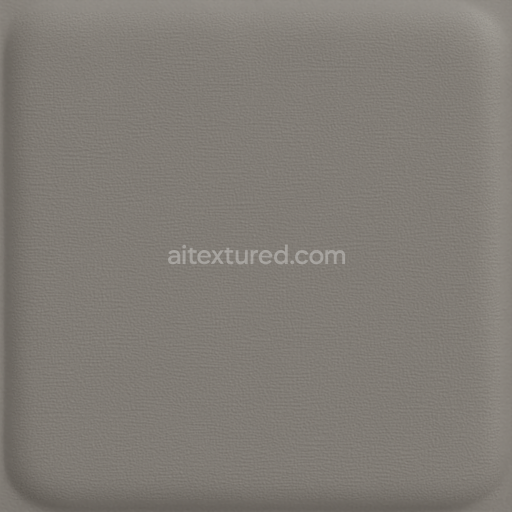
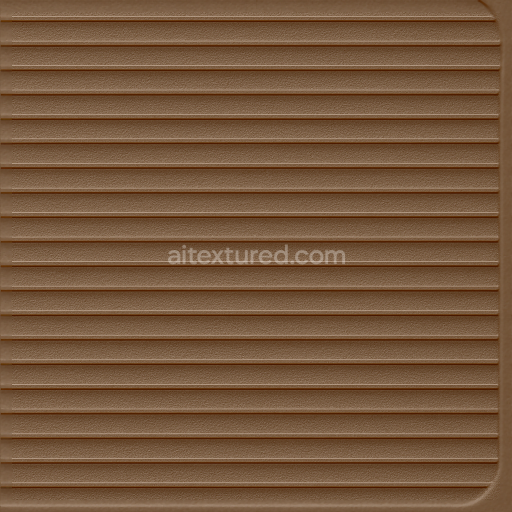
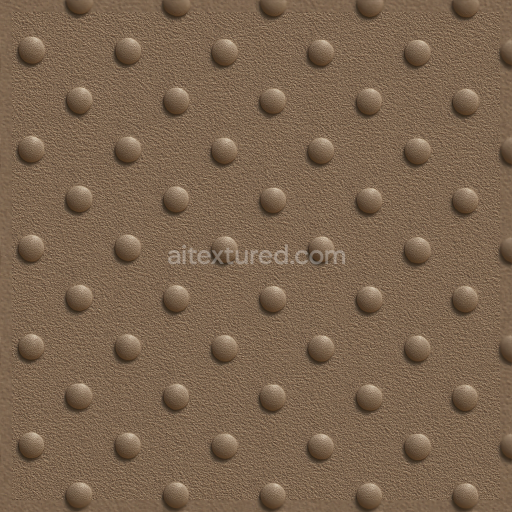
Micro Ribs Blow Molded Plastic Surface Glossy Finish
Seamless texture (tileable) · PNG, WEBP, PBR ZIP. License: AITextured Free Commercial License (FCL) v1.1. Free personal and commercial use. Raw resale, standalone redistribution, mirroring/scraping, competing asset packs, and AI/ML training are not allowed without written permission. Attribution is not required, but appreciated..

| ID | seamless-3d-texture-pbr-8k-textured-surface-injection-molded-plastic |
|---|---|
| Category | Furniture Plastic |
| Formats | PNG, WEBP, PBR ZIP |
| Size | 1k (1024x1024px), 2k (2048x2048px), 4k (4096x4096px), 8k (8192x8192px) |
| Color | sRGB |
| Tileable | Yes |
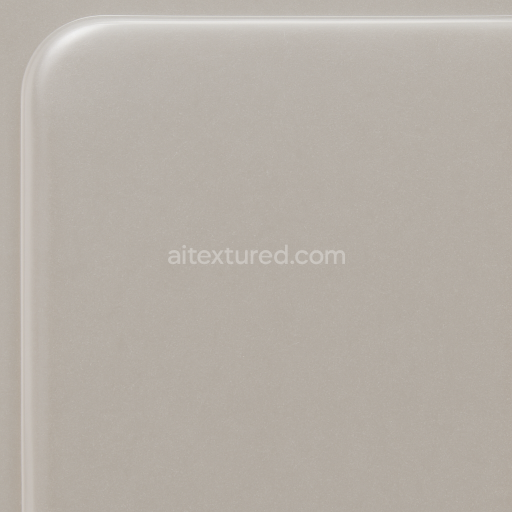
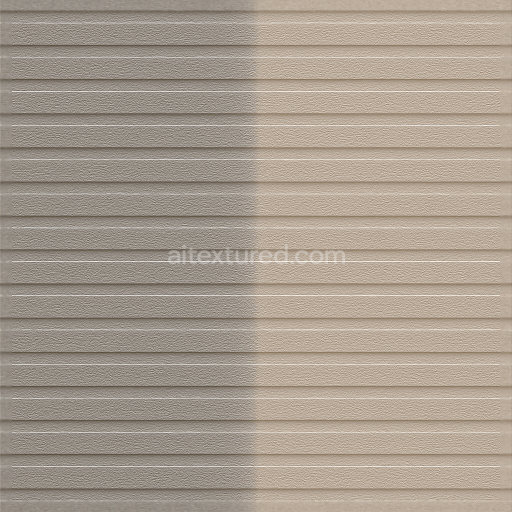
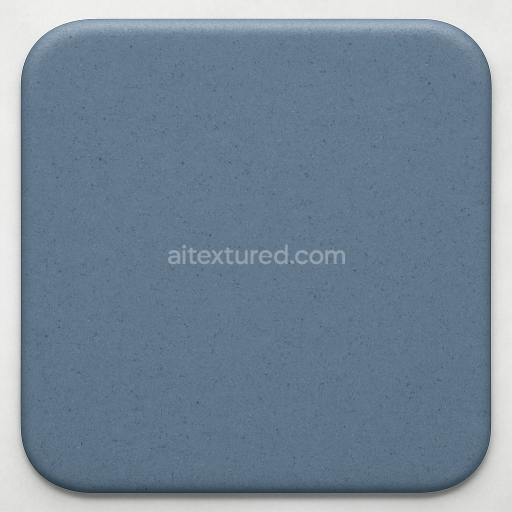
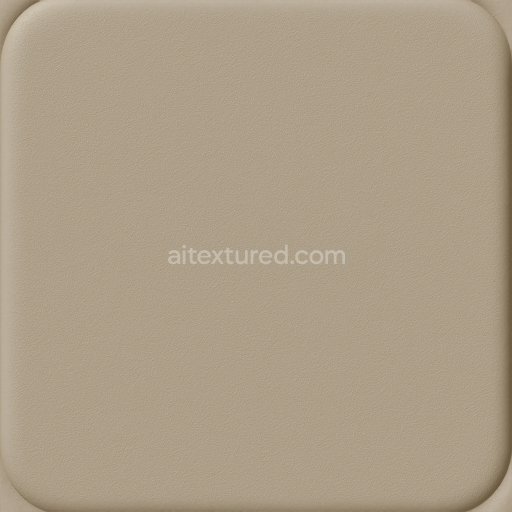
This seamless 3D texture presents an 8K resolution photorealistic PBR material designed to replicate an injection molded plastic surface commonly found in durable furniture applications. The base substrate is a polymer composite typical of high-quality plastics featuring microscopic grainy aggregates that arise from the molding process. This textured surface is characterized by fine soft-touch grain orientation which combines tactile appeal with functional durability. The opaque plastic finish is achieved through a blend of carefully calibrated pigments and mineral fillers that provide a solid robust look while maintaining uniform color saturation without translucency. The surface finish simulates the slight matte sheen of real injection molded parts avoiding glossy reflections to enhance realism in 3D visualizations.
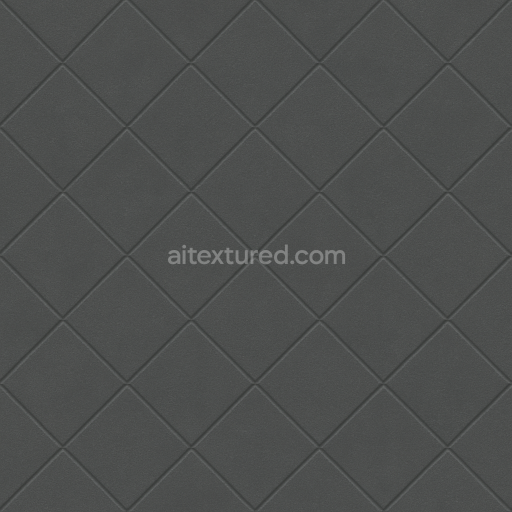
Within the PBR texture maps the BaseColor/Albedo channel captures the neutral muted tones typical of industrial plastics enriched with subtle color variations from pigment dispersion. The Normal map accurately renders the intricate grainy pattern and fine surface imperfections produced during injection molding to emphasize depth and material complexity. Roughness values are tuned to reflect a soft diffused reflection preventing harsh specular highlights and simulating the natural scattering of light on the textured plastic. The Metallic channel remains at zero consistent with non-metallic polymers while Ambient Occlusion enhances shadowing in crevices to add dimensionality. Height/Displacement maps detail the slight surface undulations and embossing typical of molded textures enabling advanced parallax effects for enhanced realism.
Engineered for seamless tiling this 8K texture integrates effortlessly into 3D projects across Unreal Engine Blender and Unity ensuring high fidelity and performance in furniture visualization or product design. The texture’s neutral tones and consistent grain orientation allow it to blend naturally with other materials making it ideal for replicating injection molded plastic components with impact resistant qualities. For optimal usage adjusting the UV scale to match real-world furniture dimensions and fine-tuning roughness values can significantly improve the tactile authenticity especially when simulating soft matte finishes common in functional plastic surfaces.
Import the texture maps into Blender with sRGB color space for albedo/base color and Non-Color for normal, roughness, metallic, AO, height, and ORM maps. Connect normal maps through a Normal Map node, then adjust UV scale with a Mapping node so the material repeats naturally on your model.
For the full step-by-step setup, see How to Use Seamless Textures in Blender. Browse related material examples in wood, concrete, and metal.
Yes. This texture is designed as a seamless tileable PBR material, so it can repeat across large surfaces without visible borders.
You can download PNG/WEBP versions and use 1K, 2K, 4K and 8K download options when available on the page.
Yes. The download options and engine-mapped ZIP workflow are designed for Blender, Unreal Engine, Unity Standard, URP and HDRP material pipelines.
Yes. The texture is available under the AITextured free commercial license. Review the license page for redistribution and AI-training restrictions.
Build, preview, and export seamless PBR materials. Generate full map sets from a single image, inspect them in a real-time WebGL viewer, and re-package maps for Unreal, Unity, and Blender—directly in your browser.
AI text-to-texture: type a prompt and get a seamless, tileable base image ready for PBR workflows (great starting point for materials).
Create a full PBR set (Normal, Roughness, AO, Metallic, etc.) from a single image. Seamless and tiling-friendly.
Instant WebGL viewer: inspect materials on a sphere, plane, and cube. Check tiling and lighting in real time.
Re-packages maps per engine: Unreal (BaseColor + ORM), Unity (Mask/MetallicSmoothness), Blender (separate channels).
PNG ↔ JPG ↔ SVG: fast convert, SVG rasterize, embed/trace options, quality & background controls.