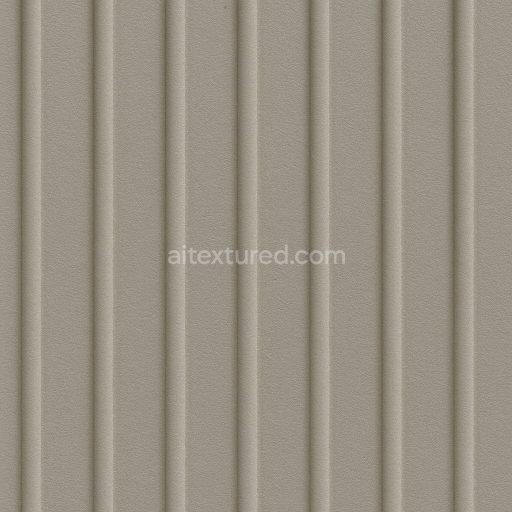
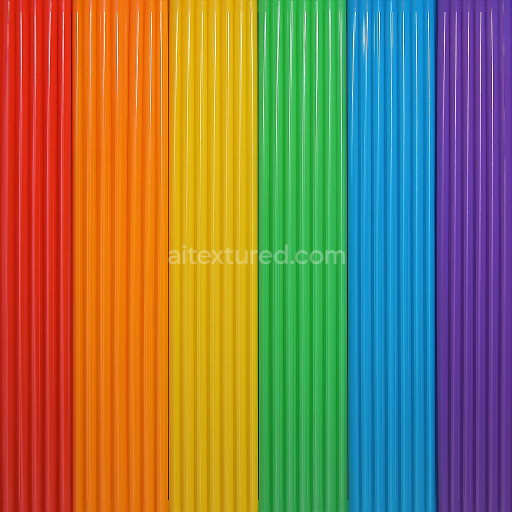
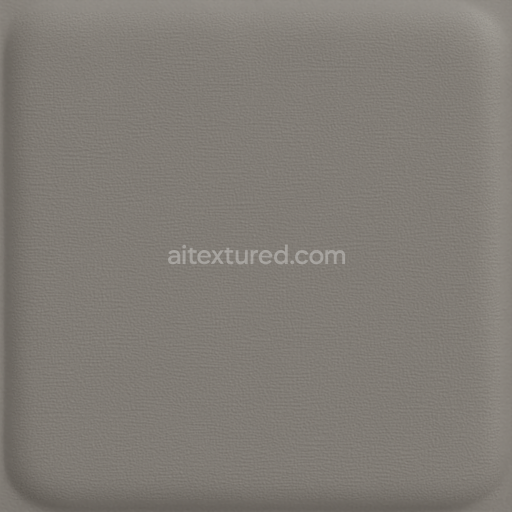
Ribbed Surface Molded Plastic Matte Finish Durable
Seamless texture (tileable) · PNG, WEBP, PBR ZIP. License: AITextured Free Commercial License (FCL) v1.1. Free personal and commercial use. Raw resale, standalone redistribution, mirroring/scraping, competing asset packs, and AI/ML training are not allowed without written permission. Attribution is not required, but appreciated..

| ID | seamless-3d-texture-pbr-8k-glossy-finish-colored-plastic-furniture-plastic |
|---|---|
| Category | Furniture Plastic |
| Formats | PNG, WEBP, PBR ZIP |
| Size | 1k (1024x1024px), 2k (2048x2048px), 4k (4096x4096px), 8k (8192x8192px) |
| Color | sRGB |
| Tileable | Yes |
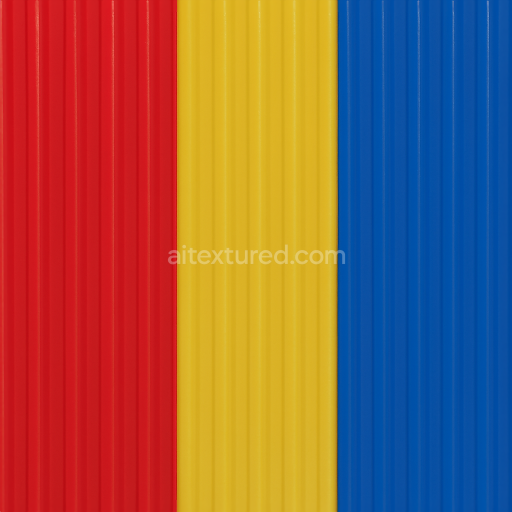
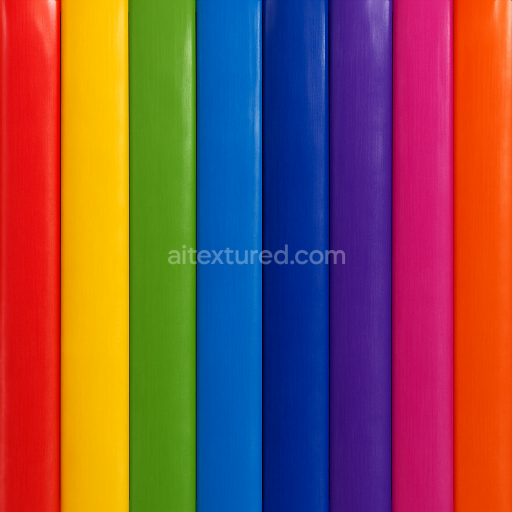
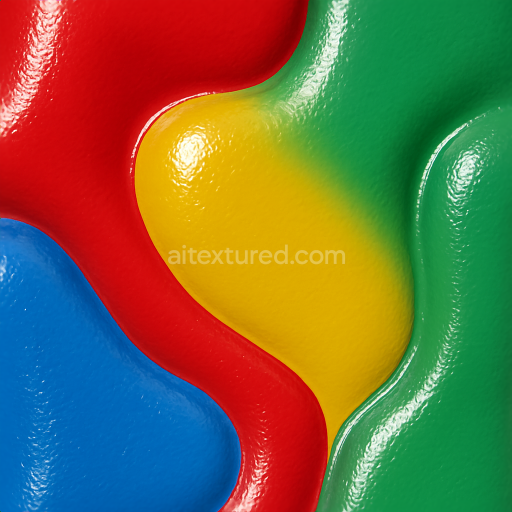
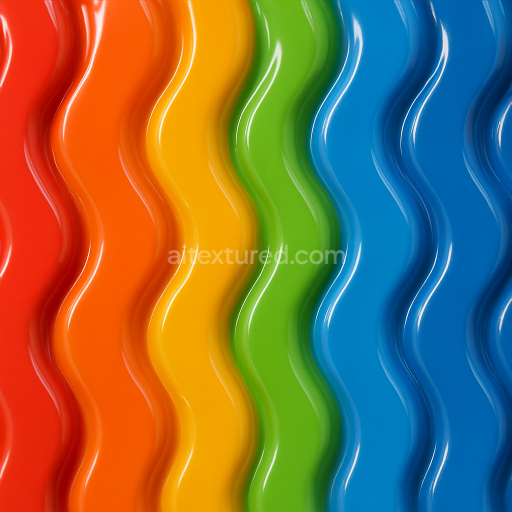
This seamless 3D texture features an 8K resolution glossy finish colored plastic surface meticulously crafted to represent high-quality polycarbonate materials commonly used in furniture design. The base substrate is a durable polymer known for its impact resistance and minimal porosity ensuring longevity and consistent appearance across various environmental conditions. Colored with vibrant pigments embedded within the polycarbonate matrix this material maintains its vivid hues without fading while the glossy finish is achieved through a polished surface layer that enhances reflectivity and smoothness. The texture’s photorealistic properties stem from accurately simulated micro-surface details where the Normal and Height channels capture subtle undulations and fine scratches contributing to the tactile realism of the plastic furniture surfaces.
In terms of PBR channel mapping the BaseColor (Albedo) channel showcases the rich vibrant colors characteristic of colored plastic while the Roughness map is finely tuned to produce a high-gloss reflective surface that beautifully catches and disperses light. The Metallic channel is typically set to zero reflecting the non-metallic nature of the polycarbonate substrate whereas the Ambient Occlusion map enhances depth perception by simulating soft shadows in crevices and edges. The Height or Displacement channel subtly conveys surface imperfections and curvature adding dimensionality without compromising the seamless tiling required for extensive furniture models. This texture is fully optimized and ready for use in Blender Unreal Engine and Unity providing artists and designers with a versatile high-fidelity material option that integrates effortlessly into contemporary 3D workflows.
Constructed specifically for furniture plastic applications this seamless 8K PBR texture combines durability and aesthetic appeal making it ideal for modern interior visualizations that demand bright shiny and lively surfaces. The polycarbonate base ensures scratch resistance and a polished look that endures through extended use while the uniform grain orientation and absence of porosity contribute to a flawless finish. For practical application it is recommended to carefully adjust the UV scale to maintain consistent detail across large furniture panels and to fine-tune the Roughness values to balance between glare and diffuse reflection depending on scene lighting conditions. This approach ensures the colored plastic surfaces remain visually rich and believable in any photorealistic rendering scenario.
Import the texture maps into Blender with sRGB color space for albedo/base color and Non-Color for normal, roughness, metallic, AO, height, and ORM maps. Connect normal maps through a Normal Map node, then adjust UV scale with a Mapping node so the material repeats naturally on your model.
For the full step-by-step setup, see How to Use Seamless Textures in Blender. Browse related material examples in wood, concrete, and metal.
Yes. This texture is designed as a seamless tileable PBR material, so it can repeat across large surfaces without visible borders.
You can download PNG/WEBP versions and use 1K, 2K, 4K and 8K download options when available on the page.
Yes. The download options and engine-mapped ZIP workflow are designed for Blender, Unreal Engine, Unity Standard, URP and HDRP material pipelines.
Yes. The texture is available under the AITextured free commercial license. Review the license page for redistribution and AI-training restrictions.
Build, preview, and export seamless PBR materials. Generate full map sets from a single image, inspect them in a real-time WebGL viewer, and re-package maps for Unreal, Unity, and Blender—directly in your browser.
AI text-to-texture: type a prompt and get a seamless, tileable base image ready for PBR workflows (great starting point for materials).
Create a full PBR set (Normal, Roughness, AO, Metallic, etc.) from a single image. Seamless and tiling-friendly.
Instant WebGL viewer: inspect materials on a sphere, plane, and cube. Check tiling and lighting in real time.
Re-packages maps per engine: Unreal (BaseColor + ORM), Unity (Mask/MetallicSmoothness), Blender (separate channels).
PNG ↔ JPG ↔ SVG: fast convert, SVG rasterize, embed/trace options, quality & background controls.