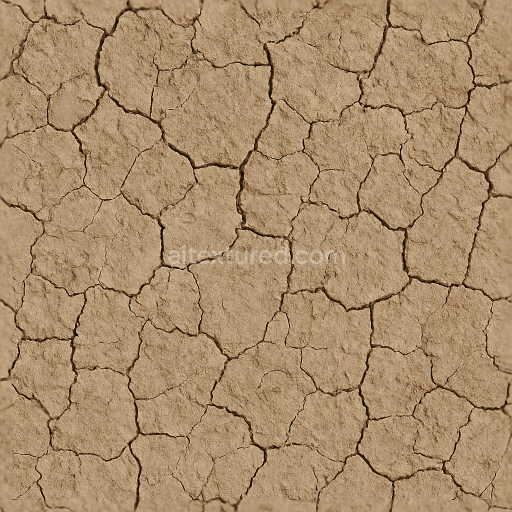
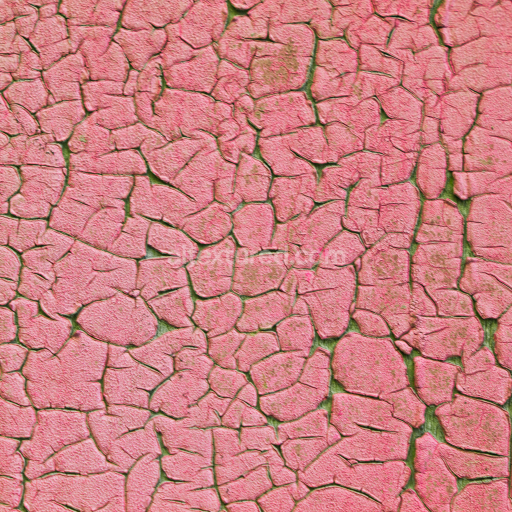
Mud Cracks Ground Surface With Dry Cracked Mud And Earth Cracks
Seamless texture (tileable) · PNG, WEBP, PBR ZIP. License: AITextured Free Commercial License (FCL) v1.1. Free personal and commercial use. Raw resale, standalone redistribution, mirroring/scraping, competing asset packs, and AI/ML training are not allowed without written permission. Attribution is not required, but appreciated..

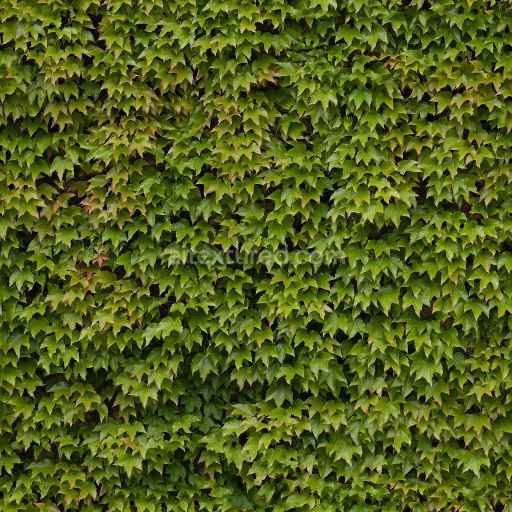
| ID | water-lily-leaves-texture-free-pbr |
|---|---|
| Category | Ground surface |
| Formats | PNG, WEBP, PBR ZIP |
| Size | 1k (1024x1024px), 2k (2048x2048px), 4k (4096x4096px), 8k (8192x8192px) |
| Color | sRGB |
| Tileable | Yes |
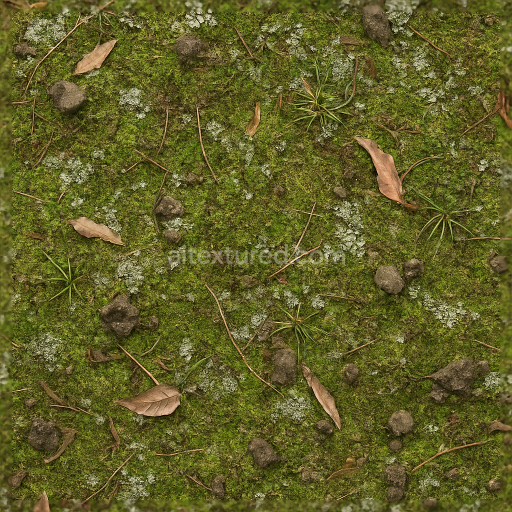
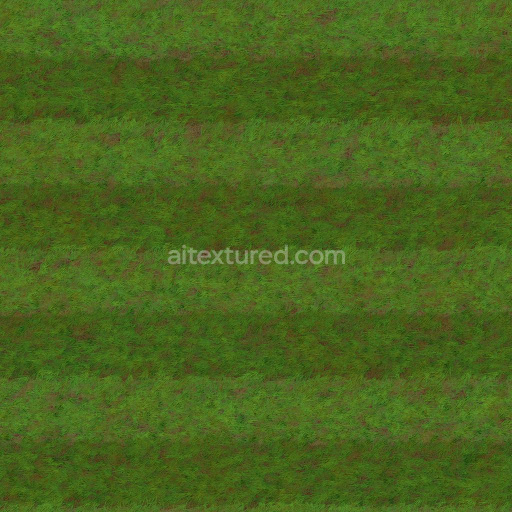
This Water Lily Leaves texture is a meticulously crafted, high-quality seamless PBR material designed to replicate the complex organic structure of water lily foliage. The base substrate mimics natural plant tissue, characterized by a fibrous, slightly porous organic matrix that forms the leaf surface. This texture captures the intricate vein patterns and subtle undulations typical of water lily leaves, providing a realistic representation of their unique combination of smooth and slightly rough surfaces. The coloration is composed of layered green pigments with subtle variations in hue and saturation, reflecting natural chlorophyll distribution and minor weathering effects from water exposure. These pigments are simulated through the BaseColor (Albedo) channel, delivering lifelike color depth and translucency without metallic properties, as indicated by the Metallic channel set to zero.
The texture’s Normal map accurately conveys the fine surface details, including vein ridges and gentle leaf curvature, enhancing light interaction and shadow play for photorealistic renderings. Roughness values vary across the texture, representing the natural waxy coating of water lily leaves that causes water to bead and roll off, alongside rougher, matte areas where wear is evident. This variation supports dynamic reflections and subtle glossiness, ideal for environments involving water or wet surfaces. The Ambient Occlusion channel enhances depth perception in crevices and leaf veins, while the Height/Displacement map effectively simulates micro-elevations and surface relief, adding dimensionality to the model when used with parallax or tessellation techniques.
Rendered at ultra-high 8K resolution, this texture ensures exceptional detail and clarity for close-up shots and large-scale projects within industry-standard platforms such as Blender, Unreal Engine, and Unity. Its seamless design allows for flexible UV mapping without visible tiling artifacts, making it suitable for natural scenes, botanical visualizations, and environmental assets. For optimal results, it is recommended to fine-tune the roughness channel to adjust surface reflectivity according to lighting conditions, or to scale the UVs thoughtfully to preserve the natural leaf vein proportion, enhancing believability in your 3D scenes. This Water Lily Leaves texture combines organic realism with technical precision, offering a versatile and visually compelling material for digital artists and developers alike.
Import the texture maps into Blender with sRGB color space for albedo/base color and Non-Color for normal, roughness, metallic, AO, height, and ORM maps. Connect normal maps through a Normal Map node, then adjust UV scale with a Mapping node so the material repeats naturally on your model.
For the full step-by-step setup, see How to Use Seamless Textures in Blender. Browse related material examples in wood, concrete, and metal.
Yes. This texture is designed as a seamless tileable PBR material, so it can repeat across large surfaces without visible borders.
You can download PNG/WEBP versions and use 1K, 2K, 4K and 8K download options when available on the page.
Yes. The download options and engine-mapped ZIP workflow are designed for Blender, Unreal Engine, Unity Standard, URP and HDRP material pipelines.
Yes. The texture is available under the AITextured free commercial license. Review the license page for redistribution and AI-training restrictions.
Generate, preview, and export seamless PBR materials for Blender, Unity, and Unreal Engine—directly in your browser.
AI text-to-texture: type a prompt and get a seamless, tileable base image ready for PBR workflows (great starting point for materials).
Create a full PBR set (Normal, Roughness, AO, Metallic, etc.) from a single image. Seamless and tiling-friendly.
Instant WebGL viewer: inspect materials on a sphere, plane, and cube. Check tiling and lighting in real time.
Re-packages maps per engine: Unreal (BaseColor + ORM), Unity (Mask/MetallicSmoothness), Blender (separate channels).
PNG ↔ JPG ↔ SVG: fast convert, SVG rasterize, embed/trace options, quality & background controls.