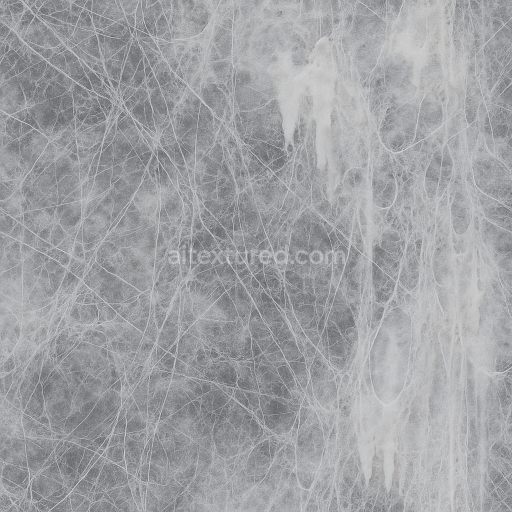
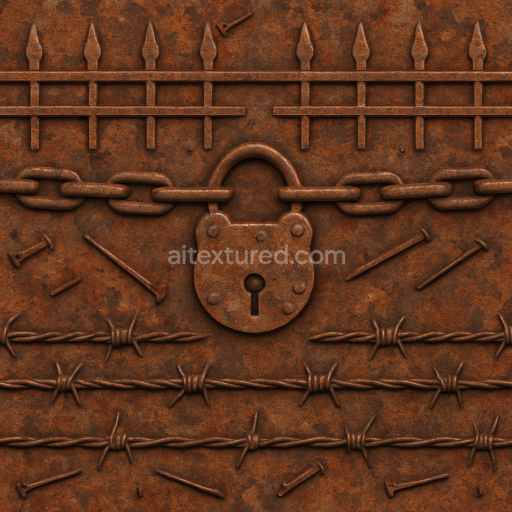
Spooky Spiderweb For Scary Halloween Scenes
Seamless texture (tileable) · PNG, WEBP, PBR ZIP. License: AITextured Free Commercial License (FCL) v1.1. Free personal and commercial use. Raw resale, standalone redistribution, mirroring/scraping, competing asset packs, and AI/ML training are not allowed without written permission. Attribution is not required, but appreciated..

| ID | seamless-3d-texture-pbr-8k-cracked-pumpkin-surface-with-glowing-eyes-for-spooky-halloween |
|---|---|
| Category | Halloween |
| Formats | PNG, WEBP, PBR ZIP |
| Size | 1k (1024x1024px), 2k (2048x2048px), 4k (4096x4096px), 8k (8192x8192px) |
| Color | sRGB |
| Tileable | Yes |
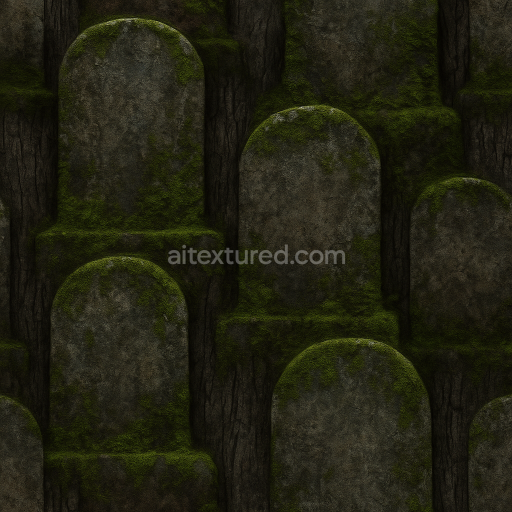
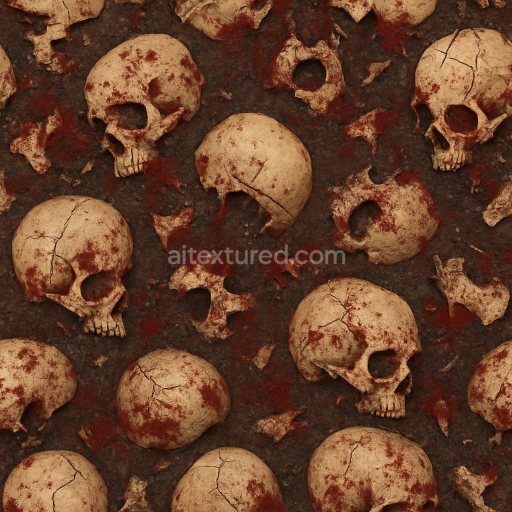
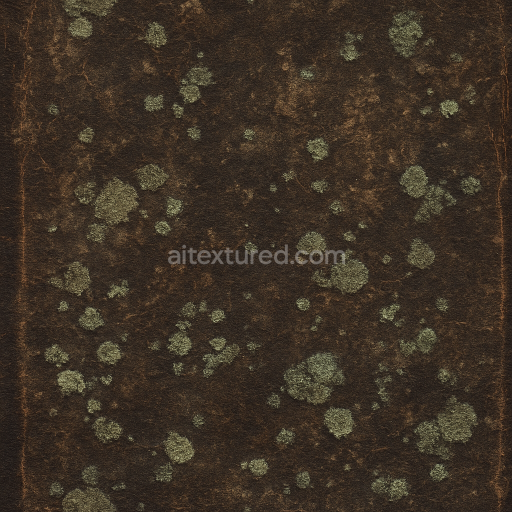
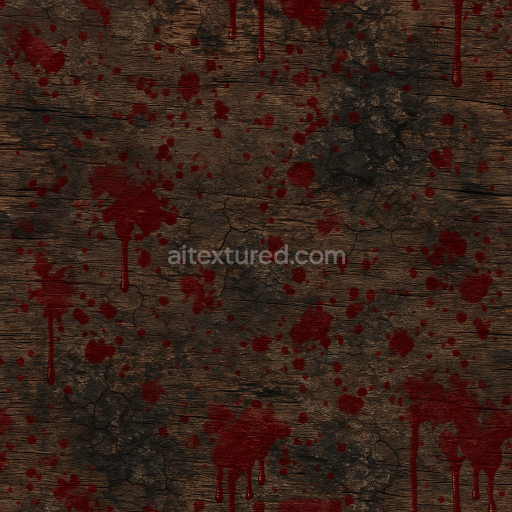
This high-quality seamless 3D texture captures the intricate surface of a cracked pumpkin rendered in photorealistic 8K resolution with full PBR (Physically Based Rendering) support. The base substrate resembles organic pumpkin flesh exhibiting natural orange pigments enhanced by subtle blood red stains that intensify the eerie spooky Halloween atmosphere. The cracked surface features detailed micro-variations and fine weathering effects simulating the natural desiccation and decay of the pumpkin’s outer layer. These characteristics are reflected across the PBR channels: the BaseColor/Albedo map delivers rich warm tones with varying saturation to highlight cracks and stains; the Normal map accentuates the surface’s rugged bumps and fissures; the Roughness map controls the matte finish with gentle glossiness around wet or fresher cracks; the Metallic channel remains near zero emphasizing the organic non-metallic nature; the Ambient Occlusion map deepens the shadowed crevices enhancing depth perception; and the Height/Displacement map provides subtle relief perfect for parallax effects in close-up renders.
Designed for seamless tiling this texture flawlessly repeats across surfaces without visible seams making it ideal for 3D modeling applications such as haunted pumpkin props jack-o'-lanterns or Halloween-themed horror scenes. Its organic weathered look is perfect for enhancing atmosphere in Unreal Engine Blender and Unity projects ready to plug directly into standard PBR workflows. The glowing eyes element is integrated with emissive properties adding an eerie light source that subtly illuminates the surrounding cracked pumpkin skin creating a haunting visual effect that enhances the mood and storytelling. This texture’s natural grain orientation and porosity simulate the pumpkin’s fibrous structure and cracked rind contributing to a believable tactile quality.
When using this texture consider adjusting the UV scale to ensure the detailed cracks and glowing eye features maintain their realistic proportions on your 3D models. For added realism fine-tune the roughness values to balance between polished and dry surfaces emphasizing weathered areas without losing the subtle sheen of fresher tissue. The height map can be used with parallax or displacement shaders to increase the sense of depth on close inspection bringing the cracked pumpkin surface to life in any spooky Halloween environment.
Import the texture maps into Blender with sRGB color space for albedo/base color and Non-Color for normal, roughness, metallic, AO, height, and ORM maps. Connect normal maps through a Normal Map node, then adjust UV scale with a Mapping node so the material repeats naturally on your model.
For the full step-by-step setup, see How to Use Seamless Textures in Blender. Browse related material examples in wood, concrete, and metal.
Yes. This texture is designed as a seamless tileable PBR material, so it can repeat across large surfaces without visible borders.
You can download PNG/WEBP versions and use 1K, 2K, 4K and 8K download options when available on the page.
Yes. The download options and engine-mapped ZIP workflow are designed for Blender, Unreal Engine, Unity Standard, URP and HDRP material pipelines.
Yes. The texture is available under the AITextured free commercial license. Review the license page for redistribution and AI-training restrictions.

Build, preview, and export seamless PBR materials. Generate full map sets from a single image, inspect them in a real-time WebGL viewer, and re-package maps for Unreal, Unity, and Blender—directly in your browser.
AI text-to-texture: type a prompt and get a seamless, tileable base image ready for PBR workflows (great starting point for materials).
Create a full PBR set (Normal, Roughness, AO, Metallic, etc.) from a single image. Seamless and tiling-friendly.
Instant WebGL viewer: inspect materials on a sphere, plane, and cube. Check tiling and lighting in real time.
Re-packages maps per engine: Unreal (BaseColor + ORM), Unity (Mask/MetallicSmoothness), Blender (separate channels).
PNG ↔ JPG ↔ SVG: fast convert, SVG rasterize, embed/trace options, quality & background controls.