
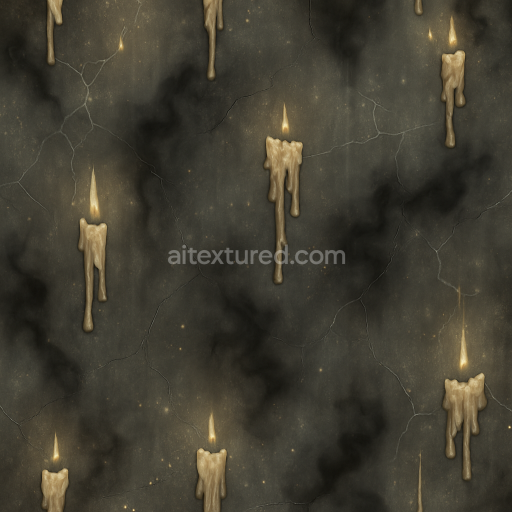
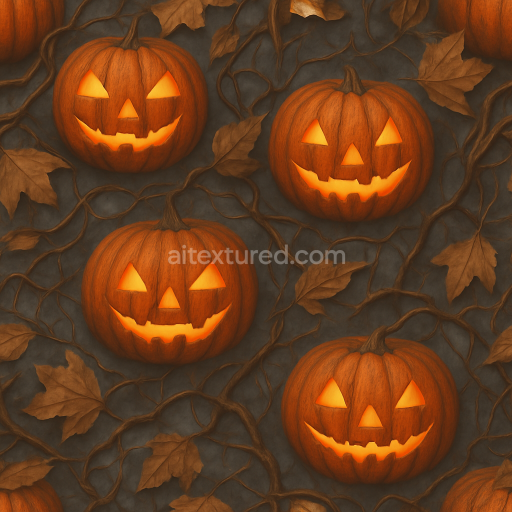
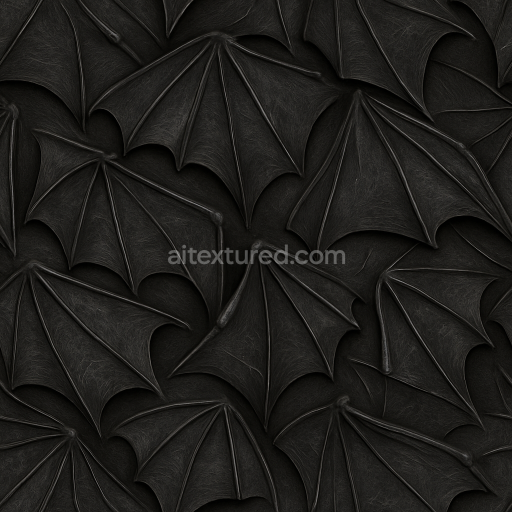
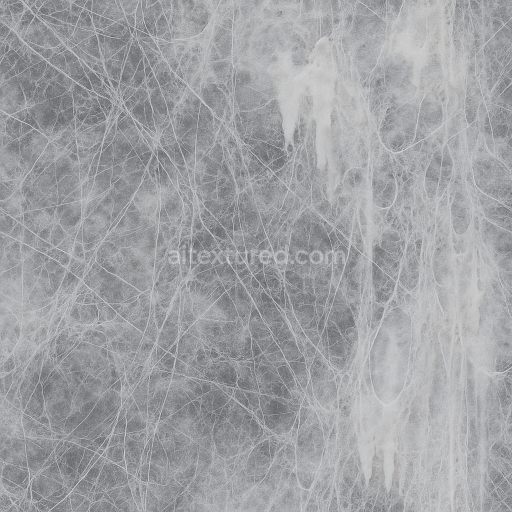
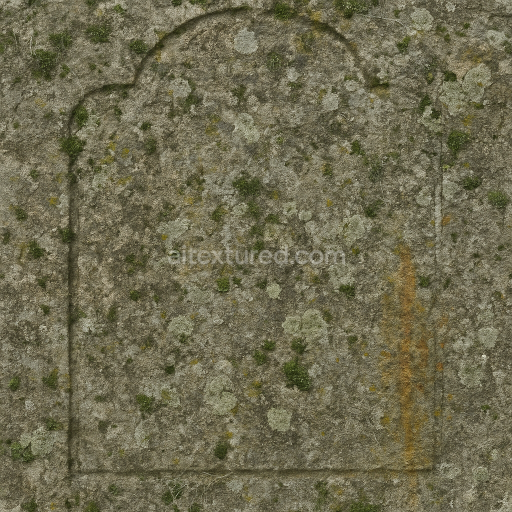
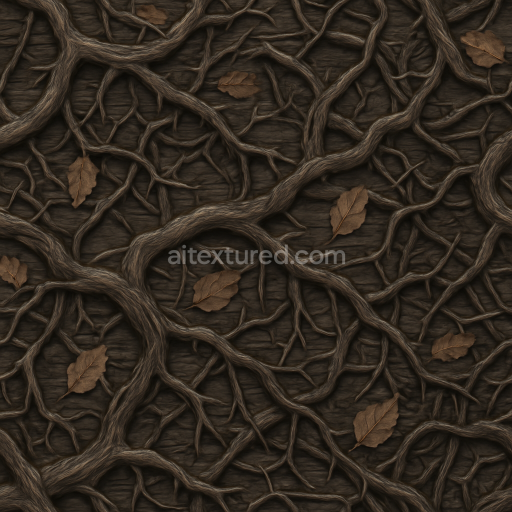
Witch Broomstick Wood Surface With Twisted Branches For Halloween
Seamless texture (tileable) · PNG, WEBP, PBR ZIP. License: AITextured Free Commercial License (FCL) v1.1. Free personal and commercial use. Raw resale, standalone redistribution, mirroring/scraping, competing asset packs, and AI/ML training are not allowed without written permission. Attribution is not required, but appreciated..

| ID | seamless-3d-texture-pbr-8k-witch-brew-liquid-in-cauldron-metal-with-eerie-reflections |
|---|---|
| Category | Halloween |
| Formats | PNG, WEBP, PBR ZIP |
| Size | 1k (1024x1024px), 2k (2048x2048px), 4k (4096x4096px), 8k (8192x8192px) |
| Color | sRGB |
| Tileable | Yes |
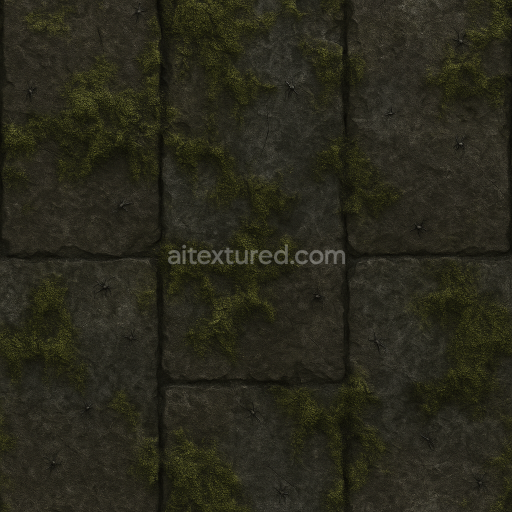
This seamless 3D texture showcases the intricate composition of a witch brew liquid contained within a weathered cauldron metal surface rendered in photorealistic PBR at an impressive 8K resolution. The cauldron base is crafted from oxidized iron with a subtly rough pitted finish that reveals years of aging and exposure to mystical elements. The metal’s surface finish combines corrosion and darkened patinas with sporadic green mold growth adding organic complexity and enhancing the eerie fantastical atmosphere. The witch brew liquid itself is a viscous iridescent fluid displaying shifting hues of deep purple and green with a faint ethereal haze hovering above it. This liquid layer reflects light with subtle specular highlights capturing the dynamic interplay of color and translucency typical of magical potions. The texture’s seamless tiling ensures that the metal and liquid details flow continuously over large 3D models or environmental props without visible seams making it ideal for expansive fantasy scenes.
In terms of material channels the BaseColor/Albedo map accurately conveys the oxidized metal’s dark muted tones contrasted against the vibrant otherworldly colors of the witch brew liquid. The Normal map accentuates the cauldron’s rough uneven surface as well as the liquid’s fluid ripples and subtle surface tension effects. Roughness is carefully balanced to reflect the metal’s worn matte characteristics alongside the glossy slightly oily reflections on the liquid’s surface. The Metallic channel highlights the iron substrate of the cauldron while Ambient Occlusion adds depth to crevices and mold clusters enhancing realism. Height and Displacement maps provide fine surface relief details including the cauldron’s corrosion pits and the textured liquid surface allowing for convincing parallax effects and enhanced 3D perception when used in modern rendering engines.
This high-detail texture is fully optimized and ready for seamless integration in Blender Unreal Engine and Unity workflows supporting enhanced realism in magical or Halloween-themed fantasy environments. For practical use it is recommended to adjust the UV scale carefully to preserve the intricate details of the mold growth and liquid reflections without pixelation. Additionally tuning the roughness channel can help achieve the perfect balance between the matte aged metal and the glossy eerie witch brew liquid reflections adapting the material’s response to different lighting setups. This texture is well-suited for creating immersive scenes featuring witch cauldrons haunted artifacts or enchanted environments requiring authentic and visually striking cauldron metal and mystical liquid elements.
Import the texture maps into Blender with sRGB color space for albedo/base color and Non-Color for normal, roughness, metallic, AO, height, and ORM maps. Connect normal maps through a Normal Map node, then adjust UV scale with a Mapping node so the material repeats naturally on your model.
For the full step-by-step setup, see How to Use Seamless Textures in Blender. Browse related material examples in wood, concrete, and metal.
Yes. This texture is designed as a seamless tileable PBR material, so it can repeat across large surfaces without visible borders.
You can download PNG/WEBP versions and use 1K, 2K, 4K and 8K download options when available on the page.
Yes. The download options and engine-mapped ZIP workflow are designed for Blender, Unreal Engine, Unity Standard, URP and HDRP material pipelines.
Yes. The texture is available under the AITextured free commercial license. Review the license page for redistribution and AI-training restrictions.
Build, preview, and export seamless PBR materials. Generate full map sets from a single image, inspect them in a real-time WebGL viewer, and re-package maps for Unreal, Unity, and Blender—directly in your browser.
AI text-to-texture: type a prompt and get a seamless, tileable base image ready for PBR workflows (great starting point for materials).
Create a full PBR set (Normal, Roughness, AO, Metallic, etc.) from a single image. Seamless and tiling-friendly.
Instant WebGL viewer: inspect materials on a sphere, plane, and cube. Check tiling and lighting in real time.
Re-packages maps per engine: Unreal (BaseColor + ORM), Unity (Mask/MetallicSmoothness), Blender (separate channels).
PNG ↔ JPG ↔ SVG: fast convert, SVG rasterize, embed/trace options, quality & background controls.