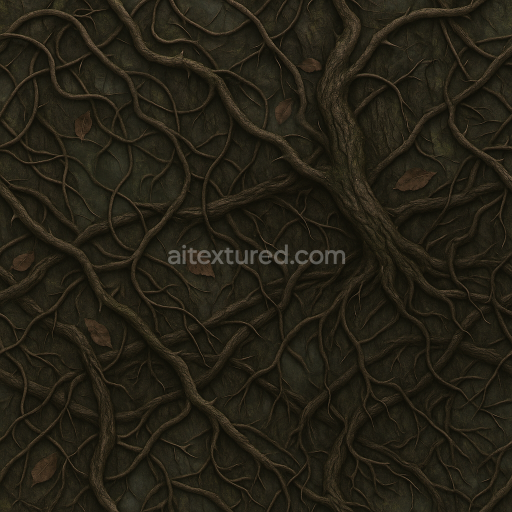
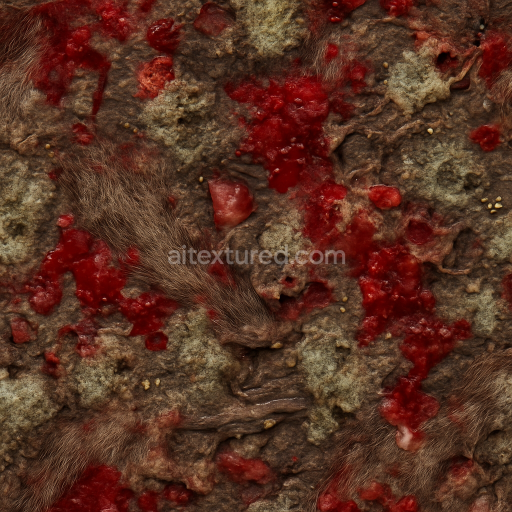
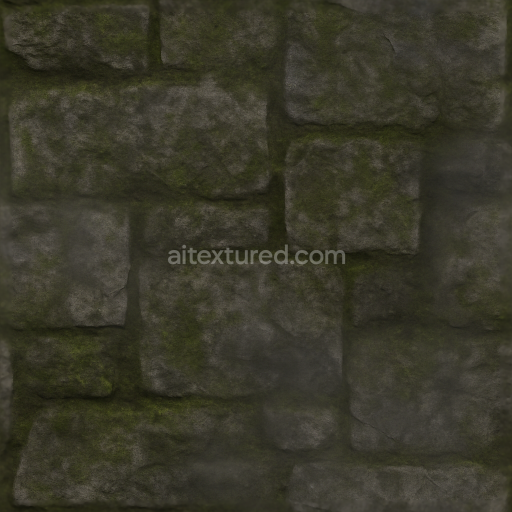
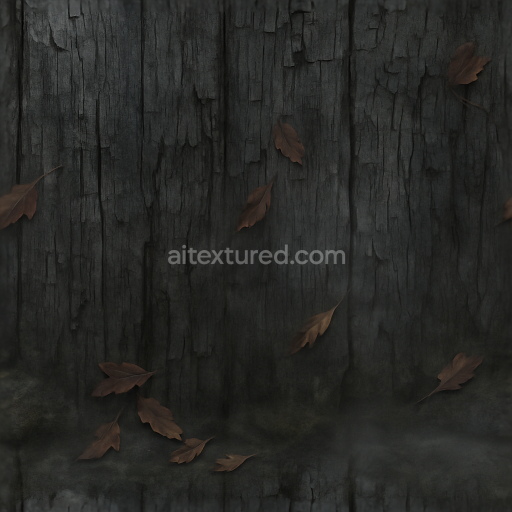
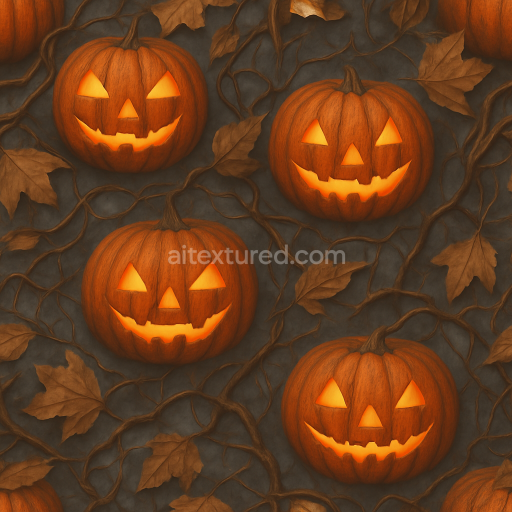
Twisted Vines With Thorny Branches And Dark Roots Detail
Seamless texture (tileable) · PNG, WEBP, PBR ZIP. License: AITextured Free Commercial License (FCL) v1.1. Free personal and commercial use. Raw resale, standalone redistribution, mirroring/scraping, competing asset packs, and AI/ML training are not allowed without written permission. Attribution is not required, but appreciated..

| ID | seamless-3d-texture-pbr-8k-halloween-old-grimy-brick-wall-surface |
|---|---|
| Category | Halloween |
| Formats | PNG, WEBP, PBR ZIP |
| Size | 1k (1024x1024px), 2k (2048x2048px), 4k (4096x4096px), 8k (8192x8192px) |
| Color | sRGB |
| Tileable | Yes |
This seamless 3D PBR texture captures the intricate details of an old grimy brick wall surface in stunning 8K resolution designed specifically for Halloween and horror-themed digital environments. The base material consists of weathered red bricks formed from fired clay minerals with natural iron oxide pigments giving the bricks their characteristic rusty hue. These bricks are bonded together with a porous aged mortar that acts as the adhesive exhibiting worn cracked and uneven grain orientation from decades of exposure to harsh outdoor conditions. The surface finish is rough and matte covered with layers of accumulated dirt moss and organic grime that contribute to its authentic spooky aged effect. This combination of mineral-based bricks and organic surface deposits creates a compelling tactile impression perfect for haunted houses creepy alleyways and ruined structures in photorealistic renders or game scenes.
In the PBR workflow the BaseColor (Albedo) channel reveals the deep reds and browns of the bricks interspersed with muted greens and dark greys of moss and dirt perfectly representing the natural colorants and weathering effects. The Normal map emphasizes the rough cracked texture of each brick and the uneven mortar joints enhancing the perception of depth and surface irregularities. Roughness values vary realistically across the surface with smoother patches on worn mortar contrasting with the coarse gritty brick faces while the Metallic channel remains minimal to none reflecting the non-metallic nature of the brick and organic materials. Ambient Occlusion adds subtle shadowing in crevices and cracks boosting the atmospheric worn look. The Height (Displacement) map provides fine elevation changes that allow for realistic parallax and depth effects in real-time engines.
Rendered at ultra-high 8K resolution this seamless texture is optimized for use in Blender Unreal Engine and Unity projects ensuring crisp detail even in close-up views and large-scale wall compositions. The tileable design allows for extended continuous surfaces without visible seams enabling efficient workflow for both architectural visualizations and immersive game environments. For practical application adjusting the UV scale to slightly reduce the tiling frequency can enhance realism by avoiding repetitive patterns while fine-tuning the roughness parameter can tailor the surface reflectivity to match different lighting conditions from damp shadows in haunted exteriors to dry sun-faded alleyways.
Import the texture maps into Blender with sRGB color space for albedo/base color and Non-Color for normal, roughness, metallic, AO, height, and ORM maps. Connect normal maps through a Normal Map node, then adjust UV scale with a Mapping node so the material repeats naturally on your model.
For the full step-by-step setup, see How to Use Seamless Textures in Blender. Browse related material examples in wood, concrete, and metal.
Yes. This texture is designed as a seamless tileable PBR material, so it can repeat across large surfaces without visible borders.
You can download PNG/WEBP versions and use 1K, 2K, 4K and 8K download options when available on the page.
Yes. The download options and engine-mapped ZIP workflow are designed for Blender, Unreal Engine, Unity Standard, URP and HDRP material pipelines.
Yes. The texture is available under the AITextured free commercial license. Review the license page for redistribution and AI-training restrictions.
Build, preview, and export seamless PBR materials. Generate full map sets from a single image, inspect them in a real-time WebGL viewer, and re-package maps for Unreal, Unity, and Blender—directly in your browser.
AI text-to-texture: type a prompt and get a seamless, tileable base image ready for PBR workflows (great starting point for materials).
Create a full PBR set (Normal, Roughness, AO, Metallic, etc.) from a single image. Seamless and tiling-friendly.
Instant WebGL viewer: inspect materials on a sphere, plane, and cube. Check tiling and lighting in real time.
Re-packages maps per engine: Unreal (BaseColor + ORM), Unity (Mask/MetallicSmoothness), Blender (separate channels).
PNG ↔ JPG ↔ SVG: fast convert, SVG rasterize, embed/trace options, quality & background controls.