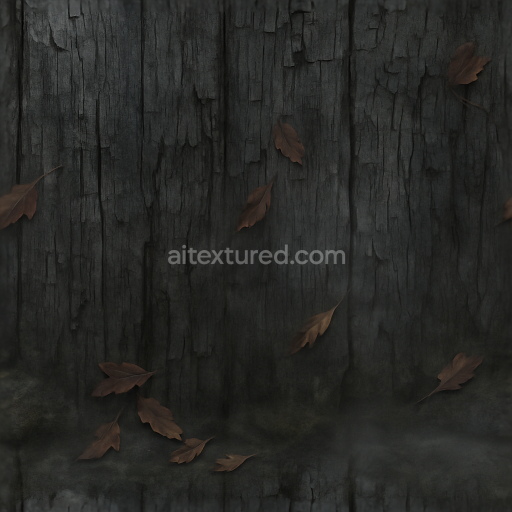
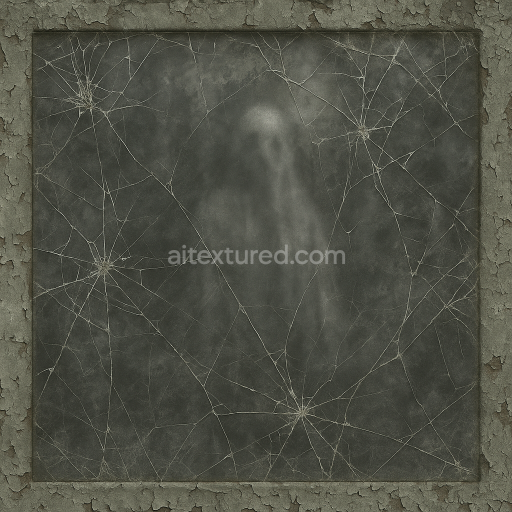
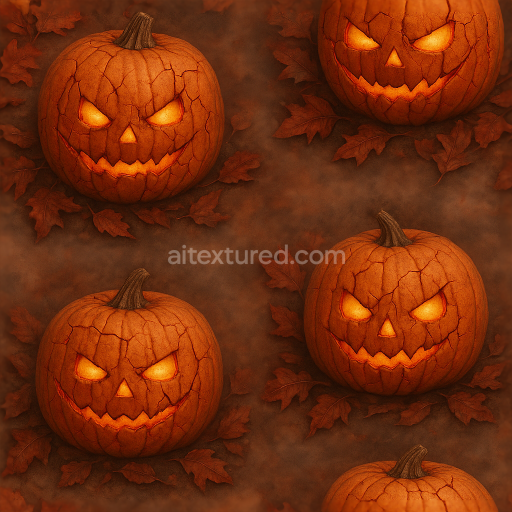
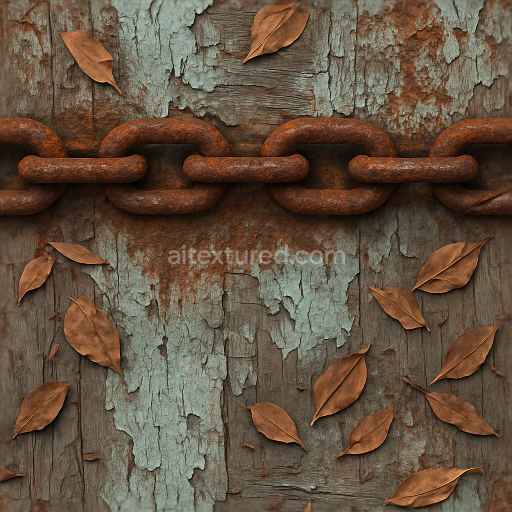
Spooky Wood Grain With Cracked Paint For Halloween
Seamless texture (tileable) · PNG, WEBP, PBR ZIP. License: AITextured Free Commercial License (FCL) v1.1. Free personal and commercial use. Raw resale, standalone redistribution, mirroring/scraping, competing asset packs, and AI/ML training are not allowed without written permission. Attribution is not required, but appreciated..

| ID | seamless-3d-texture-pbr-8k-pumpkin-skin-surface-for-halloween-decor |
|---|---|
| Category | Halloween |
| Formats | PNG, WEBP, PBR ZIP |
| Size | 1k (1024x1024px), 2k (2048x2048px), 4k (4096x4096px), 8k (8192x8192px) |
| Color | sRGB |
| Tileable | Yes |
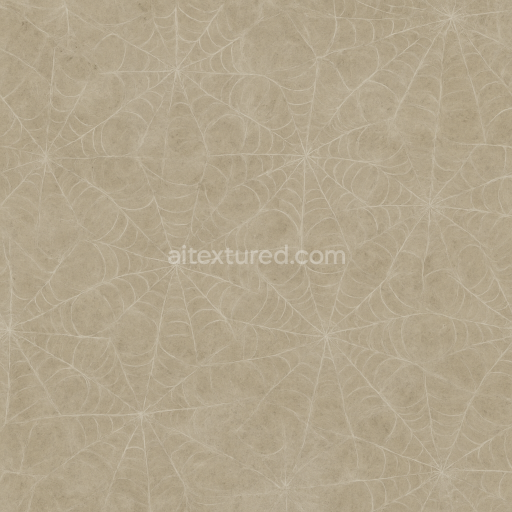
This seamless 3D texture presents an exquisitely detailed pumpkin skin surface meticulously crafted using physically based rendering (PBR) techniques at an ultra-high 8K resolution. The base material simulates the organic fibrous structure of natural pumpkin skin characterized by a slightly rough porous surface that combines subtle wrinkles and natural imperfections. The texture captures the ruggedness of the carved pumpkin’s outer layer with rich orange pigments interspersed with lighter and darker variations to replicate the natural oxidation and pigment diffusion found in real gourds. Fine fibrous grain orientation and weathering effects are evident enhancing the photorealism by reflecting the pumpkin’s natural aging including areas where the skin has dried or cracked slightly contributing to the overall authenticity of the Halloween-themed decor.
In terms of materials and PBR channels the BaseColor (Albedo) map delivers the vivid warm orange glow and subtle color transitions of pumpkin skin while the Normal map accurately reproduces the intricate surface relief including bumps grooves and carved details typical of jack o’ lantern designs. The Roughness map is calibrated to simulate the semi-matte finish of the pumpkin’s natural waxy yet uneven texture avoiding overly shiny reflections while preserving a tactile feel. The Metallic channel remains near zero reflecting the organic non-metallic nature of the pumpkin skin whereas the Ambient Occlusion map enhances depth perception by emphasizing shadows around crevices and folds. The Height (Displacement) map adds volumetric realism accentuating the carved pumpkin features and subtle surface undulations making this texture ideal for use in Unreal Engine Blender and Unity projects that demand high fidelity and seamless tiling.
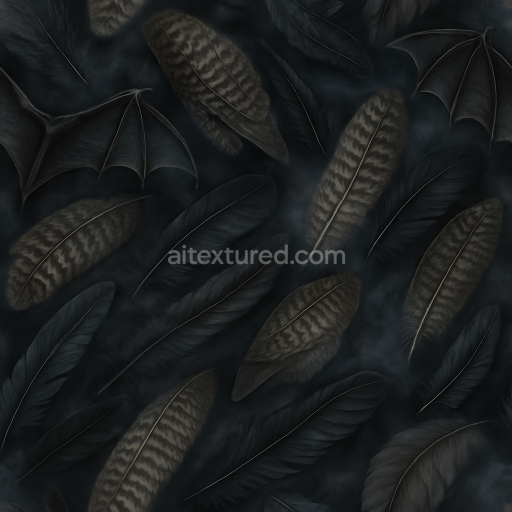
Designed with versatility in mind this texture incorporates additional subtle elements such as dry leaves and twisted branches within the design to enrich the spooky autumn ambiance without compromising seamlessness. A faint foggy mist overlay subtly enhances atmospheric depth making it adaptable to various Halloween scenes and virtual environments. Neutral lighting conditions were used during texture creation to ensure balanced illumination allowing artists to easily adjust lighting and shading in their preferred rendering engines without unwanted shadows or highlights. For optimal results it is recommended to carefully tune the roughness values to match scene lighting and utilize UV scaling to maintain surface detail consistency on larger models especially when creating realistic jack o’ lanterns or pumpkin-themed props.
Import the texture maps into Blender with sRGB color space for albedo/base color and Non-Color for normal, roughness, metallic, AO, height, and ORM maps. Connect normal maps through a Normal Map node, then adjust UV scale with a Mapping node so the material repeats naturally on your model.
For the full step-by-step setup, see How to Use Seamless Textures in Blender. Browse related material examples in wood, concrete, and metal.
Yes. This texture is designed as a seamless tileable PBR material, so it can repeat across large surfaces without visible borders.
You can download PNG/WEBP versions and use 1K, 2K, 4K and 8K download options when available on the page.
Yes. The download options and engine-mapped ZIP workflow are designed for Blender, Unreal Engine, Unity Standard, URP and HDRP material pipelines.
Yes. The texture is available under the AITextured free commercial license. Review the license page for redistribution and AI-training restrictions.

Build, preview, and export seamless PBR materials. Generate full map sets from a single image, inspect them in a real-time WebGL viewer, and re-package maps for Unreal, Unity, and Blender—directly in your browser.
AI text-to-texture: type a prompt and get a seamless, tileable base image ready for PBR workflows (great starting point for materials).
Create a full PBR set (Normal, Roughness, AO, Metallic, etc.) from a single image. Seamless and tiling-friendly.
Instant WebGL viewer: inspect materials on a sphere, plane, and cube. Check tiling and lighting in real time.
Re-packages maps per engine: Unreal (BaseColor + ORM), Unity (Mask/MetallicSmoothness), Blender (separate channels).
PNG ↔ JPG ↔ SVG: fast convert, SVG rasterize, embed/trace options, quality & background controls.