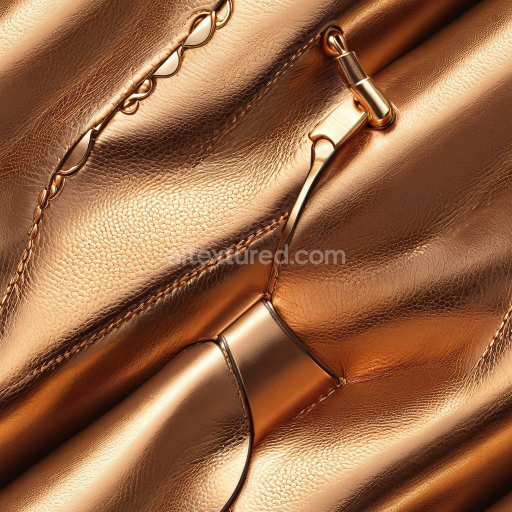
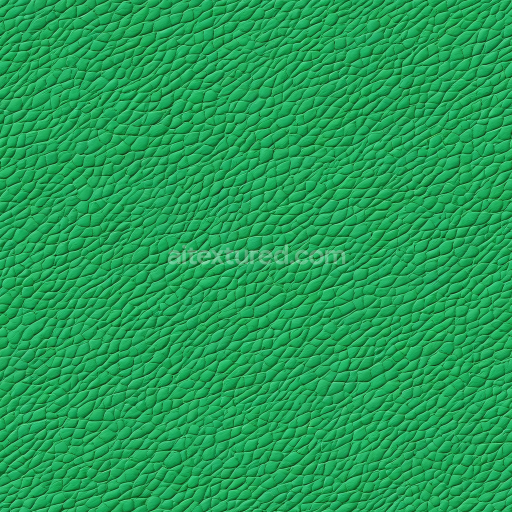
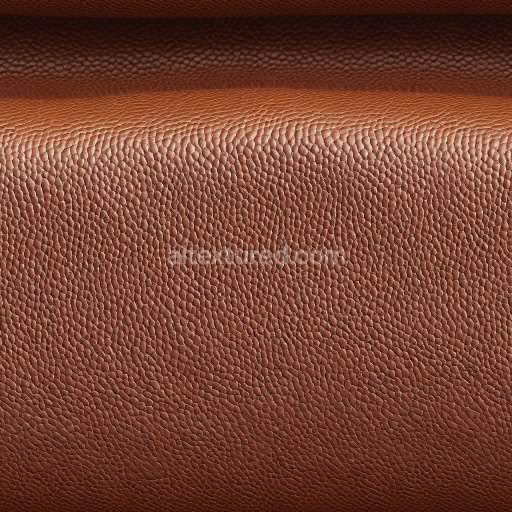
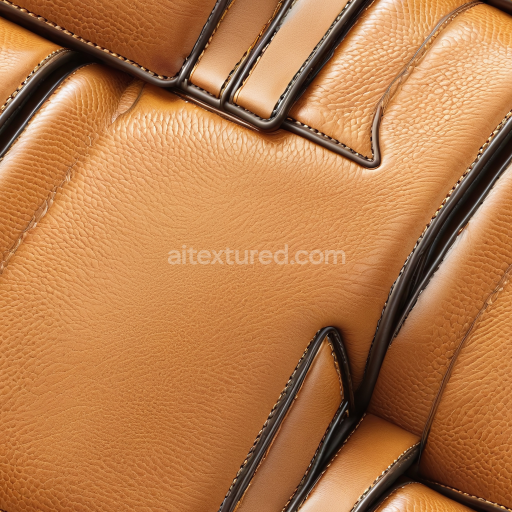
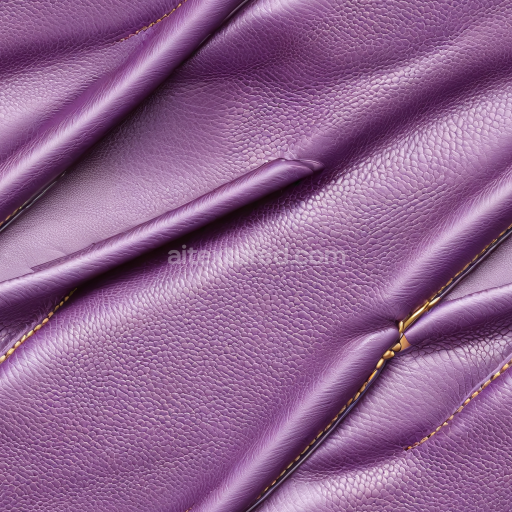
Seamless 3D PBR Texture of Metallic Gold Leather with Fine Grain and Stitching Details
. Formats: WEBP, PNG . Free for personal & commercial use.

| ID | patterned-synthetic-leather-texture-seamless |
|---|---|
| Leather | |
| WEBP, PNG | |
| Size | 1k (1024x1024px), 2k (2048x2048px), 4k (4096x4096px), 8k (8192x8192px) |
| sRGB | |
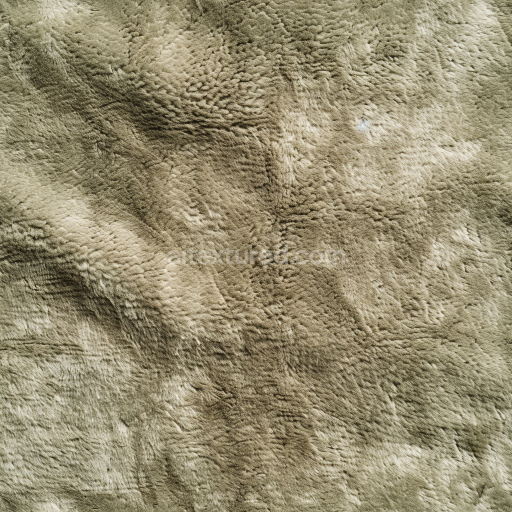
This patterned synthetic leather texture seamless high resolution up to 8ktexture presents a meticulously crafted polymer-based surface designed to replicate the refined characteristics of high-quality synthetic leather. Primarily composed of a flexible polymer substrate this texture incorporates finely tuned binders and pigments that enhance its structural integrity and visual complexity. The intricate grain orientation and subtle pore structure are carefully modeled to convey the tactile nuances and natural appearance typical of leather while maintaining excellent durability and resistance against environmental wear. The surface finish balances a lightly polished sheen with textured depth achieved through controlled layering of pigments and precise roughness modulation which results in natural color variation within the BaseColor or Albedo channel lending authenticity to the material’s look.
Technically optimized for physically based rendering (PBR) workflows this tileable patterned synthetic leather texture seamless high resolution up to 8k is equipped with detailed Normal maps that capture the embossed pattern depth and delicate surface irregularities without oversharpening. The Roughness channel is calibrated to simulate subtle gloss and diffuse reflection behaviors characteristic of synthetic leather while the Metallic channel remains near zero reflecting its inherently non-metallic polymer composition. Ambient Occlusion maps enhance visual depth by accentuating crevices within the pattern and the Height/Displacement maps provide additional surface breakup enabling advanced parallax or tessellation effects in popular 3D engines like Blender Unreal Engine and Unity. This ensures the texture preserves crisp detail and cohesion across large UV islands even at ultra-high resolutions up to 8k.
Ideal for seamless tiling this ai texture patterned synthetic leather texture seamless high resolution up to 8k integrates effortlessly into modern digital material creation pipelines supporting quick look development architectural visualization environment art and concept prototyping. Its exceptional resolution guarantees sharp 3D previewing with fine detail reproduction accelerating iteration cycles without compromising visual fidelity. For best results slight adjustments to UV scale are recommended to minimize visible pattern repetition on extensive surfaces combined with subtle tuning of the roughness and normal map intensities to enhance surface breakup while preserving the natural sophisticated leather appearance. This practical approach maximizes realism and fully leverages the texture’s capabilities across diverse rendering engines and real-time applications.
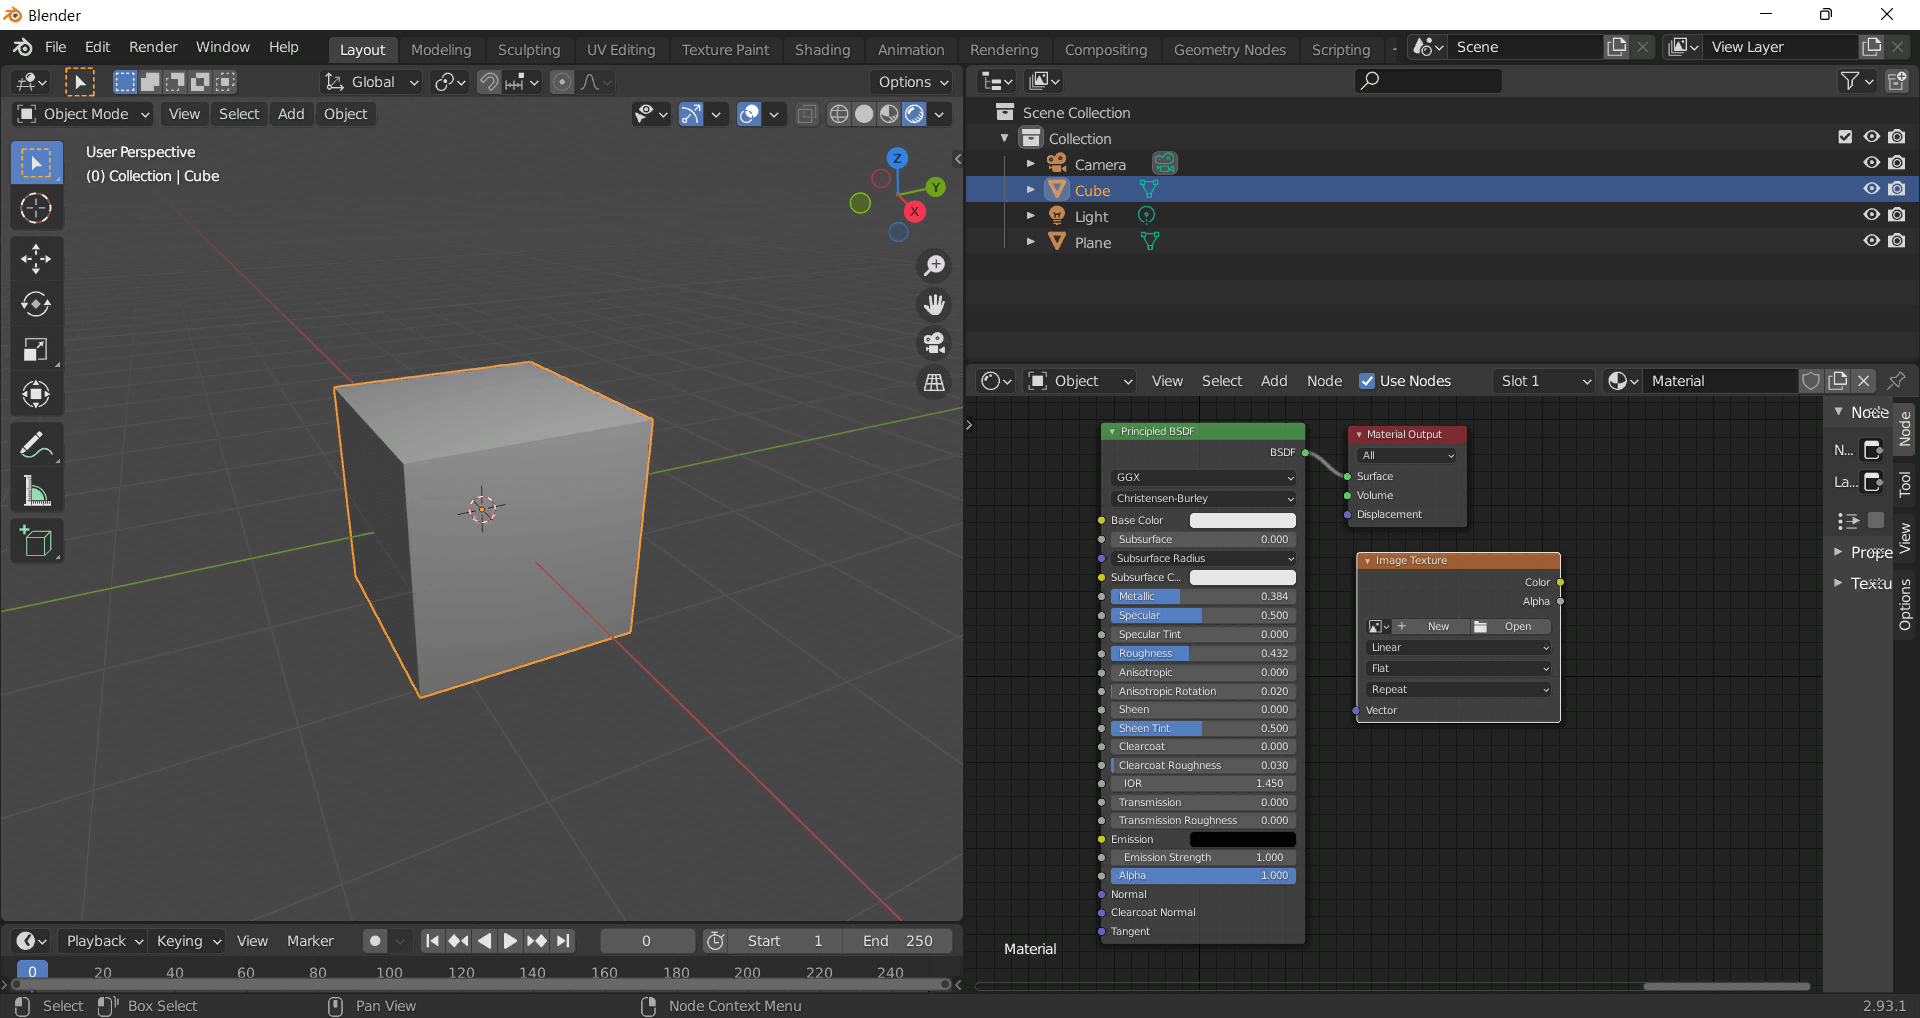
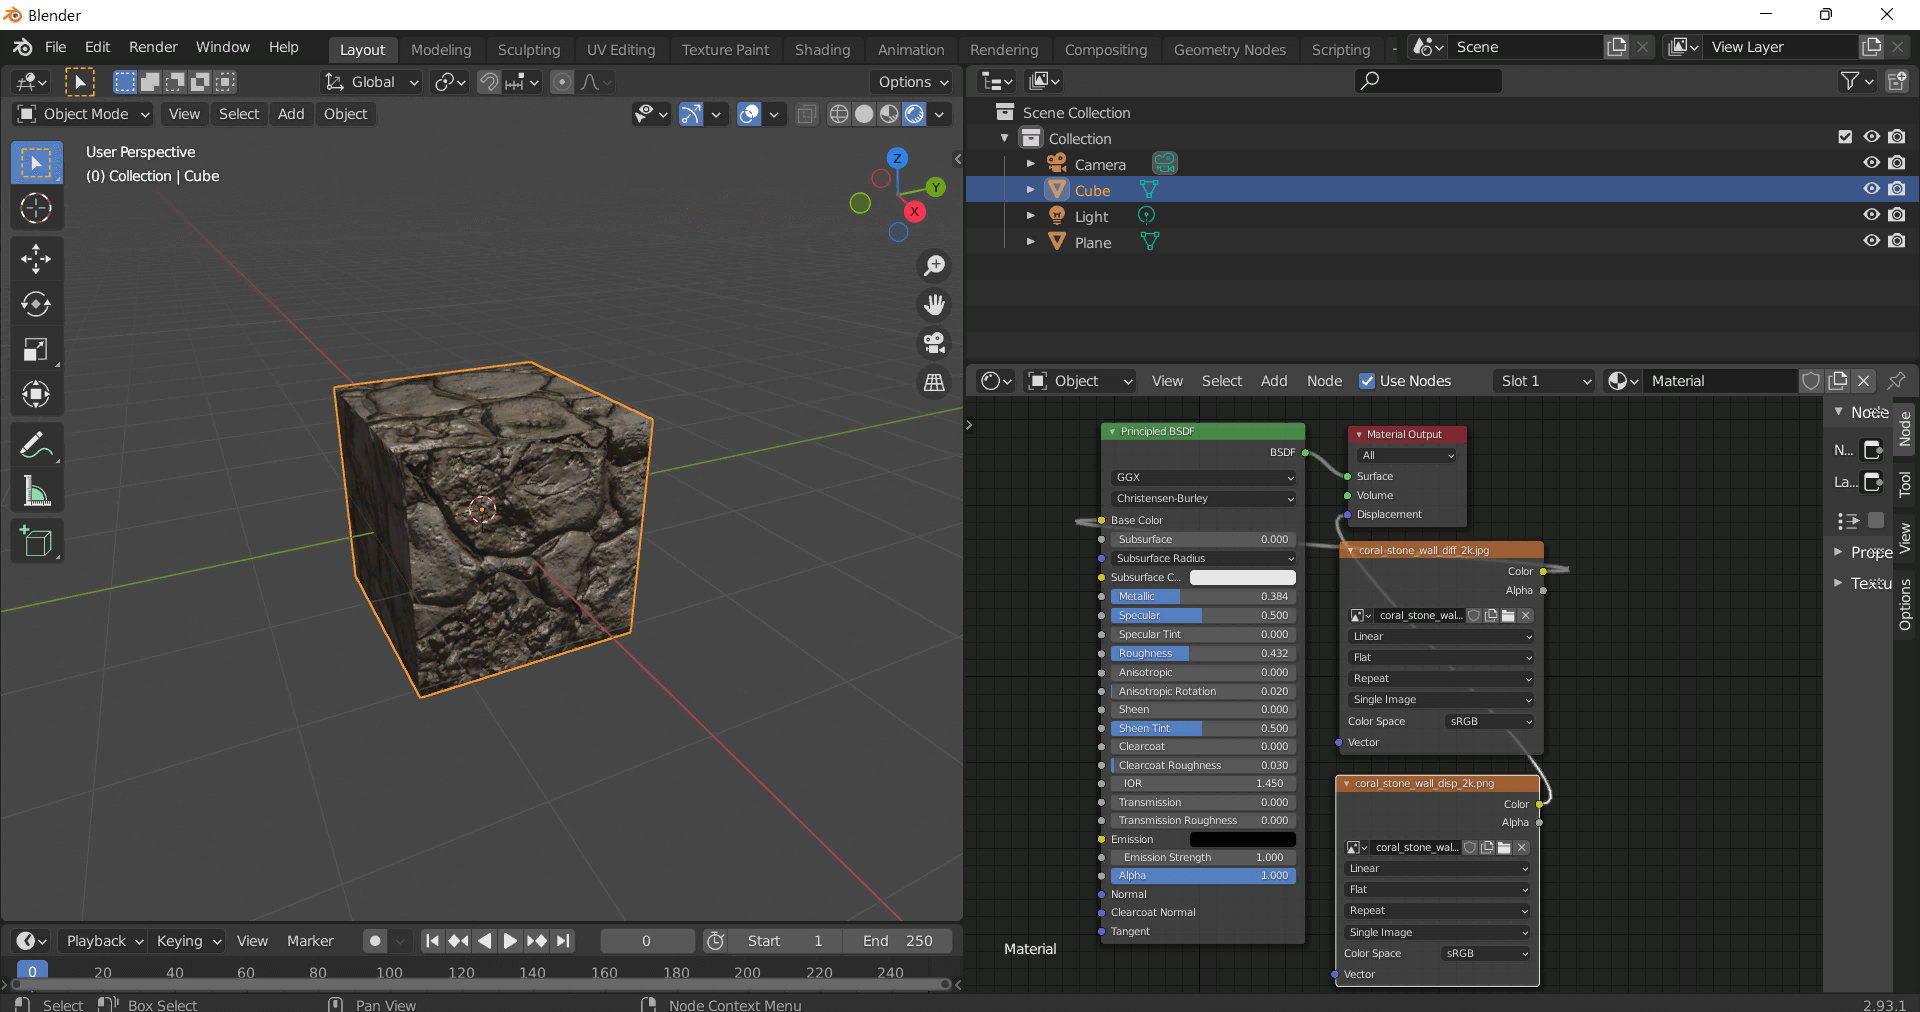
This guide shows how to connect a full PBR texture set to Principled BSDF in Blender (Cycles or Eevee). Works with any of our seamless textures free download, including PBR PNG materials for Blender / Unreal / Unity.
*_albedo.png — Base Color (sRGB)*_normal.png — Normal map (Non-Color)*_roughness.png — Roughness (Non-Color)*_metallic.png — Metallic (Non-Color)*_ao.png — Ambient Occlusion (Non-Color)*_height.png — Height / Displacement (Non-Color)*_ORM.png — Packed map (R=AO, G=Roughness, B=Metallic, Non-Color)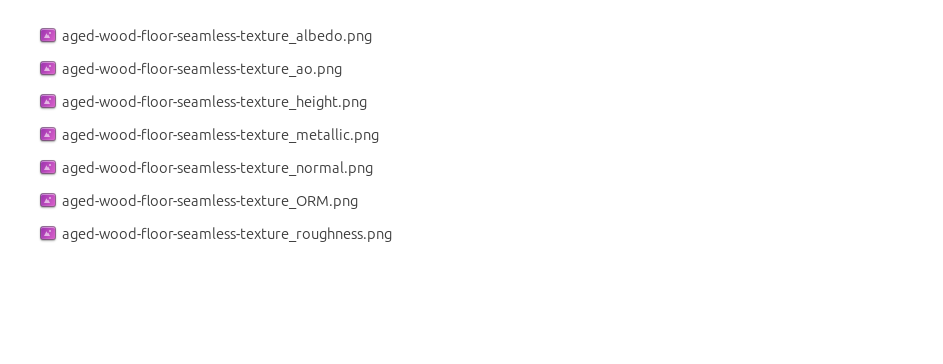
albedo → Base Colorroughness → Roughnessmetallic → Metallic (for wood this often stays near 0)normal → Normal Map node (Type: Tangent Space) → Normal of Principled.
If details look “inverted”, enable Invert Y on the Normal Map node.albedo, Input B = ao, Factor = 1.0.height → Height, set Midlevel = 0.5, Scale = 0.02–0.08 (tune to taste).height → Height.ORM texture (optional)Instead of separate AO/Roughness/Metallic maps you can use the single *_ORM.png:
Example: Download Wood Textures and instantly apply parquet or rustic planks inside Blender for architectural visualization.
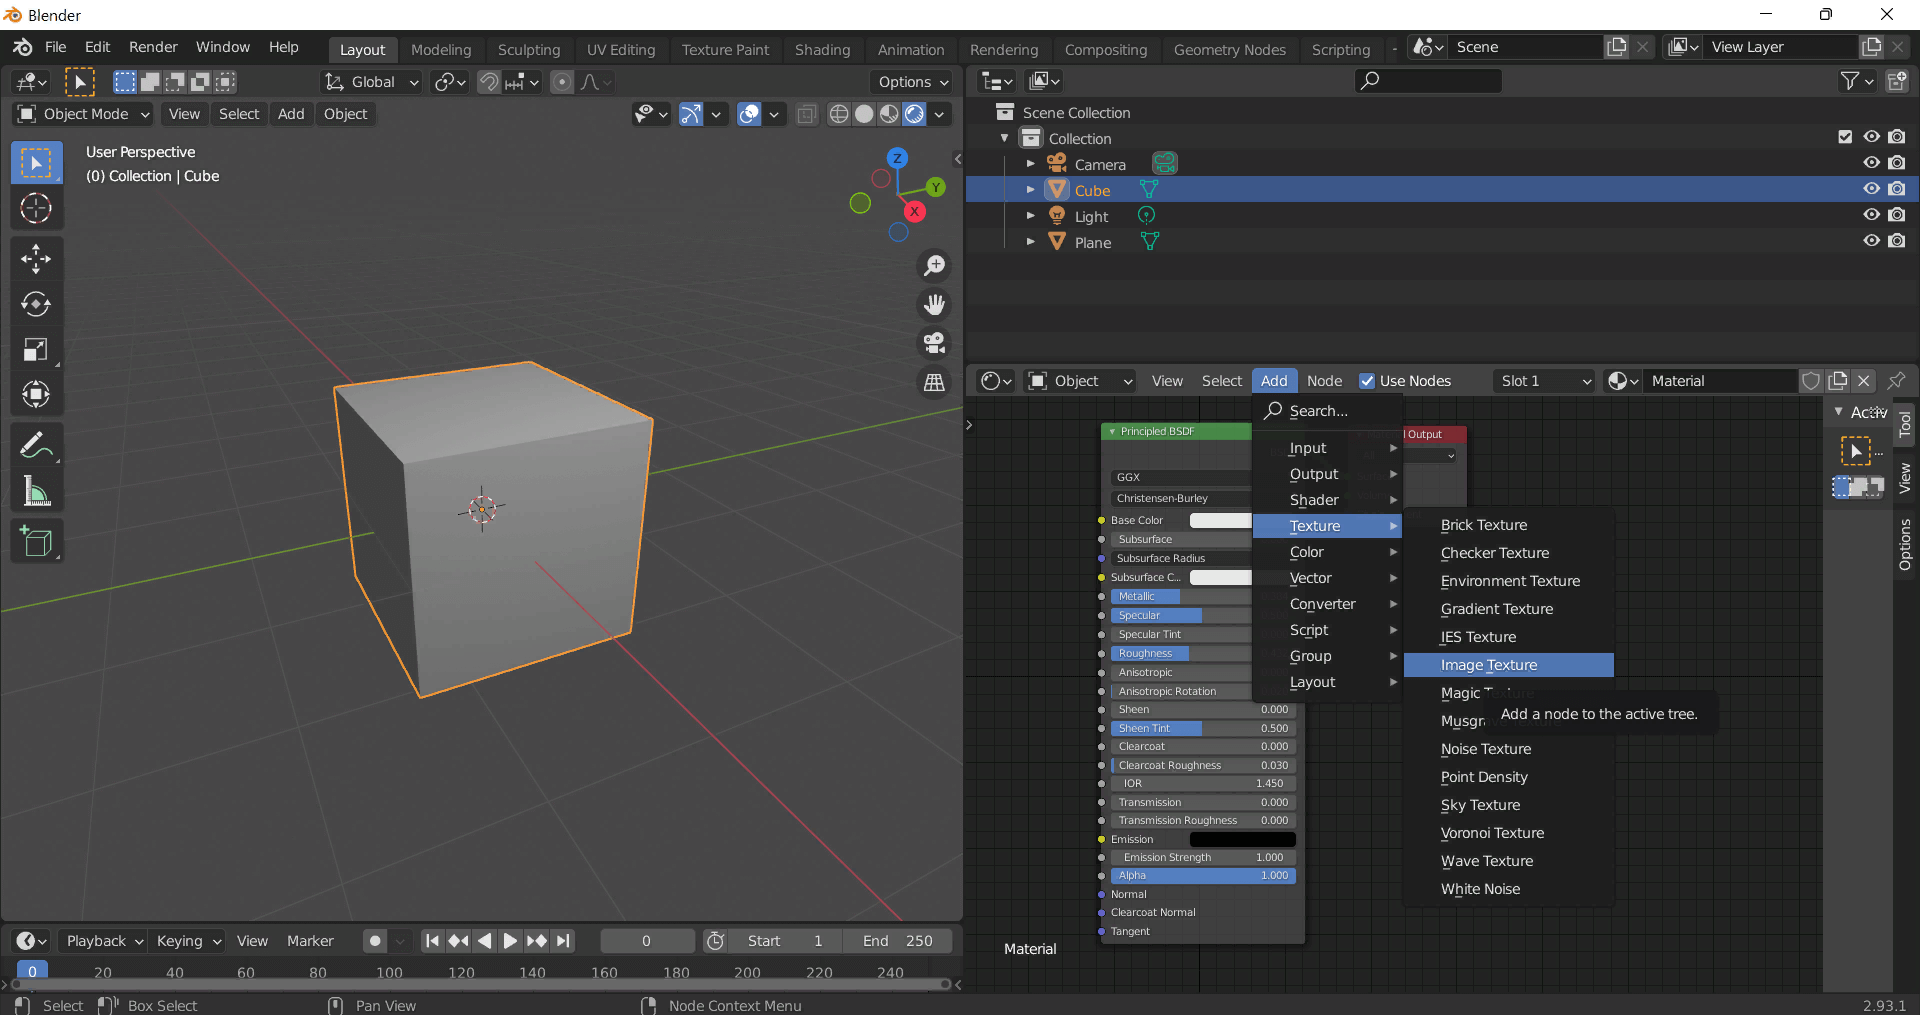
To add the downloaded texture, go to Add — Texture — Image Texture.
Build, preview, and export seamless PBR materials. Generate full map sets from a single image, inspect them in a real-time WebGL viewer, and re-package maps for Unreal, Unity, and Blender—directly in your browser.
AI text-to-texture: type a prompt and get a seamless, tileable base image ready for PBR workflows (great starting point for materials).
Create a full PBR set (Normal, Roughness, AO, Metallic, etc.) from a single image. Seamless and tiling-friendly.
Instant WebGL viewer: inspect materials on a sphere, plane, and cube. Check tiling and lighting in real time.
Re-packages maps per engine: Unreal (BaseColor + ORM), Unity (Mask/MetallicSmoothness), Blender (separate channels).
PNG ↔ JPG ↔ SVG: fast convert, SVG rasterize, embed/trace options, quality & background controls.