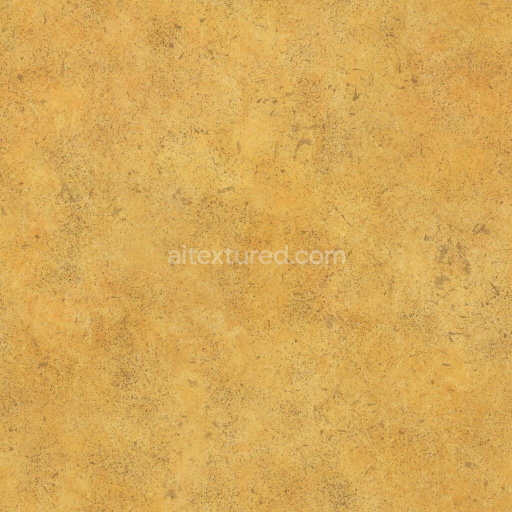
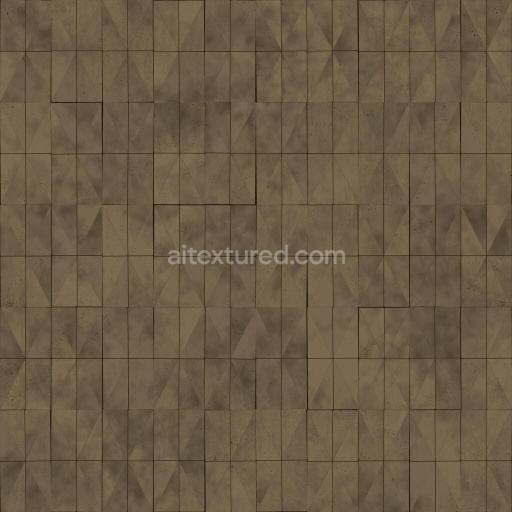
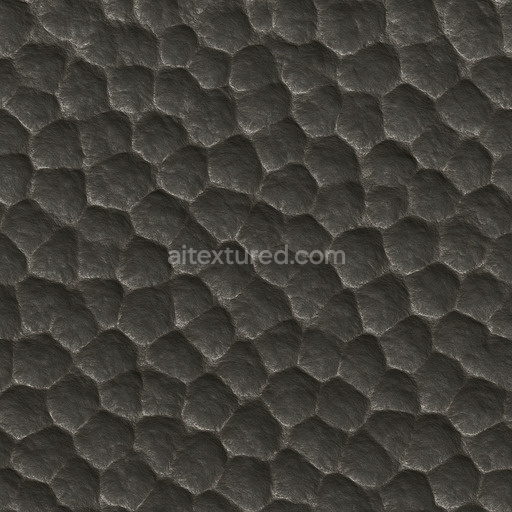
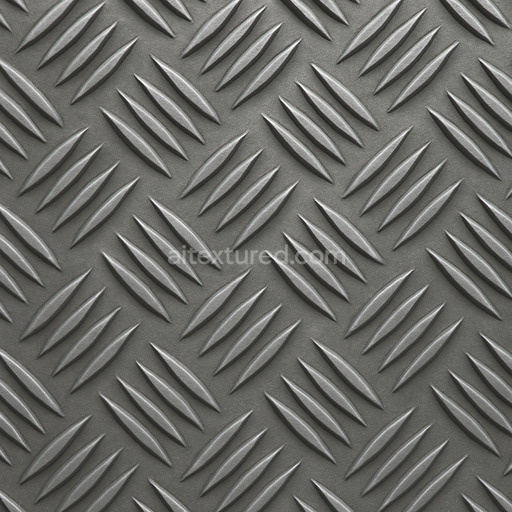
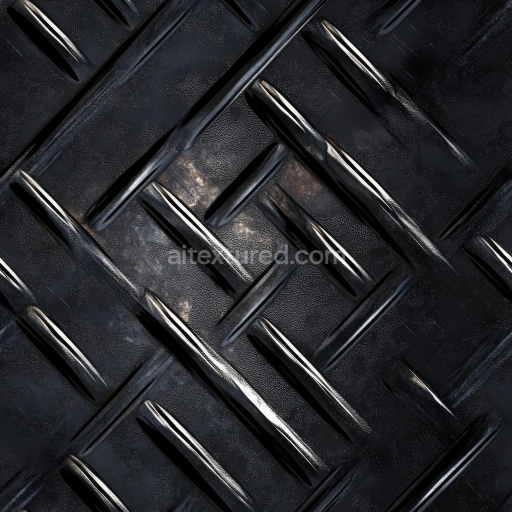
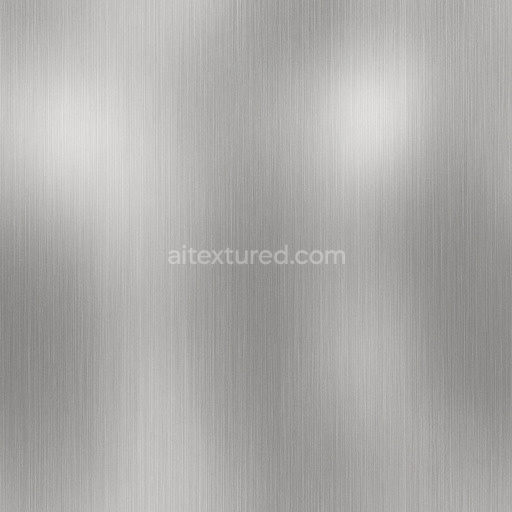
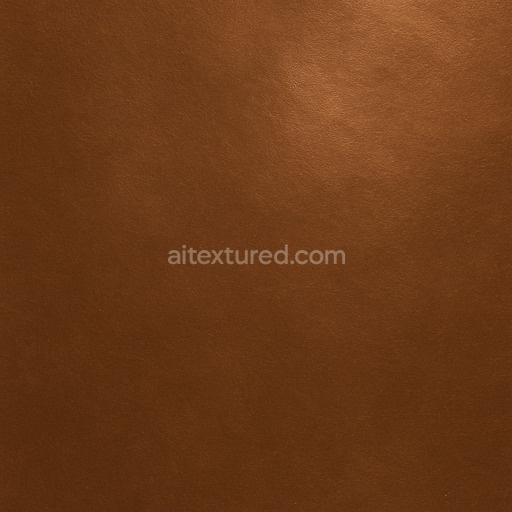
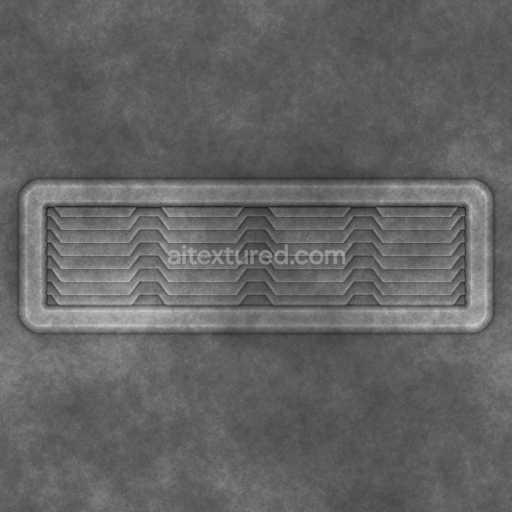
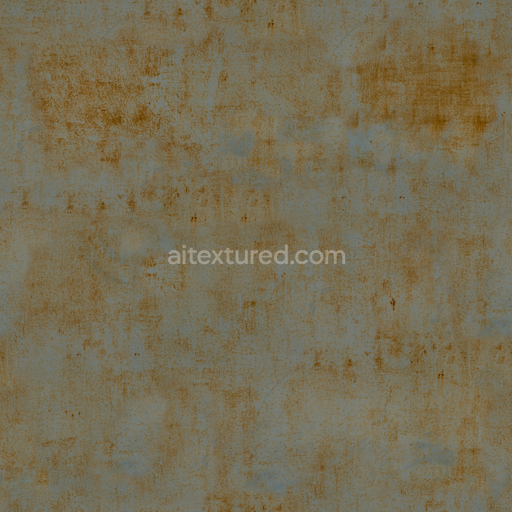
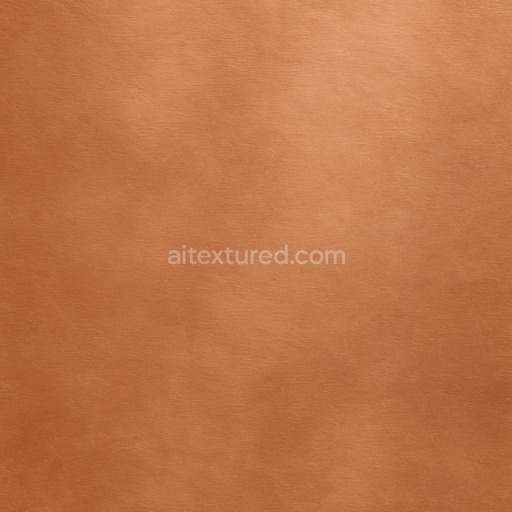
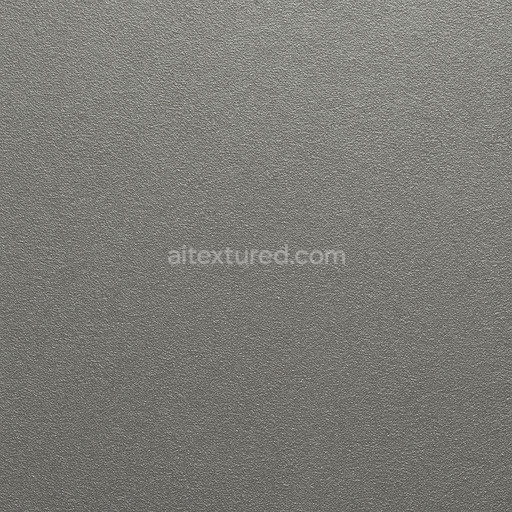
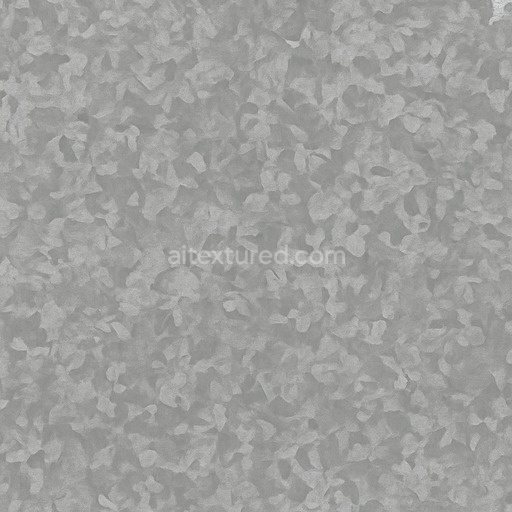
The galvanized steel with zinc spangle texture represents a meticulously crafted metal surface that combines the durability of steel with a protective zinc coating, characterized by distinctive spangled crystalline patterns. This texture emulates the unique interplay between the underlying steel substrate and the zinc layer, which forms naturally through the galvanization process. The base metal, steel, provides a solid, corrosion-resistant foundation, while the zinc spangle manifests as irregular, flower-like grains that create subtle variations in reflectivity and microstructure. These features are captured precisely in the texture’s BaseColor/Albedo map, showcasing a muted metallic gray interspersed with lighter, slightly iridescent zinc crystals. The Normal map intricately conveys the microscopic elevations and depressions of the spangle, adding tangible surface depth and enhancing light interaction in real-time environments.
From a material composition perspective, this seamless galvanized steel with zinc spangle texture highlights the metal’s brushed yet naturally oxidized finish, balanced by the zinc’s slight matte sheen and occasional roughness due to weathering or surface irregularities. The Roughness map plays a crucial role in replicating these surface nuances, controlling how glossy or diffused the reflections appear, while the Metallic channel emphasizes the fully metallic nature of the substrate and coating. Ambient Occlusion adds subtle shadowing within the spangle crevices, reinforcing the three-dimensional quality and realism of the texture. Height and Displacement maps further simulate the tactile relief of the zinc crystals, bringing a convincing sense of volume to the metal surface, especially under dynamic lighting conditions. This comprehensive PBR set is optimized for seamless tiling, allowing for large, uninterrupted coverage across expansive UV islands without visible repetition or distortion.
Designed specifically to enhance metal workflows with precision and efficiency, this AI-generated texture supports high-resolution outputs up to 8K, ensuring crisp detail and sharpness on any scale. It integrates seamlessly with leading 3D software platforms such as Blender, Unreal Engine, and Unity, facilitating smooth iteration and rendering pipelines for applications ranging from cinematic scenes and real-time gaming environments to architectural level dressing and detailed material studies. The tileable galvanized steel with zinc spangle texture maintains exceptional visual cohesion, enabling artists and developers to produce consistent, professional-grade results across diverse projects and platforms.
For optimal application, adjusting the UV scale is recommended to balance the detail density, preventing pixelation or stretching while preserving the natural zinc spangle pattern’s authenticity. Additionally, fine-tuning the roughness map can help achieve the ideal balance between surface reflectivity and subtle wear, enhancing the metallic characteristics without overpowering the texture’s realism. Incorporating a gentle height or parallax effect further enriches the tactile quality and dimensionality, delivering a more immersive and convincing galvanized steel material that performs beautifully under varied lighting and viewing angles.
The AI texture of galvanized steel with zinc spangle offers realistic metal textures enhanced by a detailed 3D preview to accurately represent its PBR surface properties.
How to Use These Seamless PBR Textures in Blender
This guide shows how to connect a full PBR texture set to Principled BSDF in Blender (Cycles or Eevee). Works with any of our seamless textures free download, including PBR PNG materials for Blender / Unreal / Unity.
What’s inside the download
*_albedo.png
— Base Color (sRGB)
*_normal.png
— Normal map (Non-Color)
*_roughness.png
— Roughness (Non-Color)
*_metallic.png
— Metallic (Non-Color)
*_ao.png
— Ambient Occlusion (Non-Color)
*_height.png
— Height / Displacement (Non-Color)
*_ORM.png
— Packed map (R=AO, G=Roughness, B=Metallic, Non-Color)
Quick start (Node Wrangler, 30 seconds)
- Enable the addon: Edit → Preferences → Add-ons → Node Wrangler.
- Create a material and select the Principled BSDF node.
- Press Ctrl + Shift + T and select the maps
albedo, normal, roughness, metallic (skip height and ORM for now) → Open.
The addon wires Base Color, Normal (with a Normal Map node), Roughness, and Metallic automatically.
- Add AO and Height using the “Manual wiring” steps below (5 and 6).
Manual wiring (full control)
- Create a material (Material Properties → New) and open the Shader Editor.
- Add an Image Texture node for each map. Set Color Space:
- Albedo → sRGB
- AO, Roughness, Metallic, Normal, Height, ORM → Non-Color
- Connect to Principled BSDF:
albedo
→ Base Color
roughness
→ Roughness
metallic
→ Metallic (for wood this often stays near 0)
normal
→ Normal Map node (Type: Tangent Space) → Normal of Principled.
If details look “inverted”, enable Invert Y on the Normal Map node.
- Ambient Occlusion (AO):
- Add a MixRGB (or Mix Color) node in mode Multiply.
- Input A =
albedo
, Input B = ao
, Factor = 1.0.
- Output of Mix → Base Color of Principled (replaces the direct albedo connection).
- Height / Displacement:
Cycles — true displacement
- Material Properties → Settings → Displacement: Displacement and Bump.
- Add a Displacement node: connect
height
→ Height, set Midlevel = 0.5, Scale = 0.02–0.08 (tune to taste).
- Output of Displacement → Material Output → Displacement.
- Add geometry density (e.g., Subdivision Surface) so displacement has polygons to work with.
Eevee (or lightweight Cycles) — bump only
- Add a Bump node:
height
→ Height.
- Set Strength = 0.2–0.5, Distance = 0.05–0.1, and connect Normal output to Principled’s Normal.
Using the packed ORM
texture (optional)
Instead of separate AO/Roughness/Metallic maps you can use the single *_ORM.png
:
- Add one Image Texture (Non-Color) → Separate RGB (or Separate Color).
- R (red) → AO (use it in the Multiply node with albedo as above).
- G (green) → Roughness of Principled.
- B (blue) → Metallic of Principled.
UVs & seamless tiling
- These textures are seamless. If your mesh has no UVs, go to UV Editing → Smart UV Project.
- For scale/repeat, add Texture Coordinate (UV) → Mapping and plug it into all texture nodes.
Increase Mapping → Scale (e.g., 2/2/2) to tile more densely.
Recommended starter values
- Normal Map Strength: 0.5–1.0
- Bump Strength: ~0.3
- Displacement Scale (Cycles): ~0.03
Common pitfalls
- Wrong Color Space (normals/roughness/etc. must be Non-Color).
- “Inverted” details → enable Invert Y on the Normal Map node.
- Over-strong relief → lower Displacement Scale or Bump Strength.
Example: Download Wood Textures and instantly apply parquet or rustic planks inside Blender for architectural visualization.
To add the downloaded texture, go to Add — Texture — Image Texture.

Add a node and click the Open button.

Select the required texture on your hard drive and connect Color to Base Color.