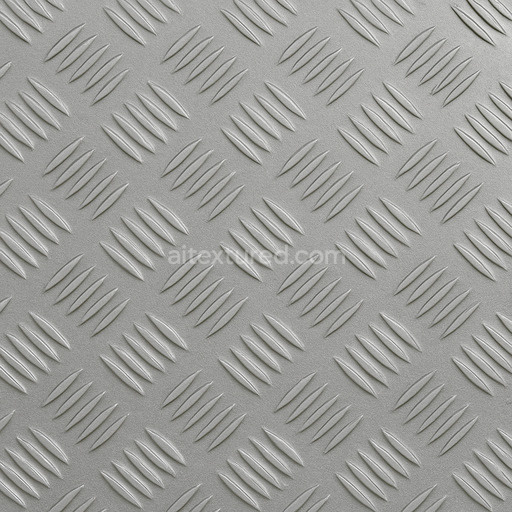
Detailed Steel Seamless Texture
Seamless texture (tileable) · PNG, WEBP, PBR ZIP. License: AITextured Free Commercial License (FCL) v1.1. Free personal and commercial use. Raw resale, standalone redistribution, mirroring/scraping, competing asset packs, and AI/ML training are not allowed without written permission. Attribution is not required, but appreciated..

| ID | golden-pyramid-wall-decoration-free-pbr |
|---|---|
| Category | Metal |
| Formats | PNG, WEBP, PBR ZIP |
| Size | 1k (1024x1024px), 2k (2048x2048px), 4k (4096x4096px), 8k (8192x8192px) |
| Color | sRGB |
| Tileable | Yes |
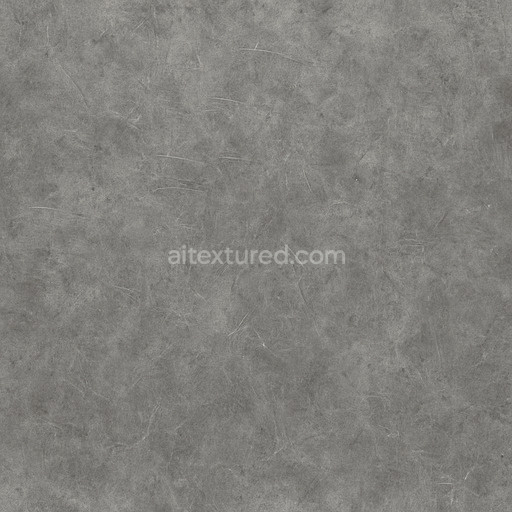
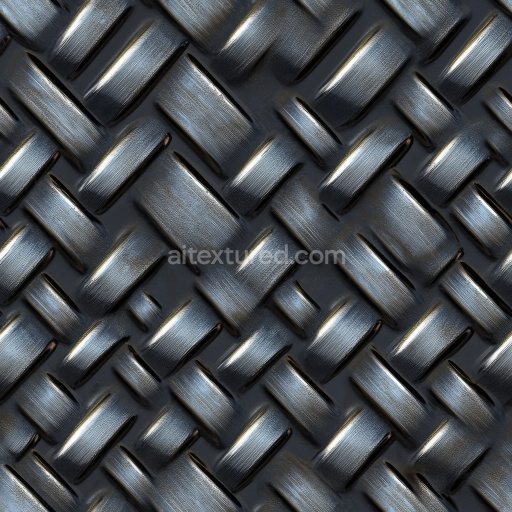
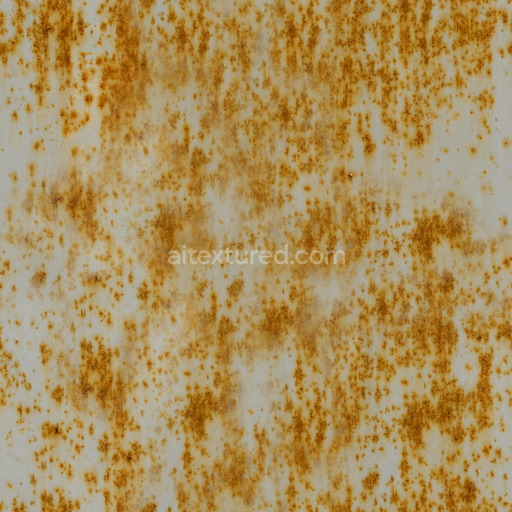
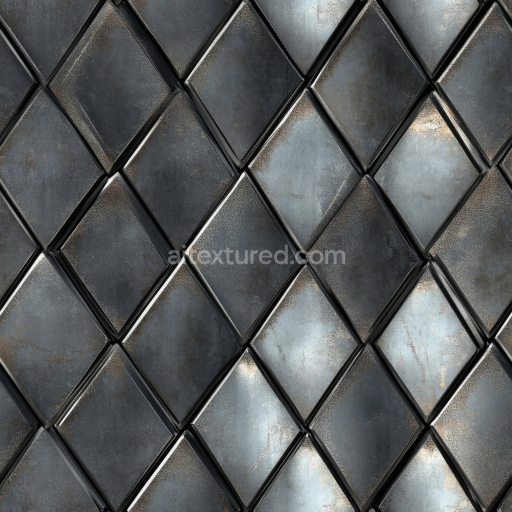
The Golden Pyramid Wall Decoration texture showcases an intricately arranged series of pyramidal shapes crafted on a robust metal base substrate. This metal foundation is enhanced with a sophisticated golden finish, exhibiting varying degrees of natural oxidation and subtle dirt accumulation that lend an authentic aged character to the surface. The material composition includes fine patinas and corrosion spots, which contribute to a tactile, weathered appearance, while the metal’s brushed and oxidized surface treatment enriches the visual depth. The interplay of binders and oxide layers within the metal alloy produces nuanced color variations—ranging from lustrous gold to muted greenish and brownish tones—that elevate the overall realism of the decorative wall element. This complexity in materials reflects a careful balance between polished highlights and matte, oxidized areas that simulate genuine metal aging processes.
Designed with physically based rendering (PBR) workflows in mind, this texture employs multiple high-quality maps that faithfully replicate real-world material properties. The BaseColor (Albedo) map captures the rich golden pigments along with oxidized layers, while the Normal map precisely defines the sharp geometric pyramids, enhancing surface relief and three-dimensionality. The Roughness map skillfully balances reflective and non-reflective patches, mimicking the interplay of smooth and corroded metal surfaces. Metallic values remain consistently high to reflect the underlying metal substrate, and Ambient Occlusion subtly deepens shadows within the crevices between the pyramids, accentuating the pattern’s depth. The Height or Displacement map further elevates realism by providing enhanced surface depth, enabling more convincing light interactions on the pyramidal forms.
Offered at an impressive resolution of up to 8K, this texture ensures exceptional detail and clarity, making it ideal for high-fidelity projects across Blender, Unreal Engine, and Unity. The high resolution supports close-up renders and large-scale applications without sacrificing quality, preserving the intricate texture of the golden pyramidal surface. For optimal results, it is recommended to carefully adjust the UV scale to maintain the natural repetition of the pyramid pattern and to fine-tune the Roughness map to balance reflectivity according to specific lighting scenarios. Additionally, enhancing the height or parallax effect can significantly improve the perception of depth and realism, particularly in interactive or immersive environments. Overall, this Golden Pyramid Wall Decoration texture is a versatile and sophisticated asset for creating realistic, aged metal wall surfaces with intricate detailing and authentic weathering effects.
Import the texture maps into Blender with sRGB color space for albedo/base color and Non-Color for normal, roughness, metallic, AO, height, and ORM maps. Connect normal maps through a Normal Map node, then adjust UV scale with a Mapping node so the material repeats naturally on your model.
For the full step-by-step setup, see How to Use Seamless Textures in Blender. Browse related material examples in wood, concrete, and metal.
Yes. This texture is designed as a seamless tileable PBR material, so it can repeat across large surfaces without visible borders.
You can download PNG/WEBP versions and use 1K, 2K, 4K and 8K download options when available on the page.
Yes. The download options and engine-mapped ZIP workflow are designed for Blender, Unreal Engine, Unity Standard, URP and HDRP material pipelines.
Yes. The texture is available under the AITextured free commercial license. Review the license page for redistribution and AI-training restrictions.


Build, preview, and export seamless PBR materials. Generate full map sets from a single image, inspect them in a real-time WebGL viewer, and re-package maps for Unreal, Unity, and Blender—directly in your browser.
AI text-to-texture: type a prompt and get a seamless, tileable base image ready for PBR workflows (great starting point for materials).
Create a full PBR set (Normal, Roughness, AO, Metallic, etc.) from a single image. Seamless and tiling-friendly.
Instant WebGL viewer: inspect materials on a sphere, plane, and cube. Check tiling and lighting in real time.
Re-packages maps per engine: Unreal (BaseColor + ORM), Unity (Mask/MetallicSmoothness), Blender (separate channels).
PNG ↔ JPG ↔ SVG: fast convert, SVG rasterize, embed/trace options, quality & background controls.