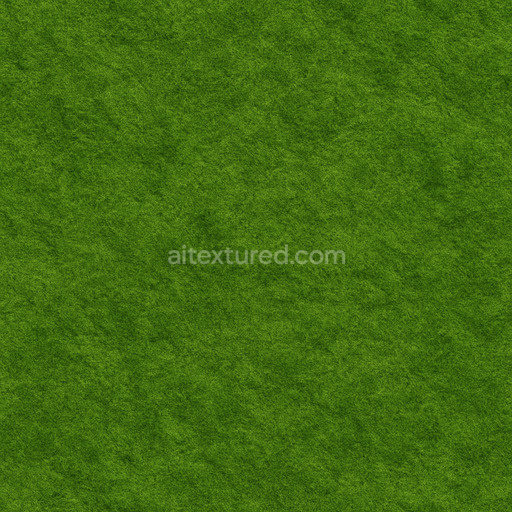
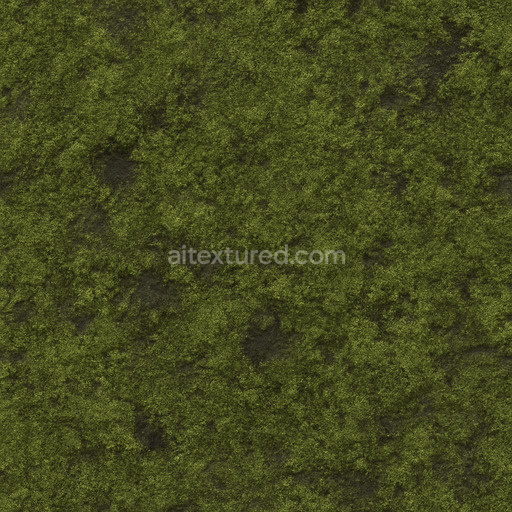
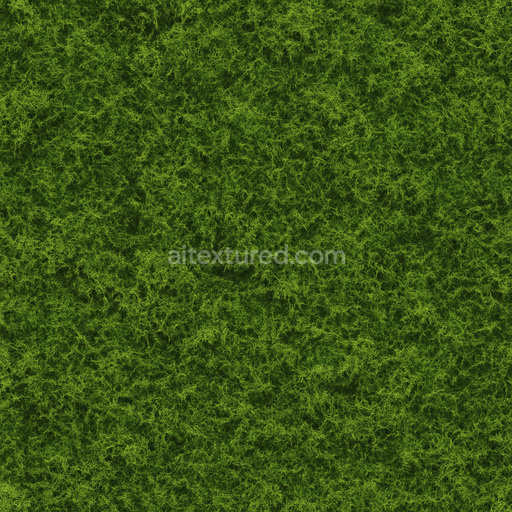
Smooth Green Moss Seamless Texture
Seamless texture (tileable) · PNG, WEBP, PBR ZIP. License: AITextured Free Commercial License (FCL) v1.1. Free personal and commercial use. Raw resale, standalone redistribution, mirroring/scraping, competing asset packs, and AI/ML training are not allowed without written permission. Attribution is not required, but appreciated..

| ID | aged-wet-moss-texture-seamless |
|---|---|
| Category | Moss |
| Formats | PNG, WEBP, PBR ZIP |
| Size | 1k (1024x1024px), 2k (2048x2048px), 4k (4096x4096px), 8k (8192x8192px) |
| Color | sRGB |
| Tileable | Yes |
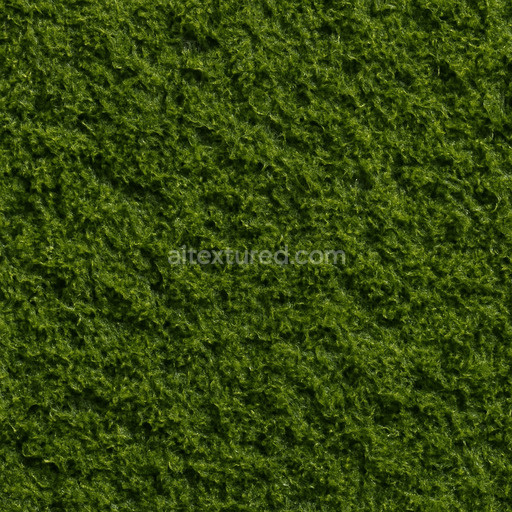
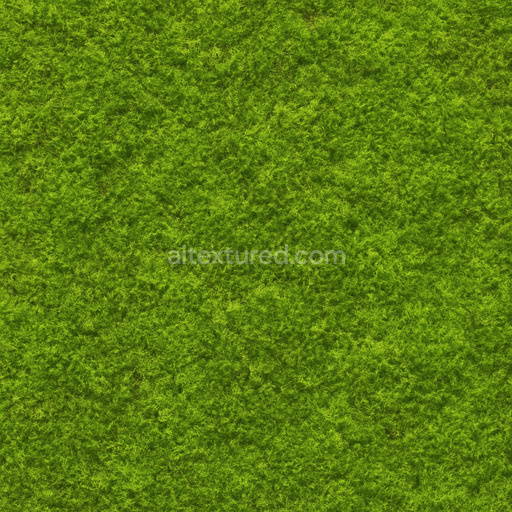
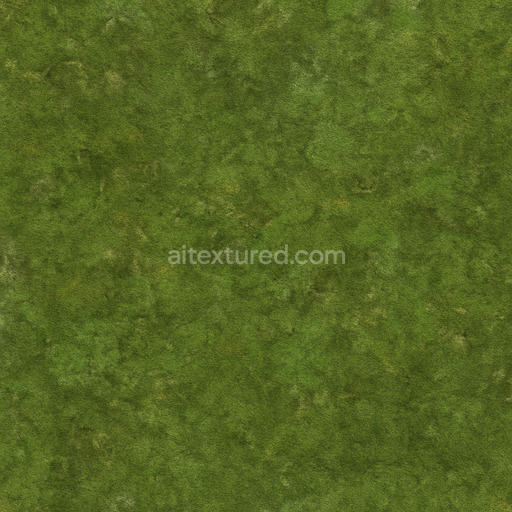
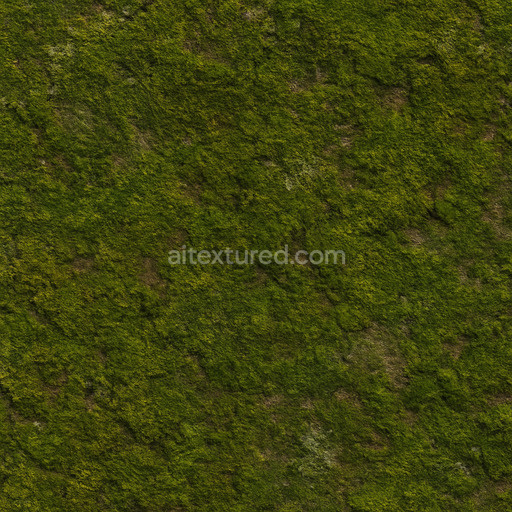
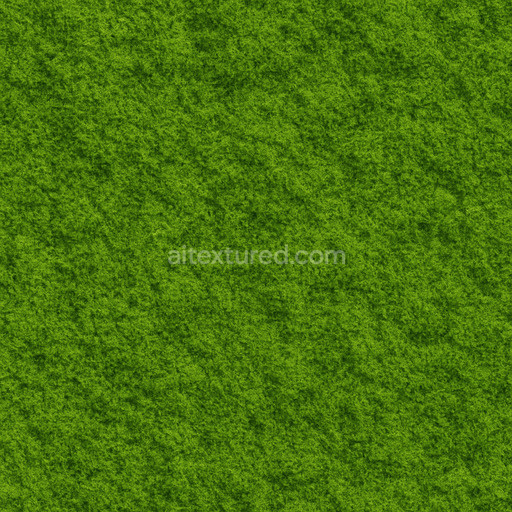
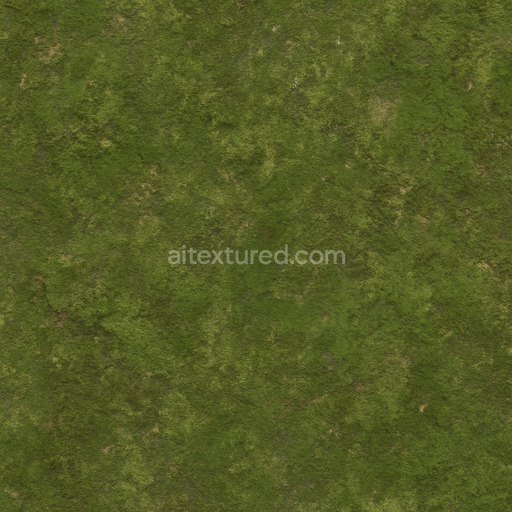
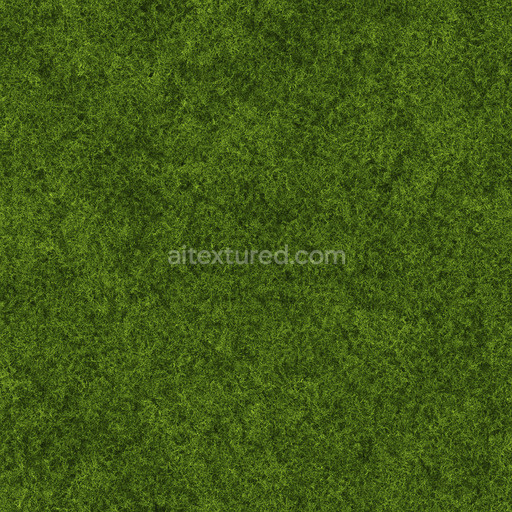
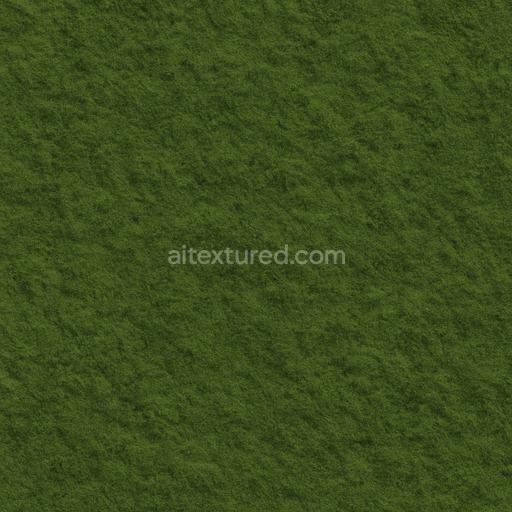
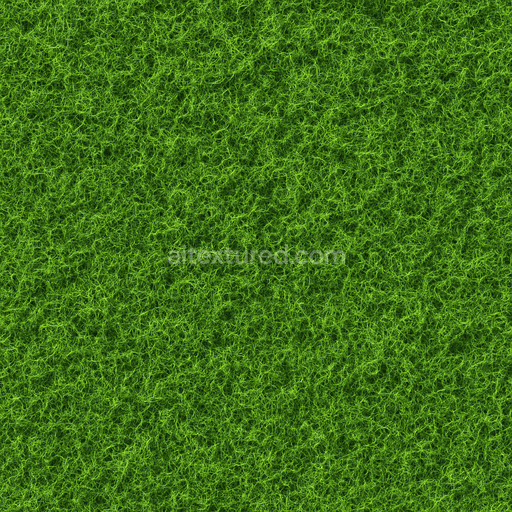
The aged wet moss texture seamless high resolution up to 8K offers an exquisitely detailed representation of natural moss growth on organic substrates capturing the complex interplay between moisture decay and fibrous plant matter. This tileable aged wet moss texture seamless high resolution up to 8K features a dense mat of moss fibers intricately intertwined with fine organic debris and moisture-retaining elements resting on an earthy porous base that mimics decayed wood or weathered stone. The substrate’s rough irregular surface enhances the realistic adhesion of moss strands while natural binders such as resins and water create a subtle glossy finish that conveys a freshly dampened aged appearance. The color palette shifts naturally from deep lush greens to muted ochres and browns reflecting mineral deposits and organic decomposition which together provide a tactile weathered character emblematic of moss exposed to environmental conditions over time.
Within physically based rendering (PBR) channels this texture aged wet moss texture seamless high resolution up to 8K excels in delivering lifelike material properties essential for high-fidelity 3D preview and integration. The BaseColor/Albedo map reveals nuanced color variation with moss greens blending seamlessly into earthy browns and soft ochres essential for realistic shading. The Normal map emphasizes the fibrous texture of moss and the substrate’s roughness creating convincing depth and tactile relief under dynamic lighting. Roughness values vary across the surface accurately portraying wet reflective patches alongside drier matte areas while the Metallic channel remains close to zero consistent with the organic non-metallic nature of moss and its substrate. Ambient Occlusion enhances shadowing in crevices and dense moss clusters adding dimensionality and the Height/Displacement channel captures subtle surface undulations and fiber detail ideal for displacement or parallax effects that boost realism in close-up views.
Rendered at resolutions up to 8k this seamless aged wet moss texture seamless high resolution up to 8K ensures exceptional clarity and sharpness necessary for demanding real-time 3D engines such as Blender Unity and Unreal Engine. The high resolution preserves intricate detail even at close range making it perfectly suited for cinematic environments natural scene dressing and detailed material studies where photorealism is paramount. Stability and visual clarity are meticulously maintained to avoid common repetitive artifacts ensuring predictable high-quality results across diverse projects. For optimal application it is recommended to maintain consistent UV scale across assets and fine-tune the roughness parameters carefully to balance the interplay between wet and dry moss patches preserving natural variation and enhancing environmental immersion in 3D scenes.
Import the texture maps into Blender with sRGB color space for albedo/base color and Non-Color for normal, roughness, metallic, AO, height, and ORM maps. Connect normal maps through a Normal Map node, then adjust UV scale with a Mapping node so the material repeats naturally on your model.
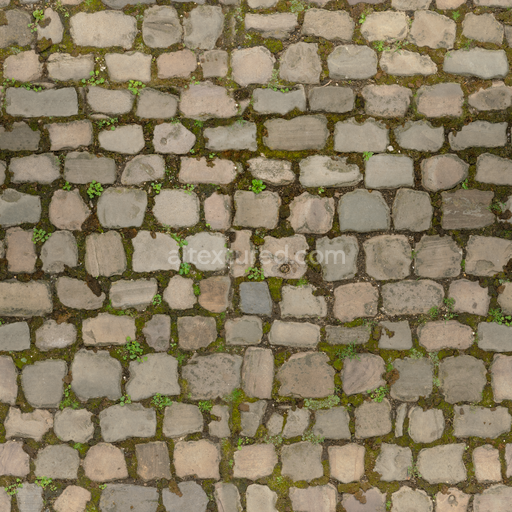
For the full step-by-step setup, see How to Use Seamless Textures in Blender. Browse related material examples in wood, concrete, and metal.
Yes. This texture is designed as a seamless tileable PBR material, so it can repeat across large surfaces without visible borders.
You can download PNG/WEBP versions and use 1K, 2K, 4K and 8K download options when available on the page.
Yes. The download options and engine-mapped ZIP workflow are designed for Blender, Unreal Engine, Unity Standard, URP and HDRP material pipelines.
Yes. The texture is available under the AITextured free commercial license. Review the license page for redistribution and AI-training restrictions.
Build, preview, and export seamless PBR materials. Generate full map sets from a single image, inspect them in a real-time WebGL viewer, and re-package maps for Unreal, Unity, and Blender—directly in your browser.
AI text-to-texture: type a prompt and get a seamless, tileable base image ready for PBR workflows (great starting point for materials).
Create a full PBR set (Normal, Roughness, AO, Metallic, etc.) from a single image. Seamless and tiling-friendly.
Instant WebGL viewer: inspect materials on a sphere, plane, and cube. Check tiling and lighting in real time.
Re-packages maps per engine: Unreal (BaseColor + ORM), Unity (Mask/MetallicSmoothness), Blender (separate channels).
PNG ↔ JPG ↔ SVG: fast convert, SVG rasterize, embed/trace options, quality & background controls.