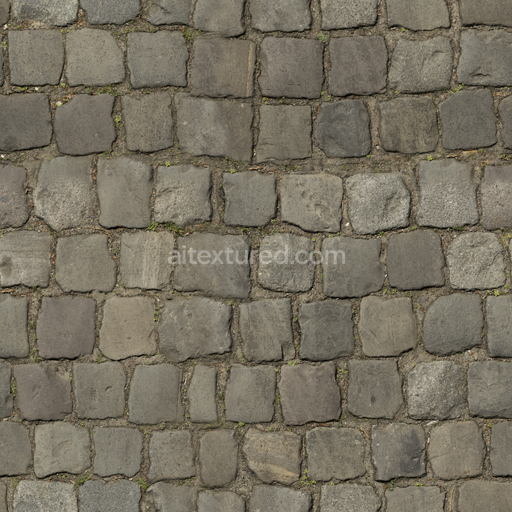
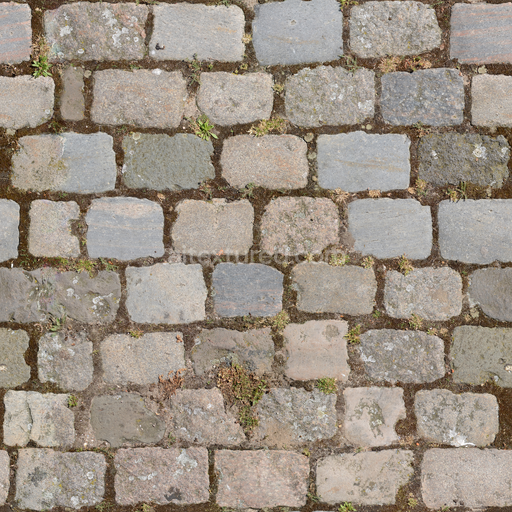
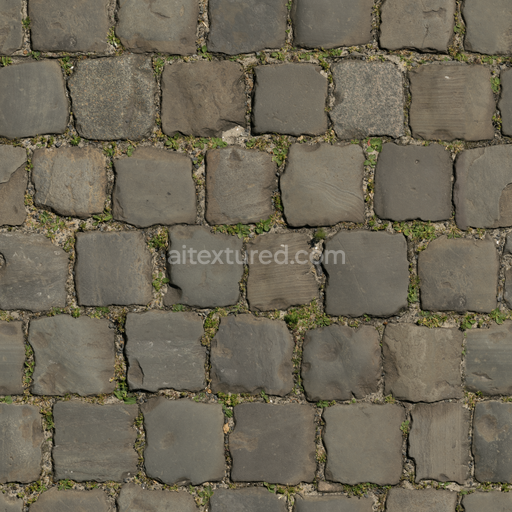
Cobblestone Floor Cobblestone - Cobblestone Plastered Mud Floor Outdoor Dirty
Seamless texture (tileable) · PNG, WEBP, PBR ZIP. License: AITextured Free Commercial License (FCL) v1.1. Free personal and commercial use. Raw resale, standalone redistribution, mirroring/scraping, competing asset packs, and AI/ML training are not allowed without written permission. Attribution is not required, but appreciated..

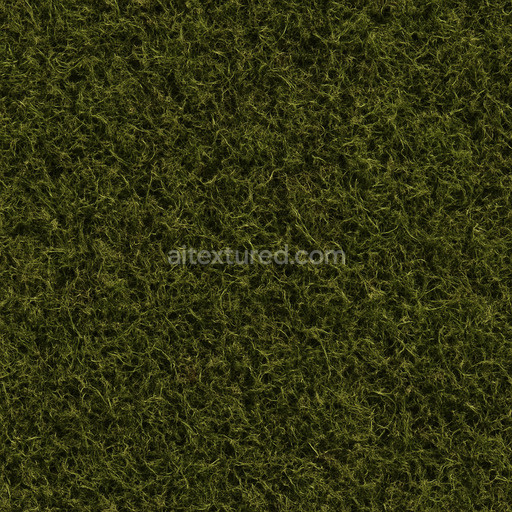
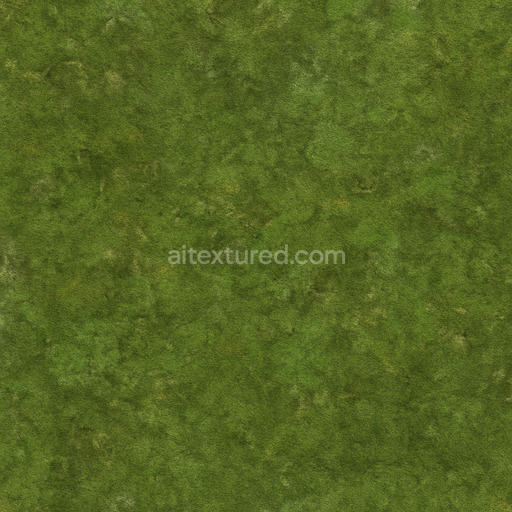
| ID | dirty-green-moss-texture-seamless |
|---|---|
| Category | Moss |
| Formats | PNG, WEBP, PBR ZIP |
| Size | 1k (1024x1024px), 2k (2048x2048px), 4k (4096x4096px), 8k (8192x8192px) |
| Color | sRGB |
| Tileable | Yes |
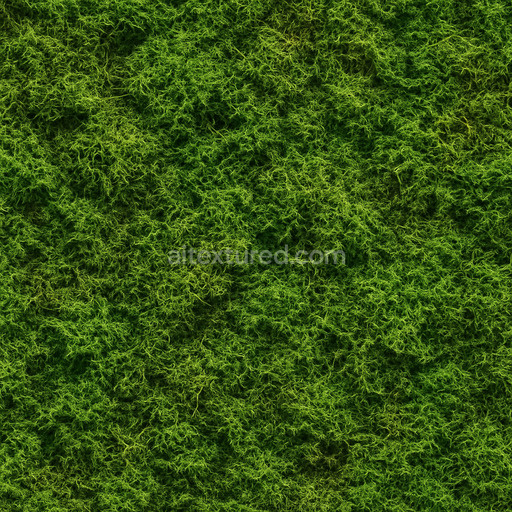
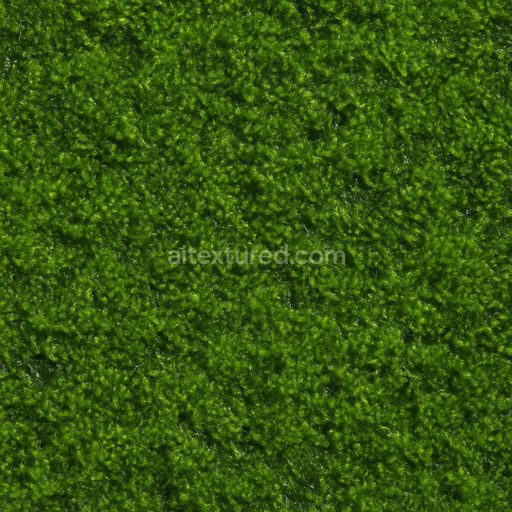
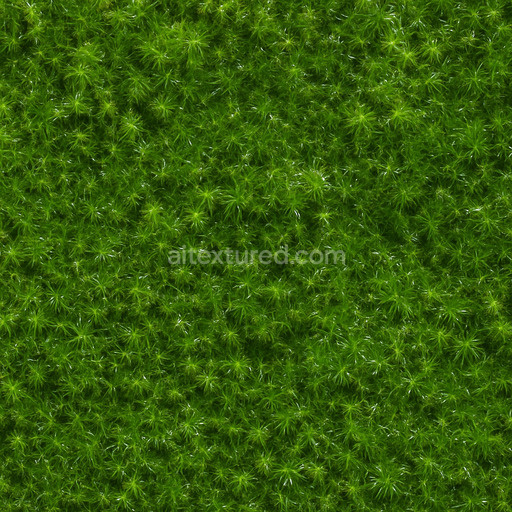
The Dirty Green Moss Texture Seamless high resolution up to 8K offers a richly detailed representation of organic moss growth on natural substrates perfectly suited for photorealistic 3D environments. This texture captures the intricate composition of moss as a living porous layer thriving on weathered stone or aged wood surfaces. The base substrate appears mineral-like with subtle variations characteristic of rough natural rock or decayed timber exhibiting fine granularity and micro-roughness. The moss itself forms an irregular yet seamless mat of fibrous organic material with varying densities and moisture-retentive qualities. Pigments range from muted olive greens to darker almost blackened patches where dirt and moisture accumulate reflecting the natural oxidation and pigment layering found in such environments. The surface finish is matte with slight dampness avoiding any glossy or metallic reflections which enhances realism in shaded or diffused lighting conditions.
In terms of Physically Based Rendering (PBR) channels the BaseColor/Albedo map showcases the subtle gradient of dirty green hues combined with earth tones that simulate accumulated dirt and organic matter. The Normal map emphasizes fine surface irregularities and the moss’s filamentous structure creating convincing depth and volume without excessive distortion. The Roughness channel is calibrated to reflect the natural softness and moisture variance of moss producing a predominantly matte surface with localized rough patches mimicking dry or coarse material. Since this is a natural organic texture the Metallic channel remains near zero reinforcing the non-metallic nature of moss and substrate. Ambient Occlusion enhances crevices and dense moss clusters adding shadow depth that improves visual separation. The Height/Displacement map subtly elevates moss tufts and depressions in the underlying surface for enhanced parallax effects and realistic surface breakup in close-up views.
Designed for seamless tiling this tileable dirty green moss texture high resolution up to 8K allows expansive coverage of large-scale environments without visible pattern repetition. Its exceptional resolution ensures micro-details are preserved even in close camera angles making it ideal for real-time scenes cinematic renders level dressing and detailed material studies in Blender Unreal Engine and Unity with minimal setup. For optimal results it is recommended to adjust the UV scale to maintain natural moss clustering density and combine the texture with a subtle ambient occlusion pass. Additionally tuning roughness values slightly higher can prevent over-sharpening and create a more believable organic surface. This AI-generated texture pipeline prioritizes structural consistency and micro-detail fidelity delivering a production-ready moss texture that integrates seamlessly into diverse 3D workflows.
This tileable dirty green moss texture seamless high resolution up to 8K offers a highly detailed AI-generated moss texture with a realistic PBR appearance perfect for 3D preview and integration into various materials requiring seamless dirty green moss texture seamless high resolution up to 8K quality.
Import the texture maps into Blender with sRGB color space for albedo/base color and Non-Color for normal, roughness, metallic, AO, height, and ORM maps. Connect normal maps through a Normal Map node, then adjust UV scale with a Mapping node so the material repeats naturally on your model.
For the full step-by-step setup, see How to Use Seamless Textures in Blender. Browse related material examples in wood, concrete, and metal.
Yes. This texture is designed as a seamless tileable PBR material, so it can repeat across large surfaces without visible borders.
You can download PNG/WEBP versions and use 1K, 2K, 4K and 8K download options when available on the page.
Yes. The download options and engine-mapped ZIP workflow are designed for Blender, Unreal Engine, Unity Standard, URP and HDRP material pipelines.
Yes. The texture is available under the AITextured free commercial license. Review the license page for redistribution and AI-training restrictions.
Build, preview, and export seamless PBR materials. Generate full map sets from a single image, inspect them in a real-time WebGL viewer, and re-package maps for Unreal, Unity, and Blender—directly in your browser.
AI text-to-texture: type a prompt and get a seamless, tileable base image ready for PBR workflows (great starting point for materials).
Create a full PBR set (Normal, Roughness, AO, Metallic, etc.) from a single image. Seamless and tiling-friendly.
Instant WebGL viewer: inspect materials on a sphere, plane, and cube. Check tiling and lighting in real time.
Re-packages maps per engine: Unreal (BaseColor + ORM), Unity (Mask/MetallicSmoothness), Blender (separate channels).
PNG ↔ JPG ↔ SVG: fast convert, SVG rasterize, embed/trace options, quality & background controls.