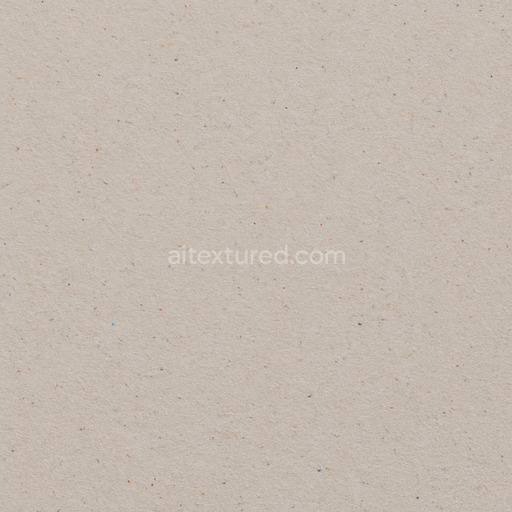
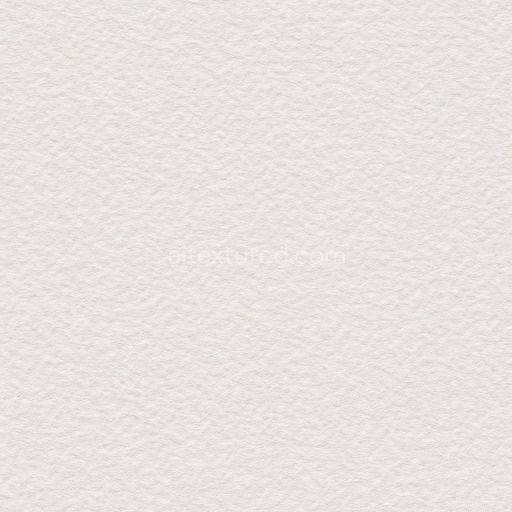
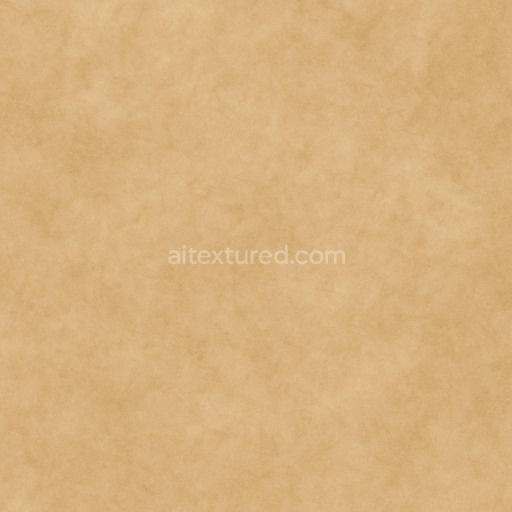
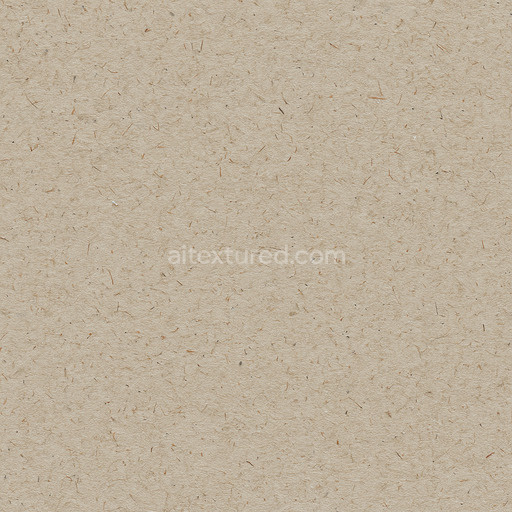
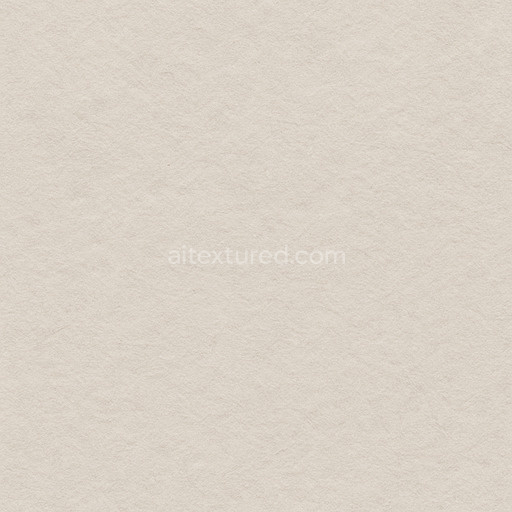
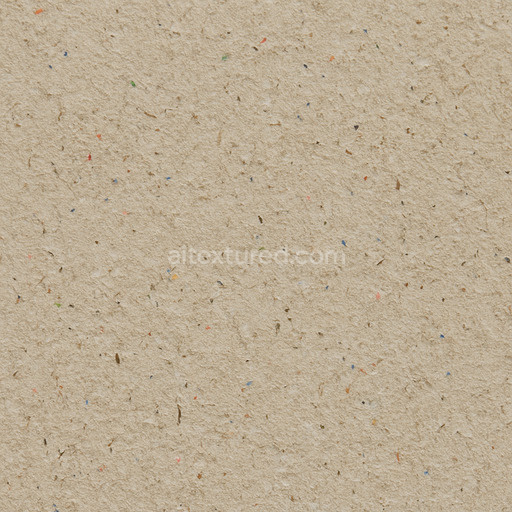
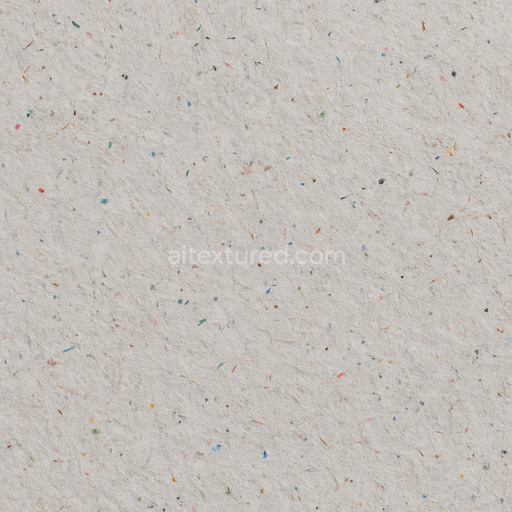
Smooth Recycled Paper Seamless Texture
Seamless texture (tileable) · PNG, WEBP, PBR ZIP. License: AITextured Free Commercial License (FCL) v1.1. Free personal and commercial use. Raw resale, standalone redistribution, mirroring/scraping, competing asset packs, and AI/ML training are not allowed without written permission. Attribution is not required, but appreciated..

| ID | natural-parchment-texture-seamless |
|---|---|
| Category | Paper |
| Formats | PNG, WEBP, PBR ZIP |
| Size | 1k (1024x1024px), 2k (2048x2048px), 4k (4096x4096px), 8k (8192x8192px) |
| Color | sRGB |
| Tileable | Yes |
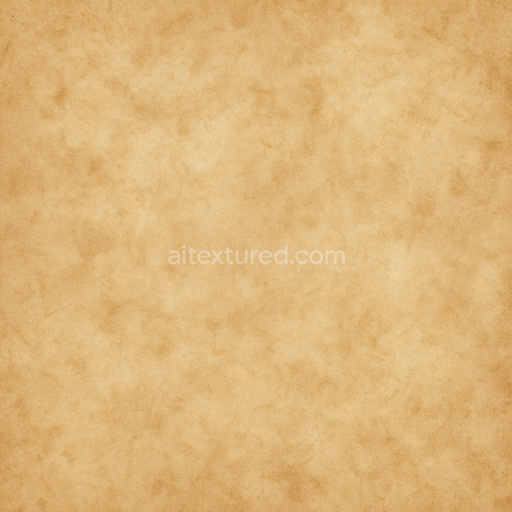
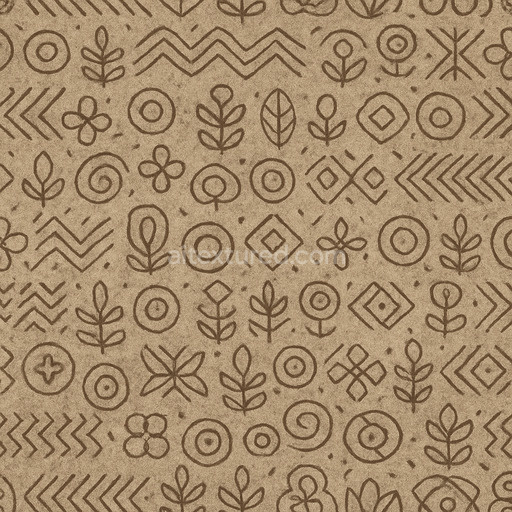
This natural parchment texture seamless high resolution up to 8K is meticulously crafted to emulate the authentic qualities of traditional parchment paper a historically organic material made from carefully processed animal skins. The texture reflects the intricate fibrous grain orientation and subtle porosity characteristic of this durable natural substrate. Its surface finish is soft and matte capturing the gentle wear weathering and faint irregularities developed over time. The coloration ranges through warm beige to pale cream tones enriched by delicate pigment variations and oxide layers that create believable discolorations and subtle stains resulting in a realistic timeworn appearance. These natural paper textures convey the tactile essence of parchment making them highly suitable for digital applications requiring an organic aged look.
In terms of physically based rendering (PBR) this tileable natural parchment texture seamless high resolution up to 8K excels in representing the material’s nuanced properties across multiple channels. The BaseColor/Albedo map delivers rich natural pigment distribution with fine gradations that mirror traditional parchment hues. The Normal map enhances the delicate fibrous surface and slight wrinkles without overpowering detail adding realistic depth and tactility. The Roughness channel captures the parchment’s inherently matte surface avoiding any glossiness while preserving a subtle texture. Metallic values remain at zero accurately reflecting the non-metallic organic nature of parchment paper. Ambient Occlusion accentuates shadows within creases and fiber intersections contributing to the overall realism. The Height/Displacement map records minor surface undulations and folds enabling impressive parallax effects when used with compatible shaders.
This texture natural parchment texture seamless high resolution up to 8K is optimized for seamless integration within modern 3D workflows supporting major platforms such as Blender Unity and Unreal Engine. Available in both PNG and WEBP formats its high resolution ensures crisp detail even on large UV islands making it ideal for architectural visualization game environments interior design staging and product mockups that require authentic paper surfaces. For best results maintaining uniform UV scaling is recommended to prevent texture distortion and adjusting roughness levels according to lighting conditions will preserve the parchment’s subtle matte qualities without appearing overly flat or reflective. This comprehensive texture combines detailed realism with efficient usability providing an excellent foundation for any project needing high-quality natural parchment paper textures with a 3D preview for precise material evaluation.
Import the texture maps into Blender with sRGB color space for albedo/base color and Non-Color for normal, roughness, metallic, AO, height, and ORM maps. Connect normal maps through a Normal Map node, then adjust UV scale with a Mapping node so the material repeats naturally on your model.
For the full step-by-step setup, see How to Use Seamless Textures in Blender. Browse related material examples in wood, concrete, and metal.
Yes. This texture is designed as a seamless tileable PBR material, so it can repeat across large surfaces without visible borders.
You can download PNG/WEBP versions and use 1K, 2K, 4K and 8K download options when available on the page.
Yes. The download options and engine-mapped ZIP workflow are designed for Blender, Unreal Engine, Unity Standard, URP and HDRP material pipelines.
Yes. The texture is available under the AITextured free commercial license. Review the license page for redistribution and AI-training restrictions.


Build, preview, and export seamless PBR materials. Generate full map sets from a single image, inspect them in a real-time WebGL viewer, and re-package maps for Unreal, Unity, and Blender—directly in your browser.
AI text-to-texture: type a prompt and get a seamless, tileable base image ready for PBR workflows (great starting point for materials).
Create a full PBR set (Normal, Roughness, AO, Metallic, etc.) from a single image. Seamless and tiling-friendly.
Instant WebGL viewer: inspect materials on a sphere, plane, and cube. Check tiling and lighting in real time.
Re-packages maps per engine: Unreal (BaseColor + ORM), Unity (Mask/MetallicSmoothness), Blender (separate channels).
PNG ↔ JPG ↔ SVG: fast convert, SVG rasterize, embed/trace options, quality & background controls.