
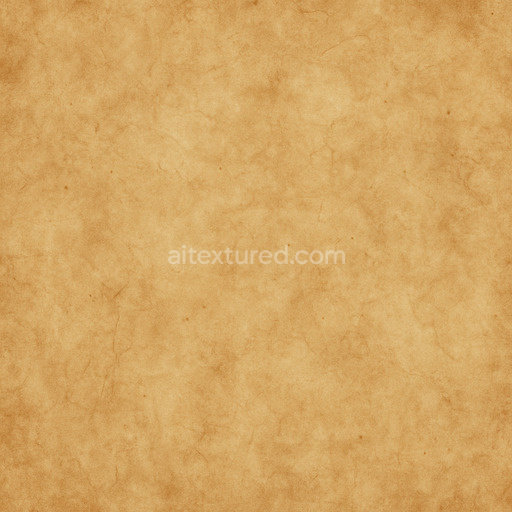
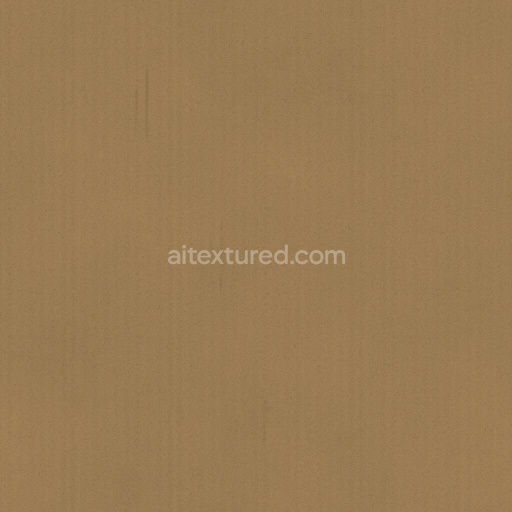
Shiny Cardboard Seamless Texture
Seamless texture (tileable) · PNG, WEBP, PBR ZIP. License: AITextured Free Commercial License (FCL) v1.1. Free personal and commercial use. Raw resale, standalone redistribution, mirroring/scraping, competing asset packs, and AI/ML training are not allowed without written permission. Attribution is not required, but appreciated..

| ID | japanese-shoji-screen-door-or-divider-with-paper-windows-free-pbr |
|---|---|
| Category | Paper |
| Formats | PNG, WEBP, PBR ZIP |
| Size | 1k (1024x1024px), 2k (2048x2048px), 4k (4096x4096px), 8k (8192x8192px) |
| Color | sRGB |
| Tileable | Yes |
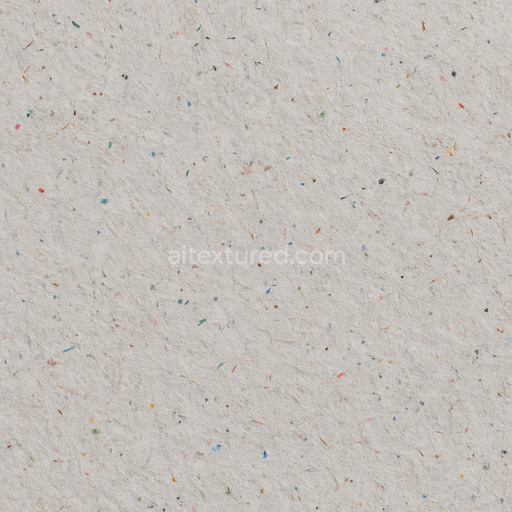
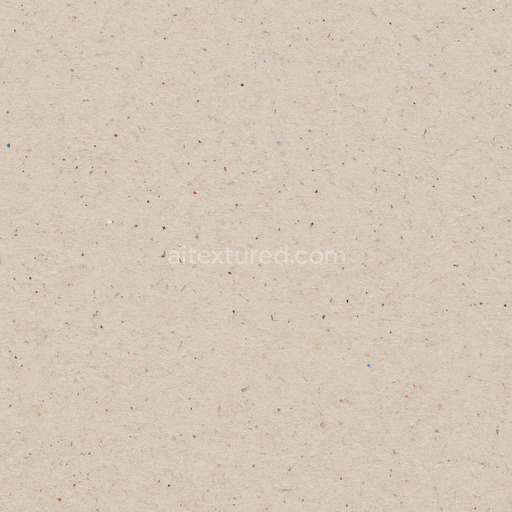
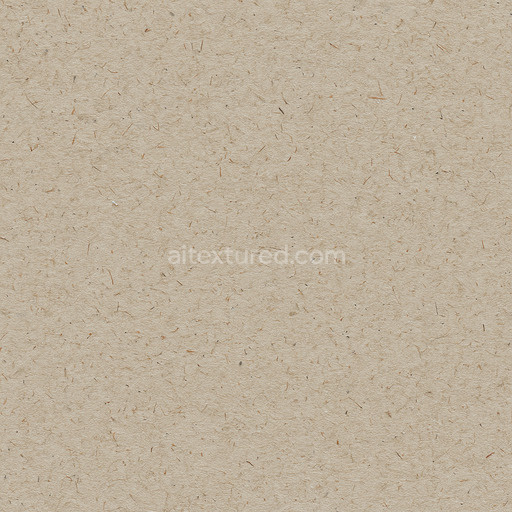
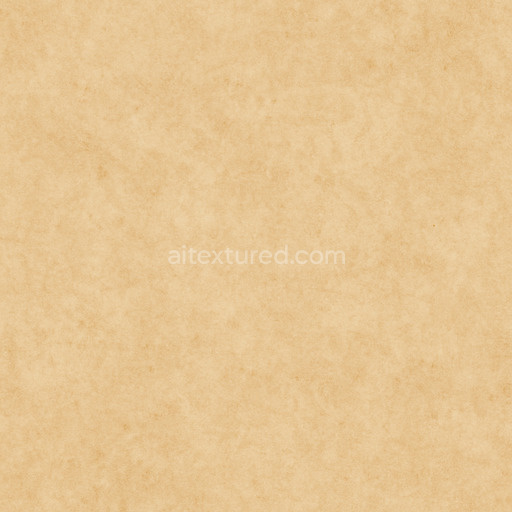
This Japanese Shoji screen texture authentically represents the traditional craftsmanship found in shoji doors and dividers, featuring delicate paper windows expertly framed by a natural wooden substrate. The base material consists of finely grained wood, carefully selected for its smooth surface and subtle grain orientation, which enhances the organic character and warmth of the frame. The translucent panels are composed of fibrous organic paper, bound together with natural adhesives that create a slightly textured, semi-porous finish. This combination produces a warm, matte surface with soft fibers and gentle imperfections that capture the essence of genuine shoji screens. Subtle weathering effects impart a natural depth and realism while preserving the overall integrity of the materials, reflecting the authentic feel of handcrafted wooden frames and delicate paper windows.
In terms of PBR workflow, the BaseColor (Albedo) channel accurately reproduces the warm beige tones of the paper panels alongside the natural brown hues of the wooden frame, including subtle pigment variations and slight discolorations typical of hand-finished materials. The Normal map defines the fine grain of the wood and the delicate texture of the paper fibers, enhancing surface detail and depth. Roughness values are carefully calibrated to contrast the smooth, lightly brushed wooden frame with the soft, matte fibrous paper, while the Metallic channel remains minimal, as both wood and paper are non-metallic organic materials. Ambient Occlusion adds subtle shadowing around frame joints and paper edges, increasing dimensionality, and the Height/Displacement map captures the slight relief of the wood grain and paper texture, making it ideal for parallax and displacement effects.
Rendered in high-quality resolutions up to 8K, this seamless PBR texture is fully optimized for integration with Blender, Unreal Engine, and Unity, ensuring exceptional detail and realism in any project. For optimal results, it is recommended to adjust the UV scale carefully to preserve the fine grain proportions and intricate fiber details. When tuning roughness, slightly increase values on the paper surfaces to emphasize their soft matte finish, while maintaining a smoother finish on the wooden frame to retain its subtle sheen. Utilizing the height map with parallax or displacement techniques can significantly enhance tactile realism, especially in close-up renders or interactive environments that benefit from authentic material depth. This texture serves as a versatile and natural solution for creating traditional Japanese interiors, architectural visualizations, or stylized game assets featuring handcrafted shoji doors, dividers, and screens.
Import the texture maps into Blender with sRGB color space for albedo/base color and Non-Color for normal, roughness, metallic, AO, height, and ORM maps. Connect normal maps through a Normal Map node, then adjust UV scale with a Mapping node so the material repeats naturally on your model.
For the full step-by-step setup, see How to Use Seamless Textures in Blender. Browse related material examples in wood, concrete, and metal.
Yes. This texture is designed as a seamless tileable PBR material, so it can repeat across large surfaces without visible borders.
You can download PNG/WEBP versions and use 1K, 2K, 4K and 8K download options when available on the page.
Yes. The download options and engine-mapped ZIP workflow are designed for Blender, Unreal Engine, Unity Standard, URP and HDRP material pipelines.
Yes. The texture is available under the AITextured free commercial license. Review the license page for redistribution and AI-training restrictions.


Build, preview, and export seamless PBR materials. Generate full map sets from a single image, inspect them in a real-time WebGL viewer, and re-package maps for Unreal, Unity, and Blender—directly in your browser.
AI text-to-texture: type a prompt and get a seamless, tileable base image ready for PBR workflows (great starting point for materials).
Create a full PBR set (Normal, Roughness, AO, Metallic, etc.) from a single image. Seamless and tiling-friendly.
Instant WebGL viewer: inspect materials on a sphere, plane, and cube. Check tiling and lighting in real time.
Re-packages maps per engine: Unreal (BaseColor + ORM), Unity (Mask/MetallicSmoothness), Blender (separate channels).
PNG ↔ JPG ↔ SVG: fast convert, SVG rasterize, embed/trace options, quality & background controls.