
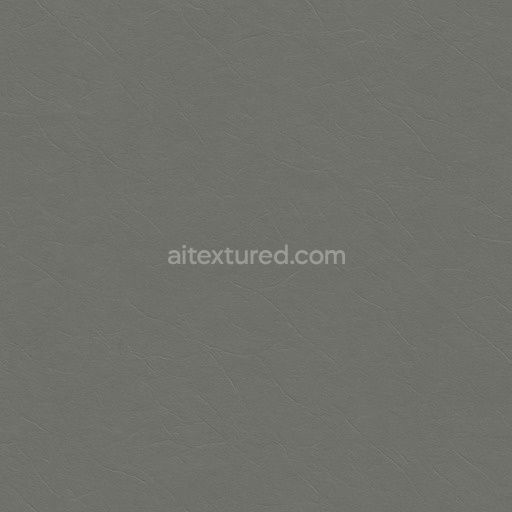
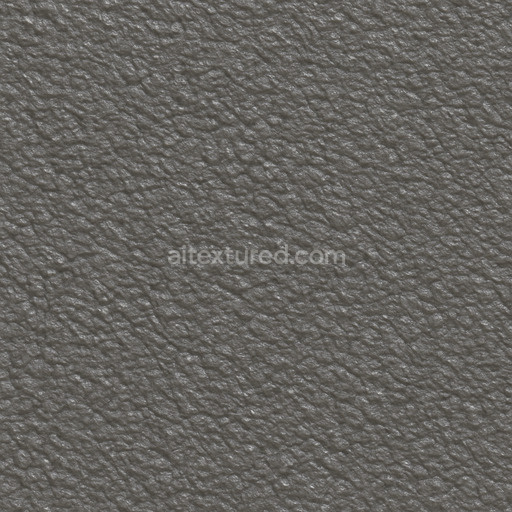
Seamless Pvc Seamless Texture
Seamless texture (tileable) · PNG, WEBP, PBR ZIP. License: AITextured Free Commercial License (FCL) v1.1. Free personal and commercial use. Raw resale, standalone redistribution, mirroring/scraping, competing asset packs, and AI/ML training are not allowed without written permission. Attribution is not required, but appreciated..

| ID | worn-polypropylene-texture-seamless |
|---|---|
| Category | Plastic |
| Formats | PNG, WEBP, PBR ZIP |
| Size | 1k (1024x1024px), 2k (2048x2048px), 4k (4096x4096px), 8k (8192x8192px) |
| Color | sRGB |
| Tileable | Yes |
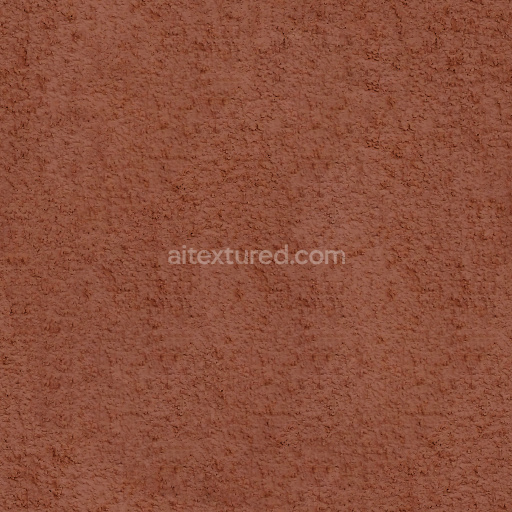
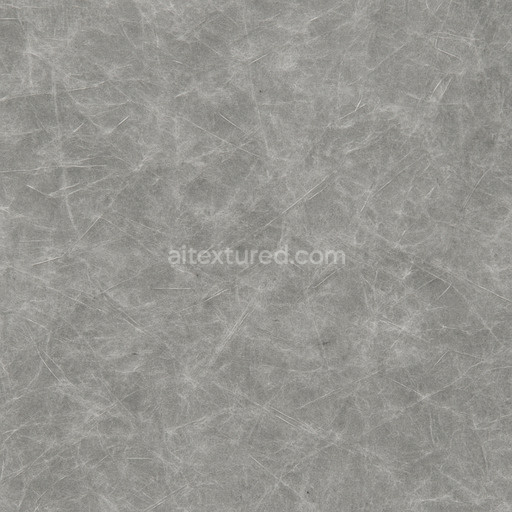
Experience the worn polypropylene texture seamless high resolution up to 8K a meticulously designed material that authentically represents the distinctive qualities of aged polypropylene plastic surfaces. The base substrate is composed of synthetic polymer chains arranged in a semi-crystalline structure characteristic of polypropylene combined with weathered surface layers exhibiting faint abrasions subtle discoloration and gentle surface roughness. These features reveal the natural effects of prolonged environmental exposure and mechanical stress highlighting micro-details such as pigment degradation and embedded micro-particles that simulate accumulated dirt and fading. The overall finish is matte and slightly eroded balancing porosity and smoothness to create a realistic tactile impression that enhances any 3D scene requiring authentic plastic textures.
This seamless worn polypropylene texture seamless high resolution up to 8K excels in physically based rendering (PBR) workflows by providing highly detailed and consistent channel data. The BaseColor (Albedo) map displays muted softly desaturated tones with nuanced color shifts that reflect pigment wear and grime build-up. Normal maps emphasize fine surface imperfections and micro-fiber orientations inherent to polypropylene’s structure adding a rich tactile quality. Roughness maps capture the non-uniform reflectivity caused by weathering and scuffing while Metallic values remain minimal accurately portraying the non-metallic nature of plastic. Ambient Occlusion enhances depth perception around crevices and worn indentations and Height/Displacement maps introduce subtle surface undulations that improve parallax effects boosting realism in close-up renders. Optimized for modern 3D pipelines this 8K texture integrates seamlessly with Blender Unity and Unreal Engine making it ideal for real-time applications cinematic visuals and detailed material studies.
Designed as a tileable worn polypropylene texture seamless high resolution up to 8K this material ensures flawless repetition across large UV islands without visible seams providing predictable and high-quality results on complex surfaces. For best visual fidelity it is recommended to maintain appropriate UV scaling to preserve micro-detail integrity especially when showcasing wear patterns at various distances. Slight adjustments to roughness values can simulate different aging stages from moderately used to heavily weathered polypropylene surfaces. This generated texture prioritizes structural consistency and micro-detail precision offering a production-ready solution that elevates the realism and depth of polypropylene plastic materials in any 3D project. A 3D preview is included to facilitate accurate material visualization and fine-tuning within your preferred workflow.
Import the texture maps into Blender with sRGB color space for albedo/base color and Non-Color for normal, roughness, metallic, AO, height, and ORM maps. Connect normal maps through a Normal Map node, then adjust UV scale with a Mapping node so the material repeats naturally on your model.
For the full step-by-step setup, see How to Use Seamless Textures in Blender. Browse related material examples in wood, concrete, and metal.
Yes. This texture is designed as a seamless tileable PBR material, so it can repeat across large surfaces without visible borders.
You can download PNG/WEBP versions and use 1K, 2K, 4K and 8K download options when available on the page.
Yes. The download options and engine-mapped ZIP workflow are designed for Blender, Unreal Engine, Unity Standard, URP and HDRP material pipelines.
Yes. The texture is available under the AITextured free commercial license. Review the license page for redistribution and AI-training restrictions.


Generate, preview, and export seamless PBR materials for Blender, Unity, and Unreal Engine—directly in your browser.
AI text-to-texture: type a prompt and get a seamless, tileable base image ready for PBR workflows (great starting point for materials).
Create a full PBR set (Normal, Roughness, AO, Metallic, etc.) from a single image. Seamless and tiling-friendly.
Instant WebGL viewer: inspect materials on a sphere, plane, and cube. Check tiling and lighting in real time.
Re-packages maps per engine: Unreal (BaseColor + ORM), Unity (Mask/MetallicSmoothness), Blender (separate channels).
PNG ↔ JPG ↔ SVG: fast convert, SVG rasterize, embed/trace options, quality & background controls.